Embroidery Hoop Pineapple – Pineapples are known to be a symbol of hospitality and have been popular in home decor for ages. Plus they’re cute, sweet, and they remind me of summer and tropical islands. And who can resist a fruit that wears a crown? Here’s my crafty take on this fun fruit – an Embroidery Hoop Pineapple – using oval hoops and some felt.
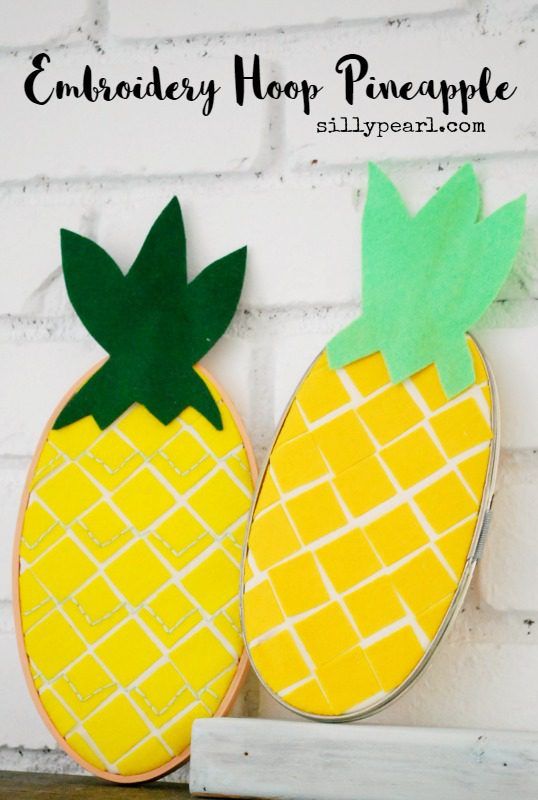
Embroidery Hoop Pineapple Craft
Supplies
- Oval embroidery hoop (mine is 9×5 inches)
- Yellow felt and green felt
- Double-sided fusible webbing
- Iron and ironing board
- Ruler, self-healing mat, and rotary cutter
- Thin cotton fabric
- Paint and paint brush (optional)
- Scissors
- Washable fabric pen or chalk
- Craft stick
- Hot glue
- Iron-on tear-away stabilizer, embroidery thread, embroidery needle (optional)
Directions
Cut a rectangle of felt (for this project, half a sheet should be fine) and following the manufacturer’s directions, fuse a piece of double-sided fusible webbing to it.
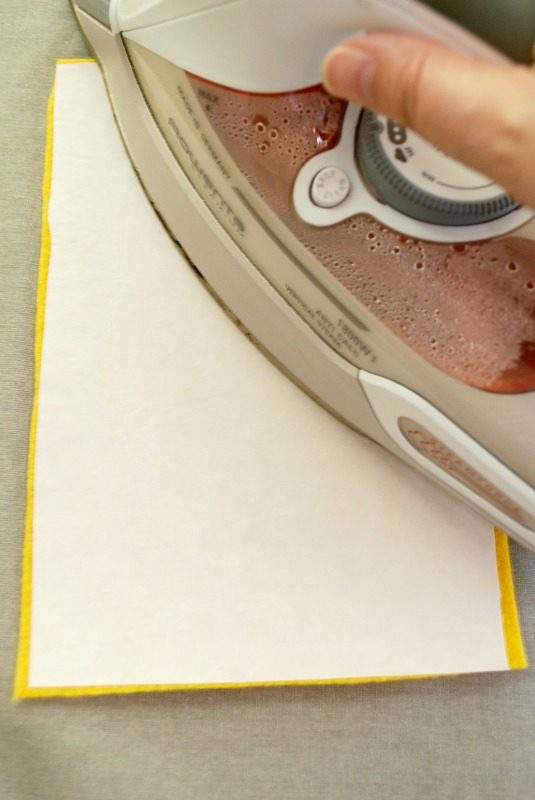
Peel off the paper backing, and use a ruler and rotary cutter to cut 1-inch strips.
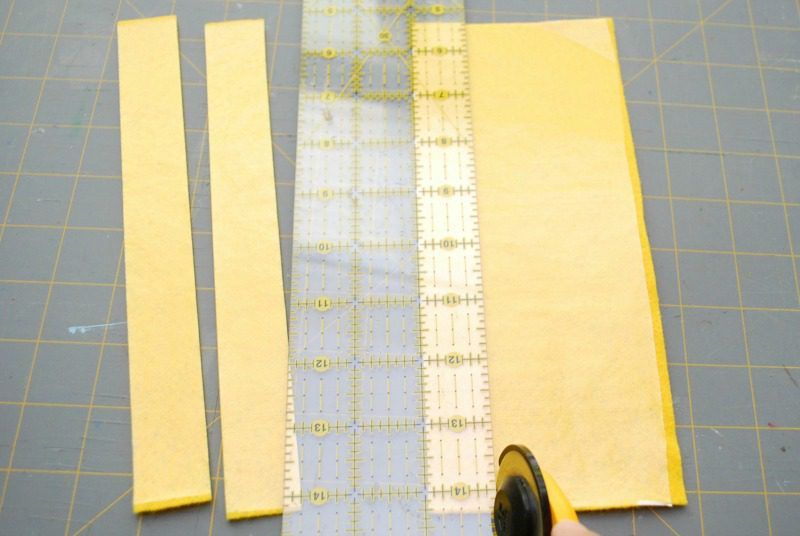
Then, line up the strips and cut the other way, so you have lots of 1-inch squares.
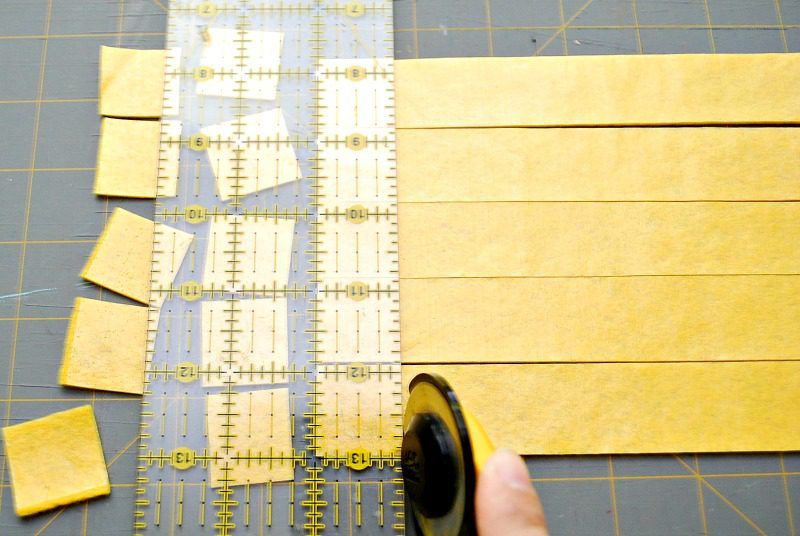
Cut a piece of thin cotton fabric that will fit into your embroidery hoop. Then, trace the inside of the outer hoop with a washable fabric pen. Mark the center top and bottom of the oval (it should be vertical). Then, take your felt squares and place them onto the oval, with their points facing up and down. Start down the center, using your center marks to help line up the squares. Then, place squares next to them so there’s about a 1/8-inch gap in between. Keep going until you cover the entire oval, overlapping to the sides to cover the oval completely.
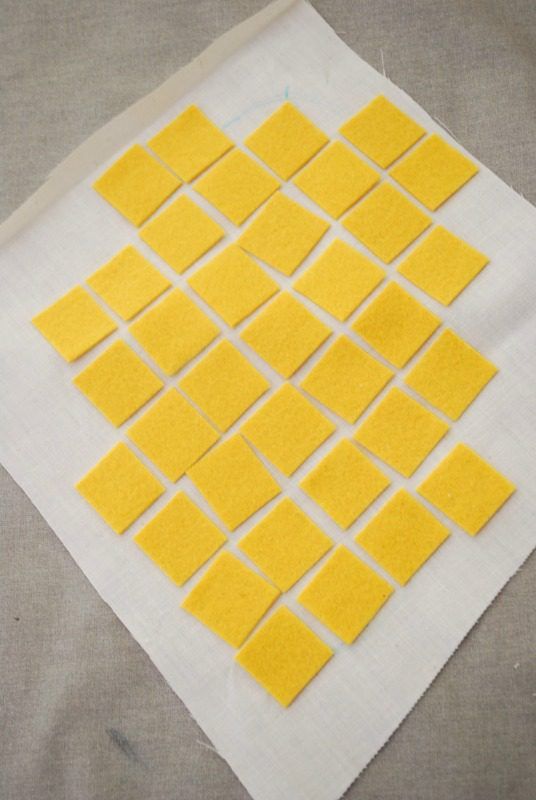
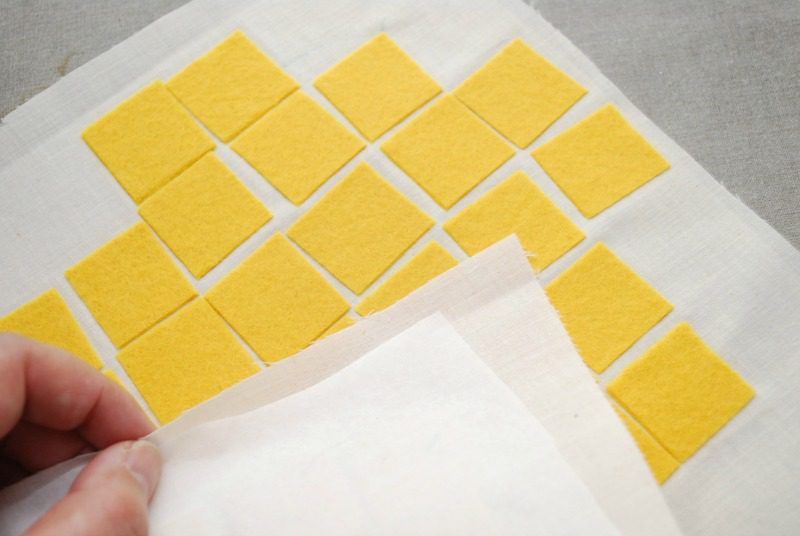
When you’re happy with your squares, and you’re sure that the side with the webbing is face down on all of the squares, gently lay down a cotton cloth and fuse the squares onto the cotton fabric.
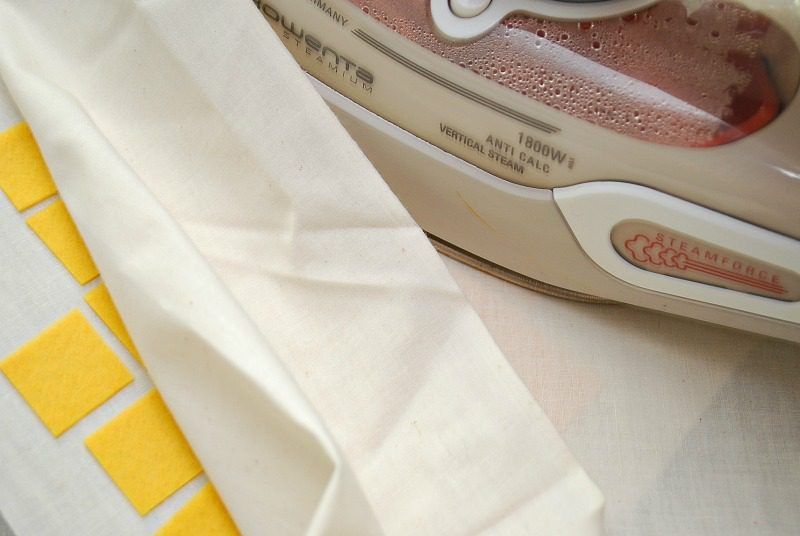
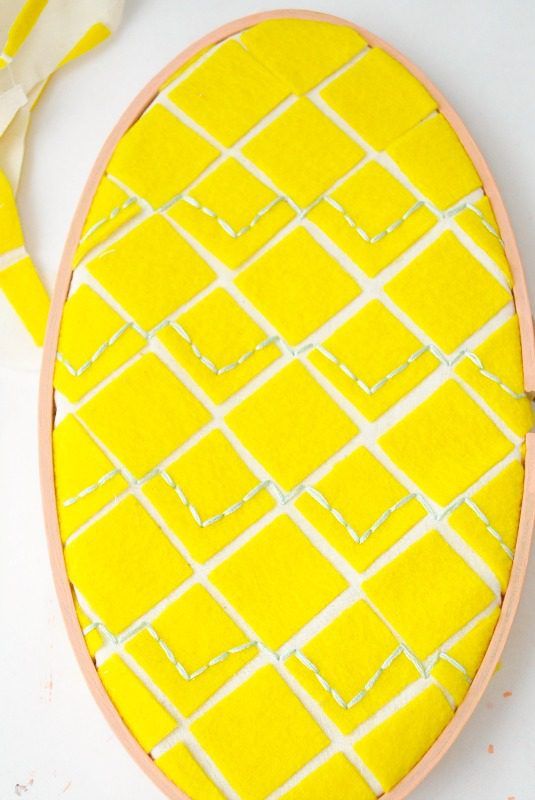
Now we’ll prepare the fabric/felt squares for embroidery, but if you want to skip the embroidery, you can go ahead and insert it into the oval embroidery hoop as I will be doing below. But if you would like to add some embroidery detail, follow these next steps. Turn over the fabric and iron on a fusible stabilizer. This will help stiffen the fabric to make embroidering easier.
Choose your embroidery floss color (I went with a mint green) and separate three strands from it. Thread your needle and double it so you have six strands total. You can tie a knot at the end if you like, or you can catch it within your embroidery stitches. I started at about the third row of felt squares and back stitched a zig zag line across it. Then I skipped a row and added more stitches, going down to the bottom row. I also switched to a round embroidery hoop so I could embroider the entire row without having to remove the hoop.
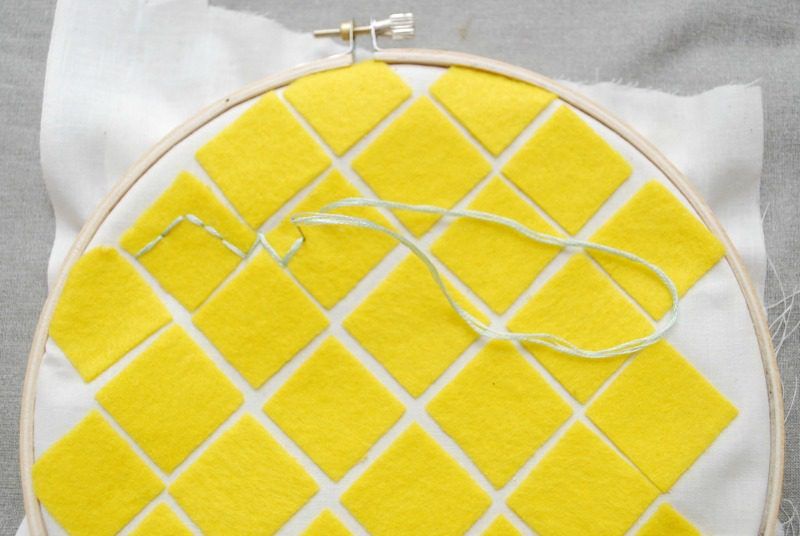
I painted the wood hoop in a peachy color. Then I inserted the fabric, lining up the center of the fabric with the center of the hoop and stretching the fabric taught. If the fabric seems bulky, you can carefully tear away the stabilizer. Trim away the excess fabric.
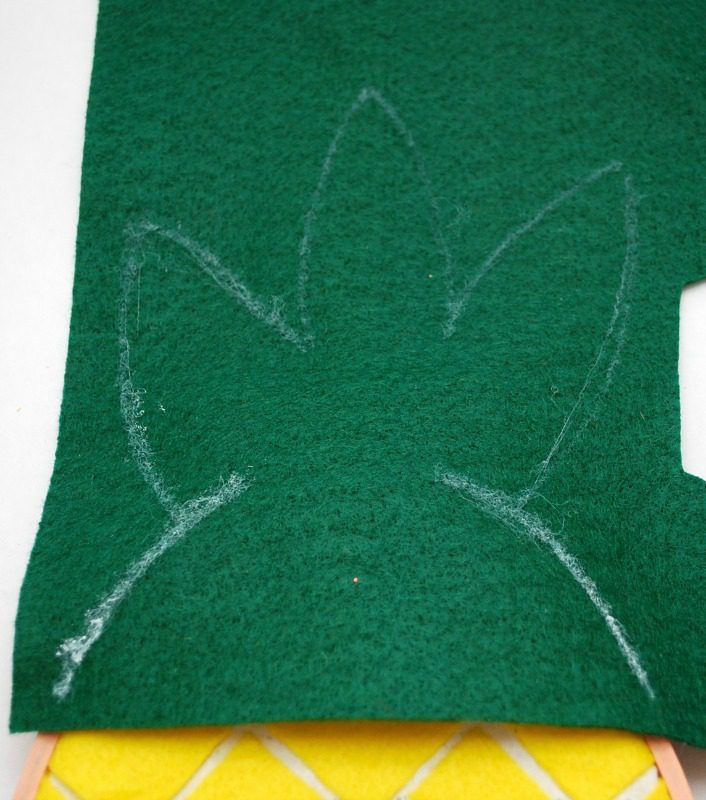
Last step to make your Hoop Pineapple – create the leaves. Draw out your leaves on a piece of paper first, then draw it onto some green felt. I gave my leaves a base, following the top curve of the hoop, then had my leaves come out of the top. I also cut the bottom of the base in a zig zag, following the lines of the yellow felt squares.
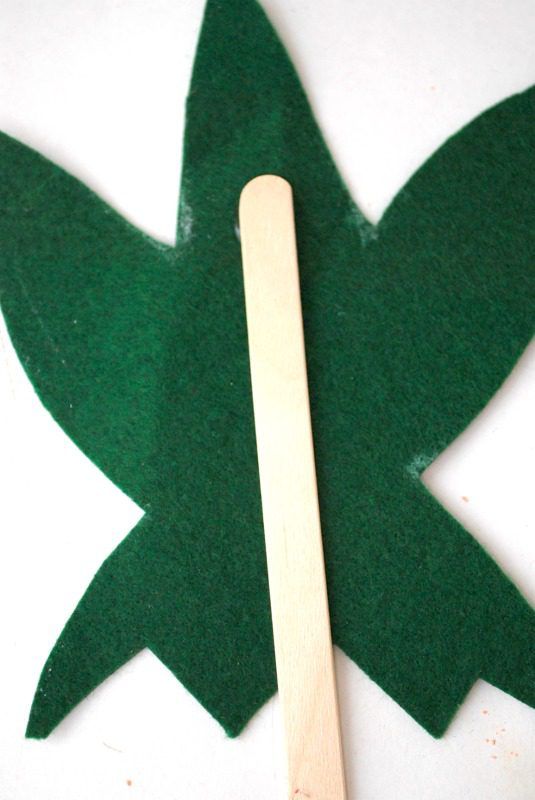
If the leaves flop over, hot glue a craft stick along the back. Cut off the craft stick so it’s not sticking out the bottom.
Add hot glue to the base part of the leaves and glue it to the fabric in the hoop. All done!
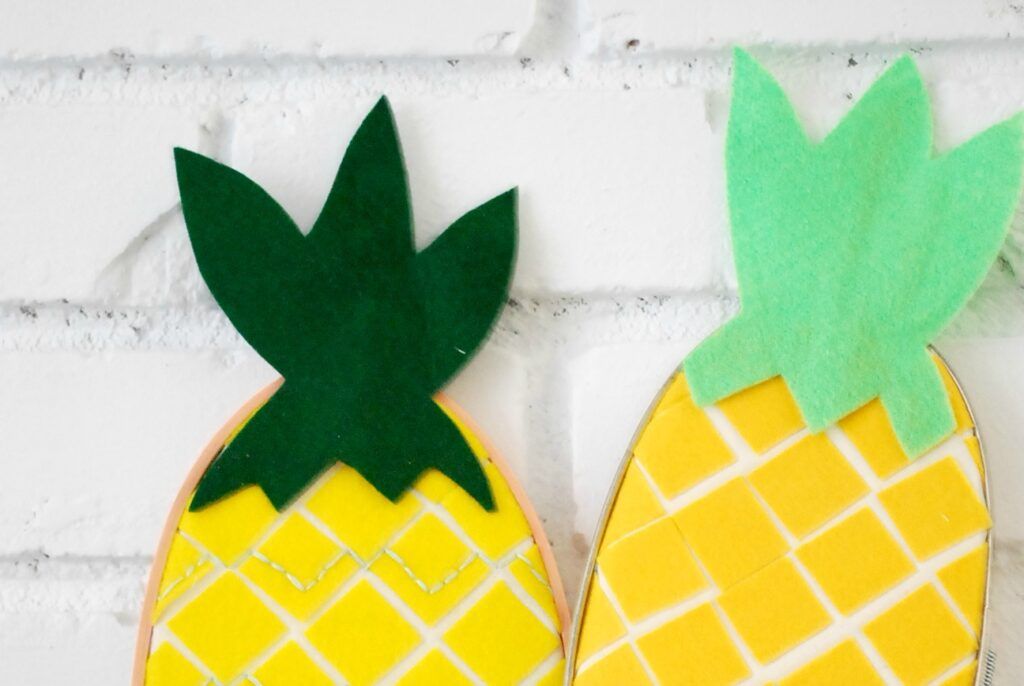
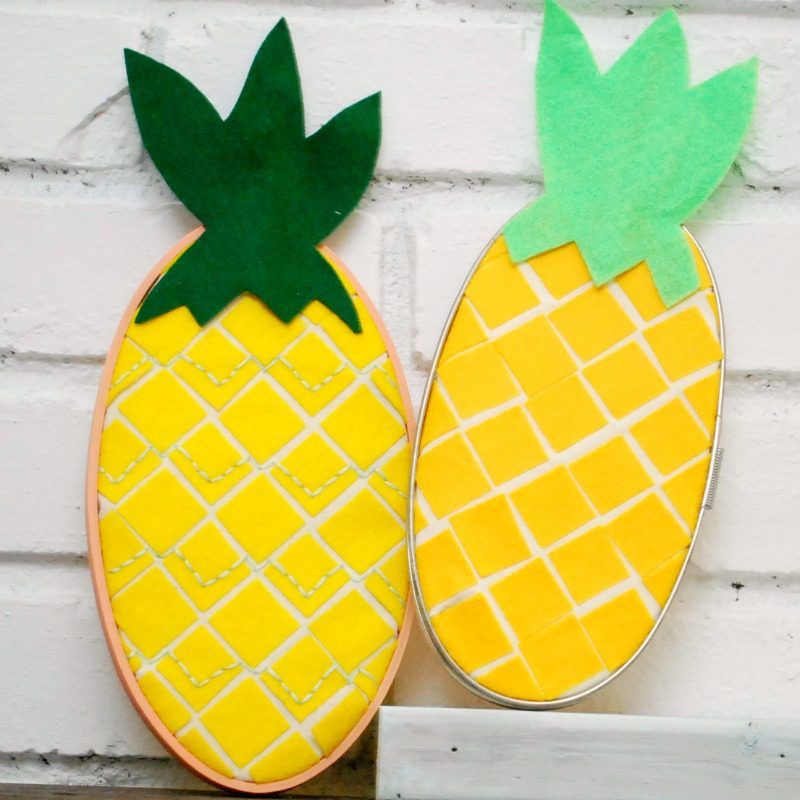
I made two pineapples, one with embroidery in a painted wood hoop, and one without stitching in a vintage metal hoop. I also varied the color of the leaves, and the color of the yellow squares is slightly different because for some reason I have about six different shades of yellow felt in my stash! There are lots of things you can do with these Pineapples. You can lean them up against the wall like I have done, or attach a string to the back to hang them up. Another idea is to glue them to a wreath form.
Can’t believe it’s almost summer! Happy Crafting and see you next time! – Steph @ The Silly Pearl
Love this? You might also like…
Vintage Scarf to Pillow Tutorial
Embroidered Patchwork Bag Tutorial
