Thank you to FloraCraft® for sponsoring this post – I’m currently a member of the Make It:Fun® Design Team.
I found my inspiration for this month’s project by browsing the Make It:Fun® Holiday E-book that is full of such amazingly fun Christmas crafts and decorating ideas.

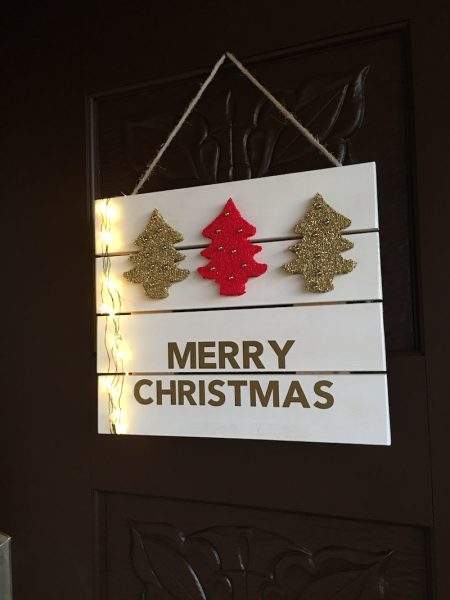
The Metallic Glittered Star Decor gave me the inspiration for the Christmas Tree cut-outs on my Merry Christmas Sign.

Supplies:
- FloraCraft® Make It:Fun® Foam Sheets (I used a 12×12 sheet)
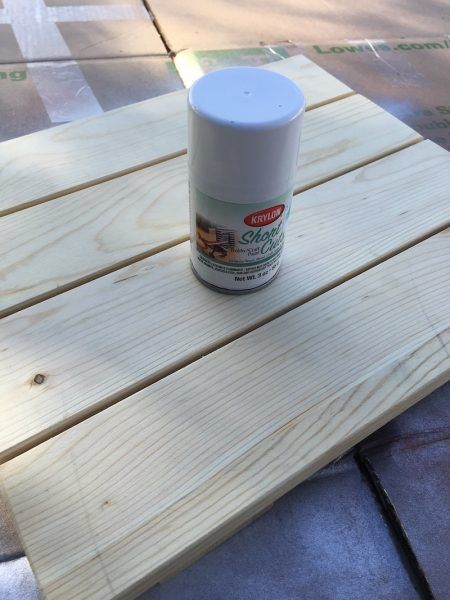
- 1 wood pallet sign (unfinished)
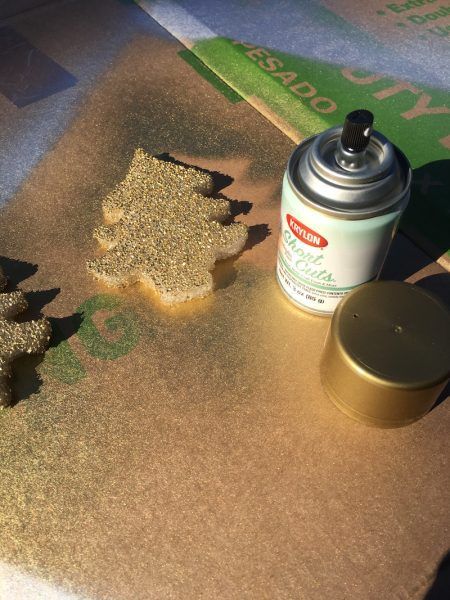
- 1 can White Spray Paint (the mini Short Cuts cans won’t melt the foam!)
- Cookie Cutters
- Battery Operated Light String
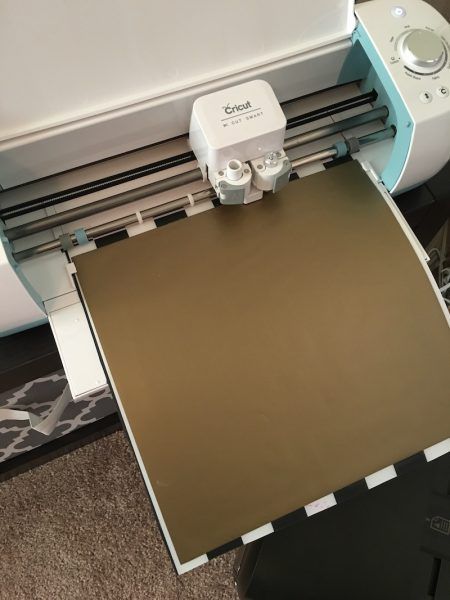
- Gold Vinyl
- mini embellishments
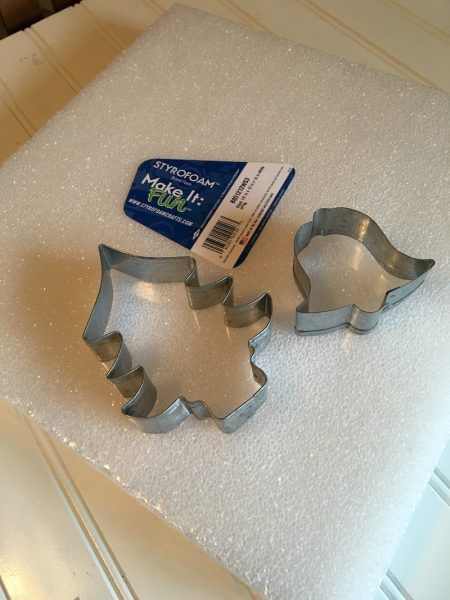
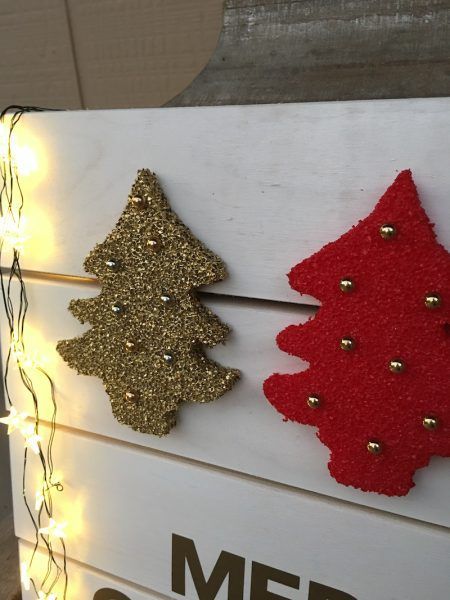
I started by using cookie cutters to press out my tree shapes. I was going to do bells too, but the trees were all I needed.
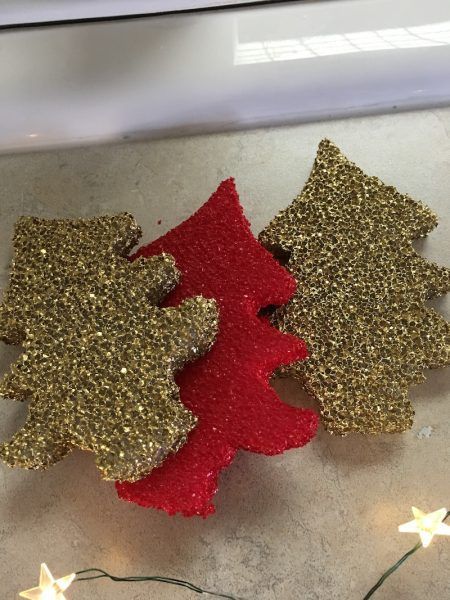
Once I had the shapes pressed out, I spray painted them.
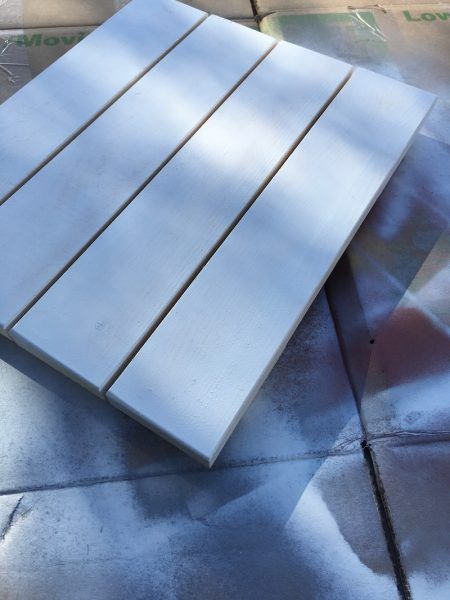
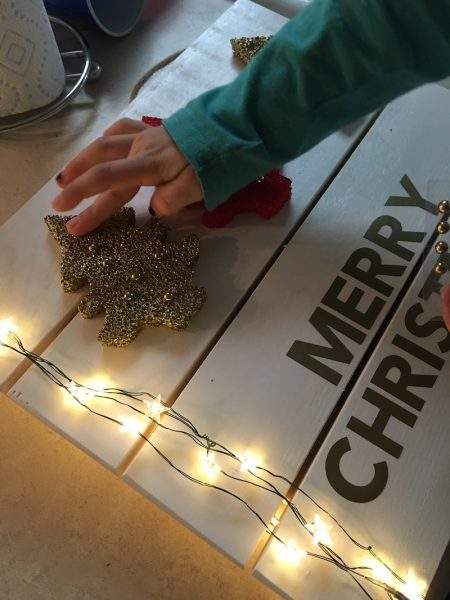
I picked up a plain wooden sign at Hobby Lobby and spray painted it too and hot glued my trees to the sign.
Then, I used my Cricut to cut out my letters and pressed them onto the sign.
To top it off, I added a small string of battery operated lights. My girl got to do the “ornament” hanging and used little gold and silver embellishments.

Be sure to check out the Make It:Fun® holiday e-book for more fun holiday decorating ideas. There are so many great ideas to spark your creativity!
Using cookie cutters for the trees was just genius!