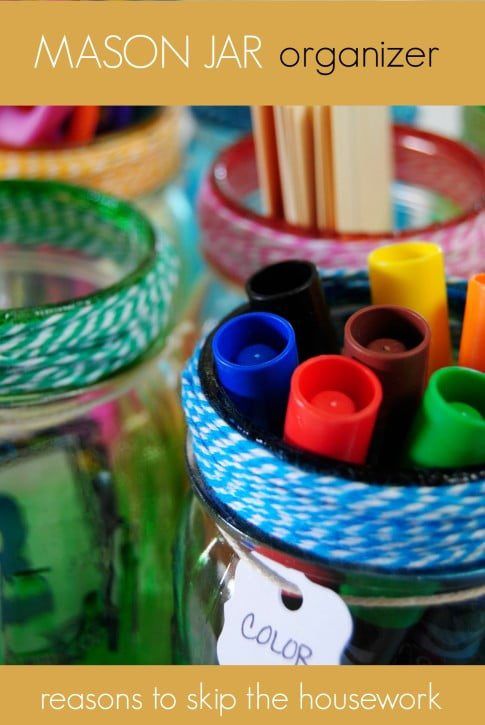
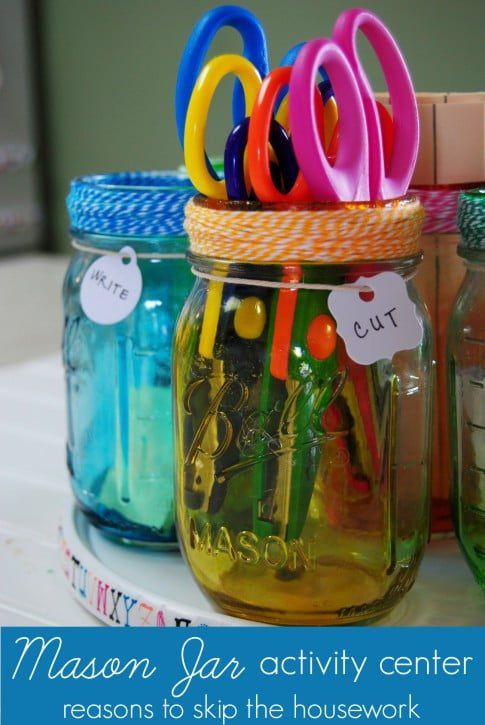
Got mason jars? Need any ideas for what to do with them? This mason jar organizer will keep your little one’s supplies close at hand and neat!
My girl likes to draw, cut, and color – everything she comes in contact with. We often have little bits of paper all over the place. She kind of takes over our house with all of her craft supplies and I’m constantly following her around to clean it all up {and teach her how to put it away from herself!}
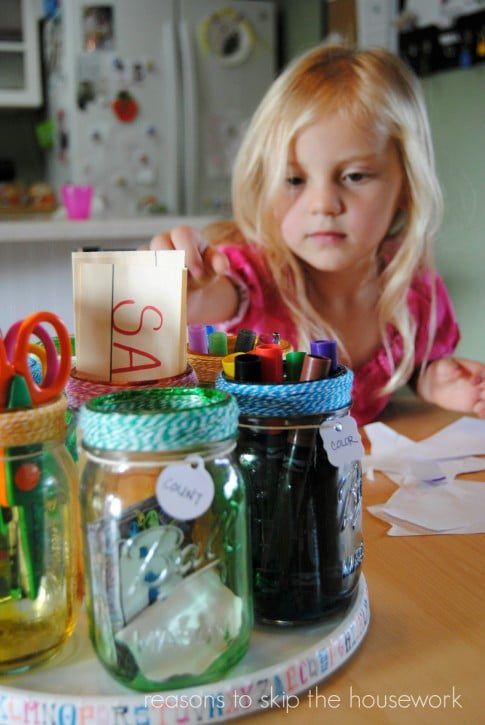
When I was given the opportunity to craft something for Consumer Crafts, using mason jars – this organizer popped into my mind immediately! It’s the perfect place to store her project supplies so they’re all in one spot – and it’s a great place to house everything since we’re at the table a lot {meals, snacks, games, etc.} so it’s easy to access!
** I was provided with the materials to make this project from Consumer Crafts, but the opinions are my own.
How to Make DIY Mason Jar Activity Organizer
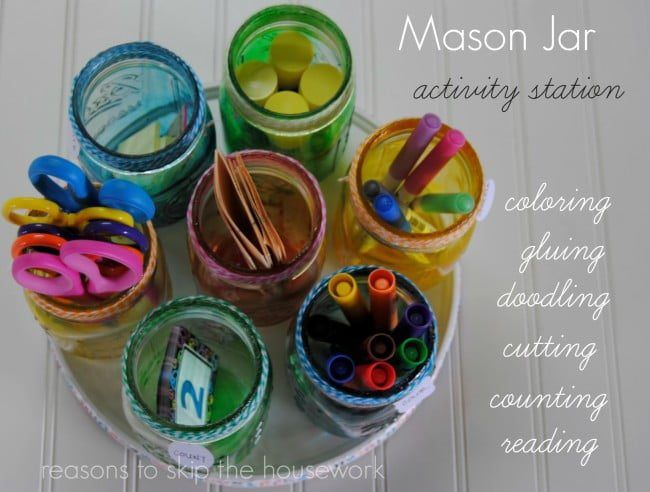
To make this rolling activity organizer, I tinted my mason jars. It was a craft I’d been wanting to test out for a while, so it was perfect timing!
To tint mason jars, you’ll need three supplies:
- Mod Podge
- food coloring
- water
DIY Mason Jar Activity Organizer Step-by-Step Tutorial
- Mix food coloring with a tablespoon of water into individual ramekins.
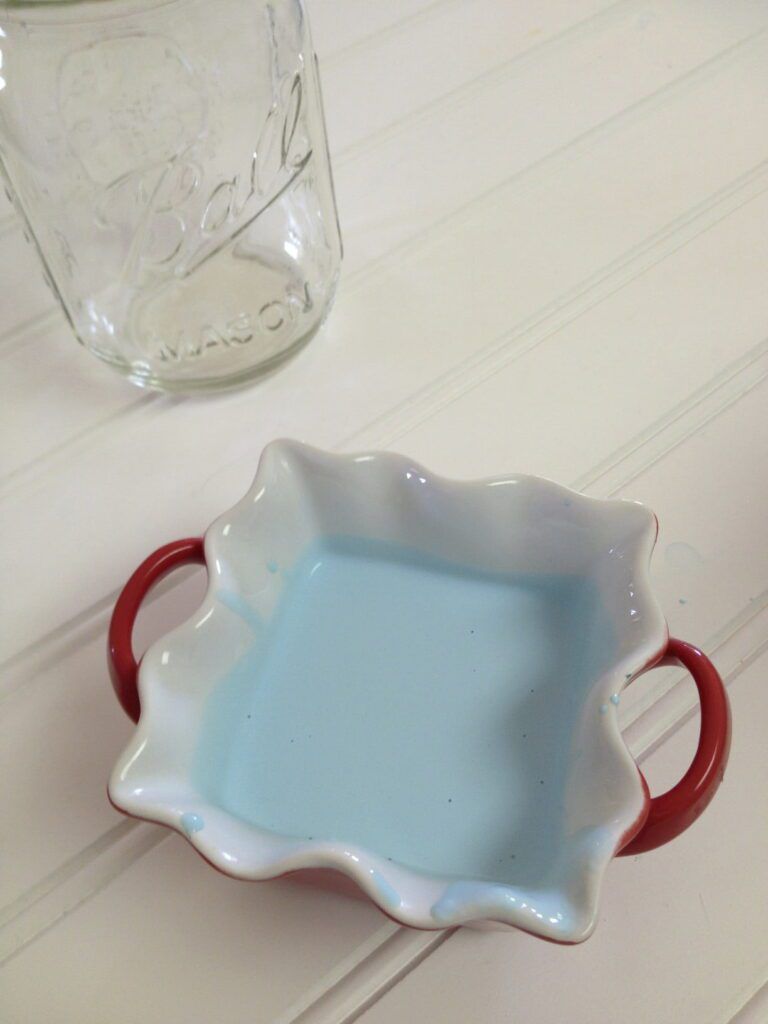
- Add a few tablespoons of mod podge into your mason jar.
- Add one ramekin of color into the jar and spin the jar to mix the color and mod podge.
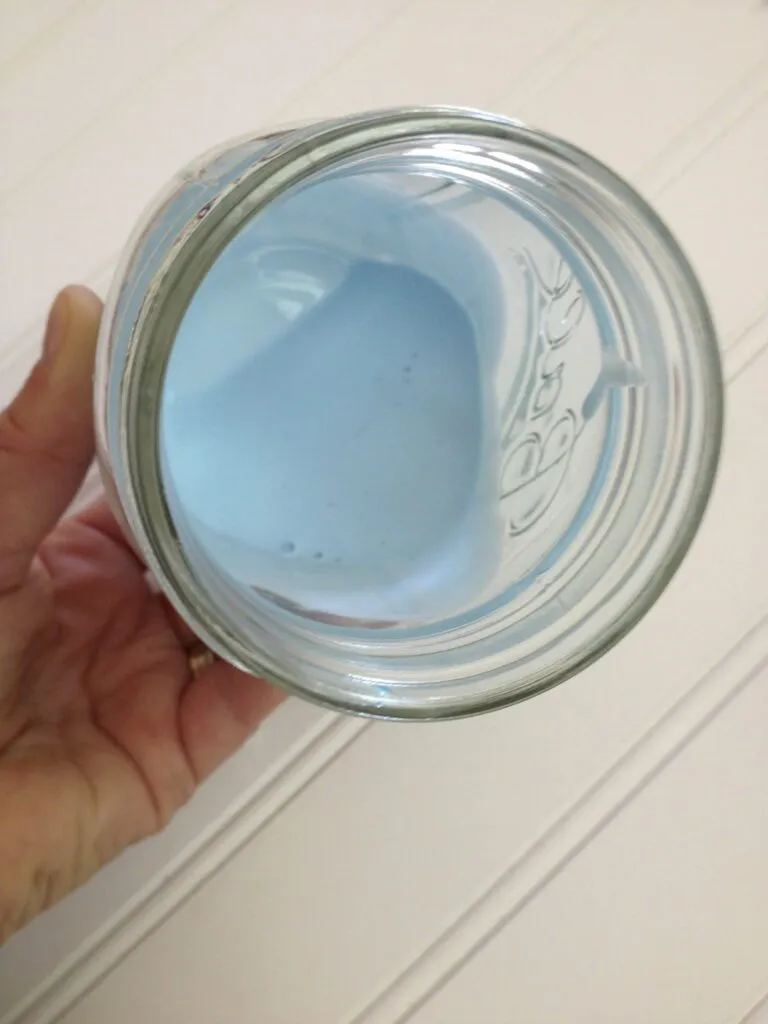
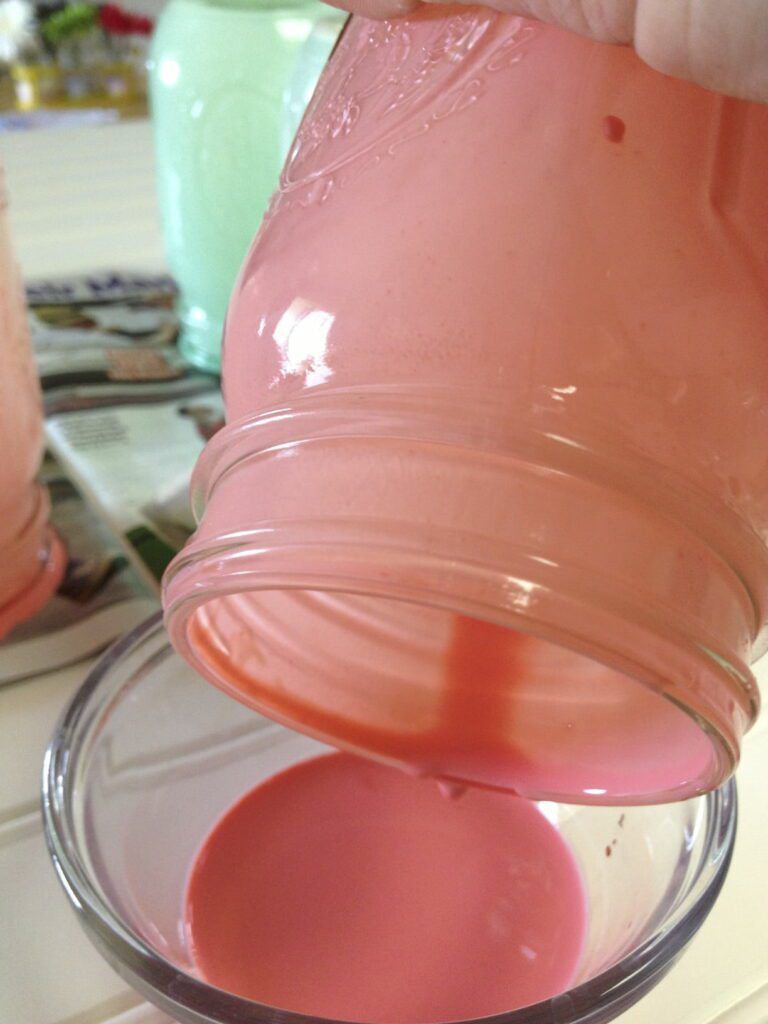
- Twist the jar to coat the whole inside with the mod podge/food coloring mixture.
- Pour the excess into another jar or into a ramekin.
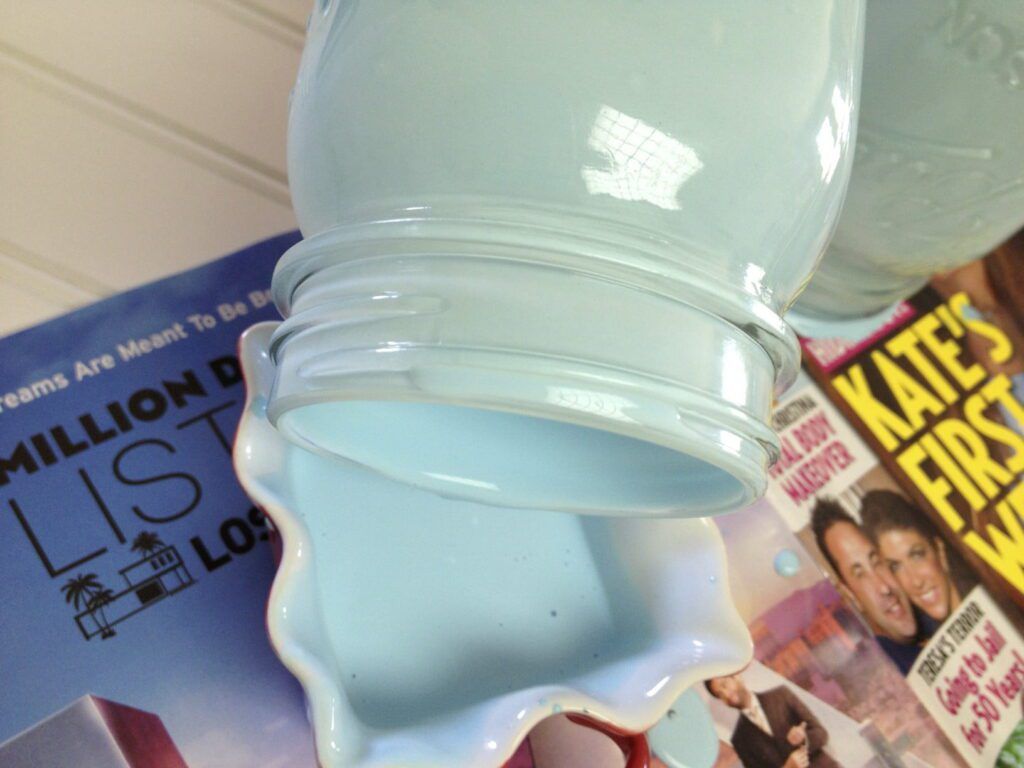
- Let dry upside down on paper. Let them dry for about 30 minutes this way.
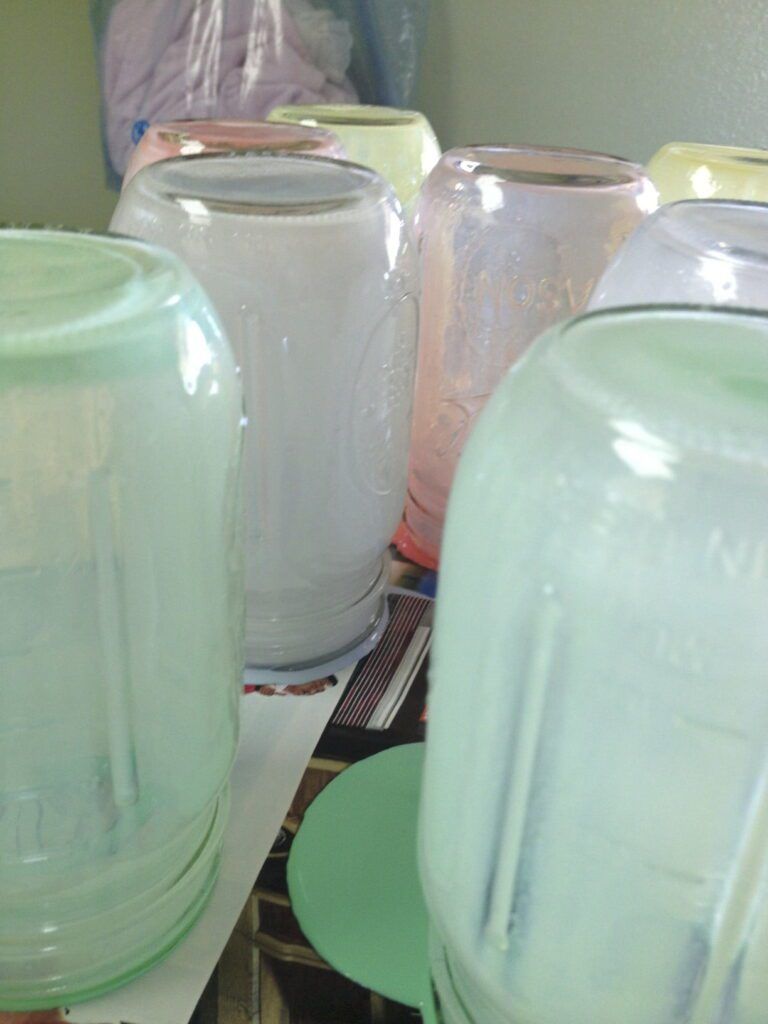
- Place the jars face down on top of wax paper and a cookie sheet into an oven preheated to 225 degrees.
- Let dry upside down this way for about 10 minutes and then flip them over and let them dry another 20-30 minutes.
- When the jars are done, they’ll look clear and the mixture should lose most of the streaks.
- If there are still streaks, let them dry in the oven longer.
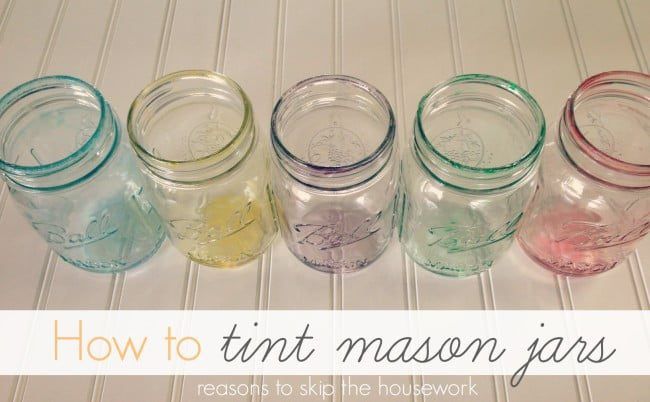
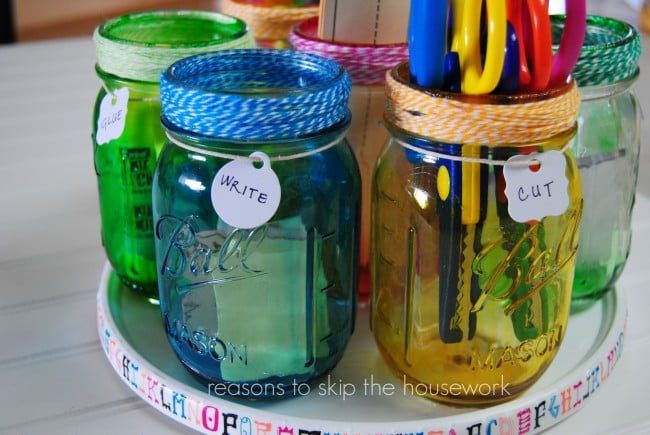
When I did my first round, they were a little too light. So, I did another round, with MORE drops of food coloring this time!
- I’d recommend you just squeeze the heck out that food coloring {like 10-15 drops} to make the tint that much darker!
Below is after the second round!
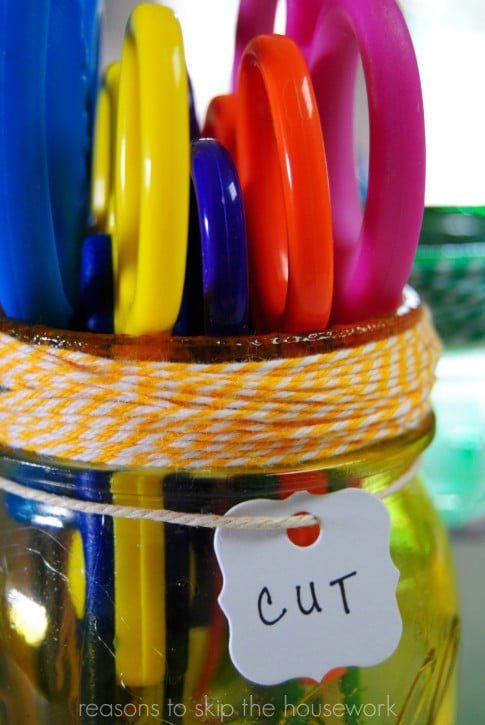
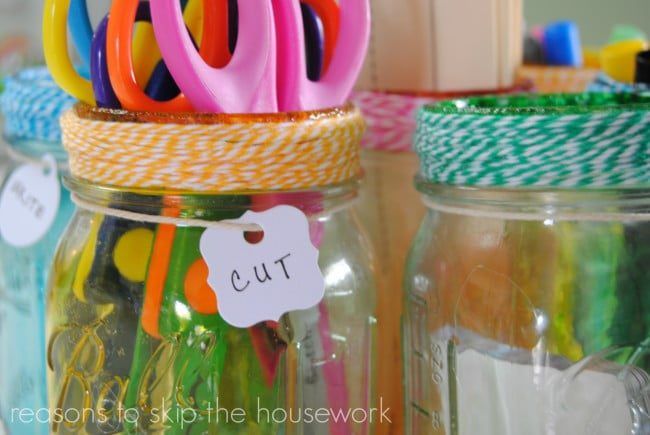
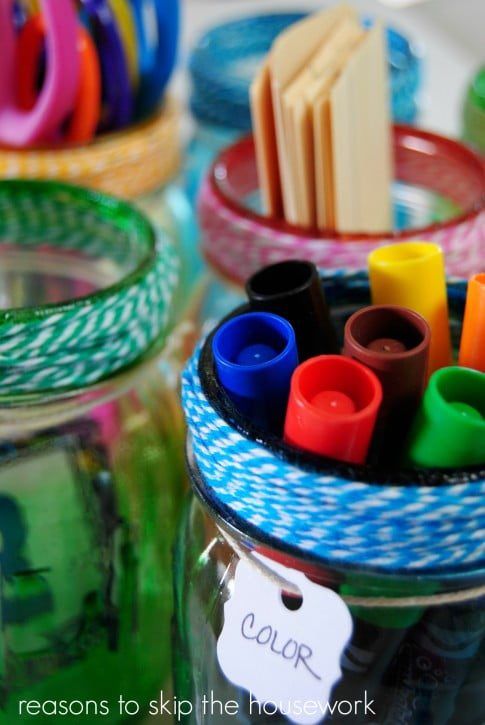
- I wrapped baker’s twine around the top of the mason jars and tied on a label that I got from the David Tutera Label collection, available at Consumer Crafts.
- To keep little hands from grabbing the jars off the lazy susan, I hot glued them down!
Thank you to Consumer Crafts for providing me with products to create this Mason Jar Activity Organizer. There are so many craft supplies you can purchase at Consumer Crafts, and you can also:
- Follow Consumer Crafts on Facebook
- Follow Consumer Crafts on Twitter
- Follow Consumer Crafts on Pinterest
- Visit their blog at Crafts Unleashed
They’re a one-stop shop for your crafting needs – and you don’t need to get out of your car, unbuckle the kids, or bribe them with lollipops to get in {and stay in} the cart! Consumer Crafts is a much more relaxing way to shop!
For more mason jar inspiration, check out these other projects by the Consumer Crafts Summer Street Team!

Love this! Pinning asap! Thanks so much for the great tutorial =)
Sooo cute…love the colors and the twine.
I LOVE that you added the little labels! Great for her to learn where to put things away!
This looks great, Melanie! I’m featuring it on my fb page tomorrow.
Adorable Melanie! I love how you matched the tint and the baker’s twine:)
I’ve been doing these for a while now, and I have definitely found it’s MUCH better to air dry them than use an oven. The oven can bake the color out, but it won’t happen at all if you air dry. Leave it upside down for a while, wiping the rim now and again. After it has set some and is not dripping, turn it back over and let it dry right side up. The first phase (upside down) can take a day, depending. It does take a lot longer this way, but it’s worth it. The colors are get are so rich! You can get more pastel shades by going easy on the food coloring…
So cool, I had no idea you could color the jars like this!