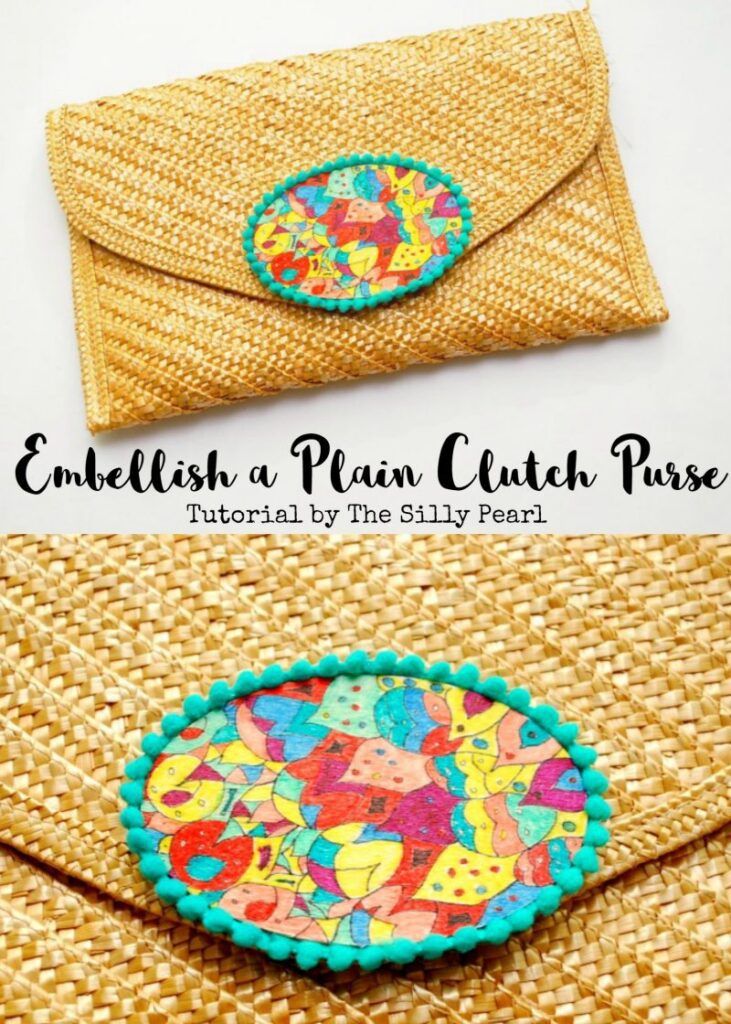
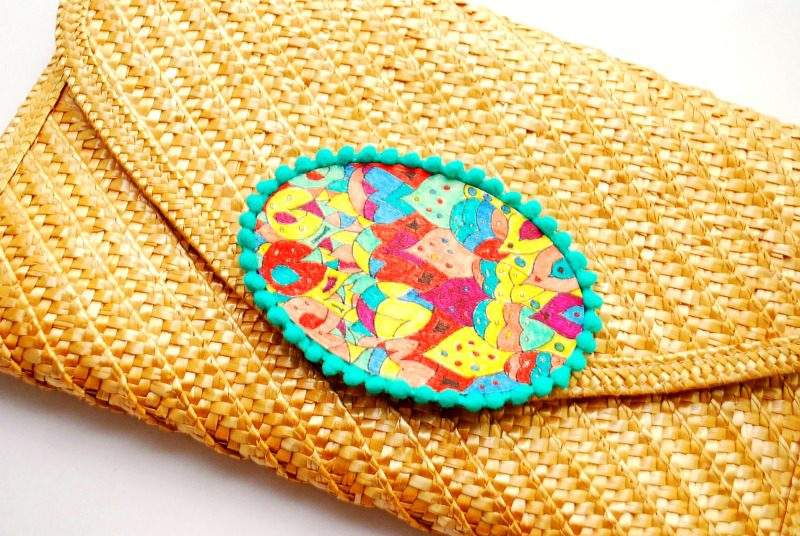
Embellished Clutch Purse
If you’ve gotten into the adult coloring book rage lately, here’s a fun craft to wear the trend. I found this plain straw purse at the thrift store and added a pop of color with my markers and some trim. Here’s an easy way to make an embellished clutch purse, with more ideas at the bottom of the post!
Embellished Clutch Purse
Supplies
- Plain clutch purse (in any fabric)
- Pencil and paper
- Wood shape
- Fine-tip permanent pens
- Mini pom pom trim
- Hot glue
Directions
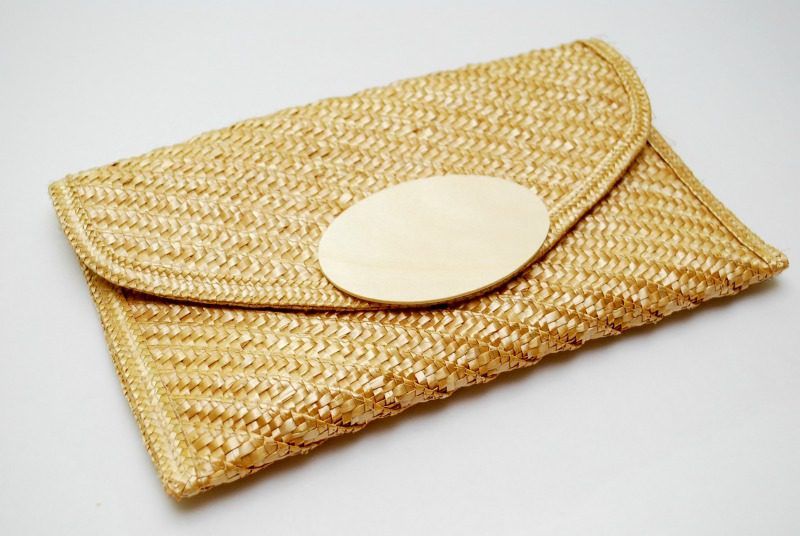
Choose a thin wood shape (available at craft stores) that’s a good fit for your clutch purse. It should be a proportional size and the shape should “go” with the shape of your purse. Since my clutch purse has more rounded angles, I went with an oval shape.
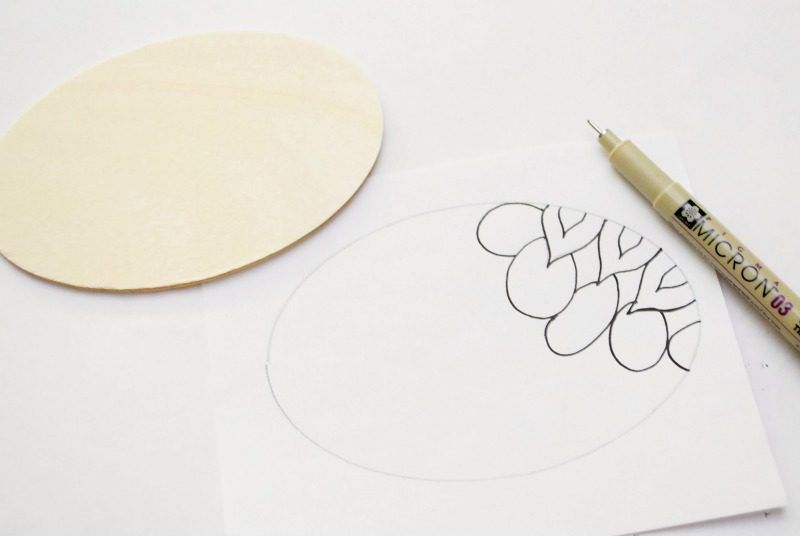
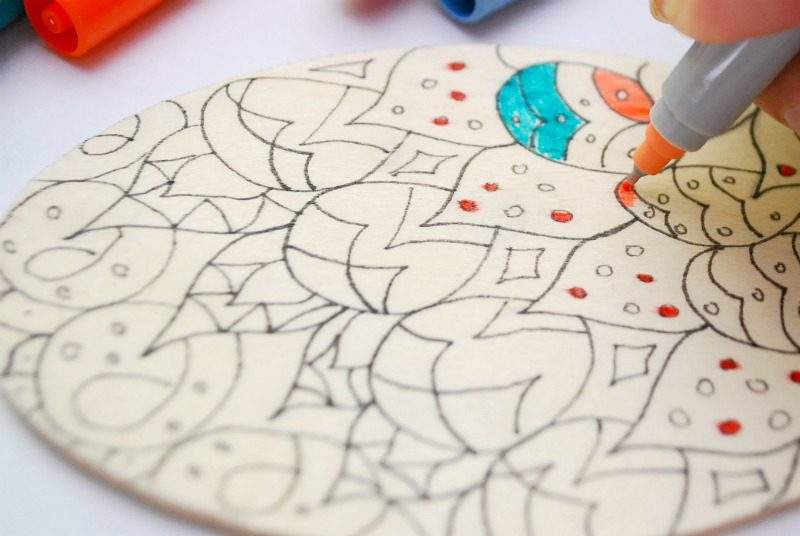
I first wanted to practice my design on a piece of paper. So I traced the oval with pencil and started doodling. You can pretty much do any design you like! Keep trying until you’re happy with your design, whether it’s abstract like mine, or a specific picture. You can use pencil first or go ahead and use your ink pen. I did sort of a zentangle, where I just started doodling and built upon my previous doodles with another row of doodles.
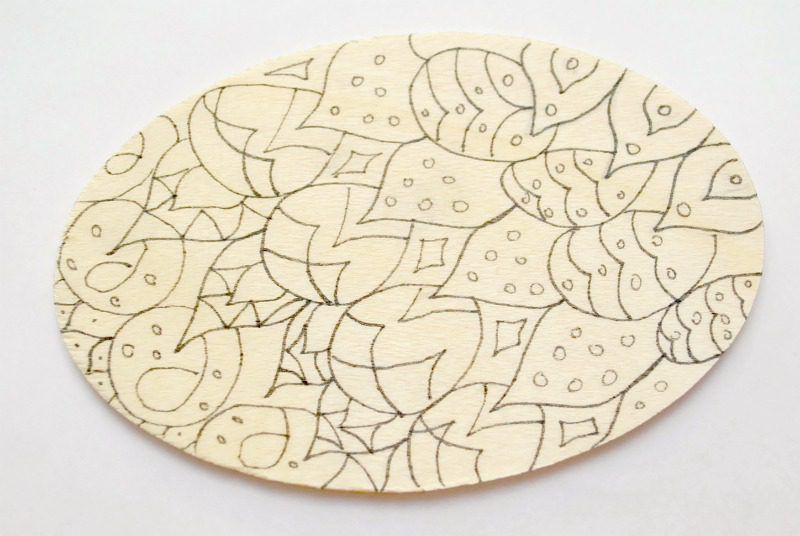
When you’re happy with your design, you can simply copy it onto your wood piece with your pen or you can do an easy transfer method – just rub the back of your paper with a pencil, then place it over your wood piece. Trace your design with a pencil, and the design should transfer over to your wood piece. Then, take your black ink pen and trace over your transferred design. Because I had drawn several of my design, I just free-handed it.
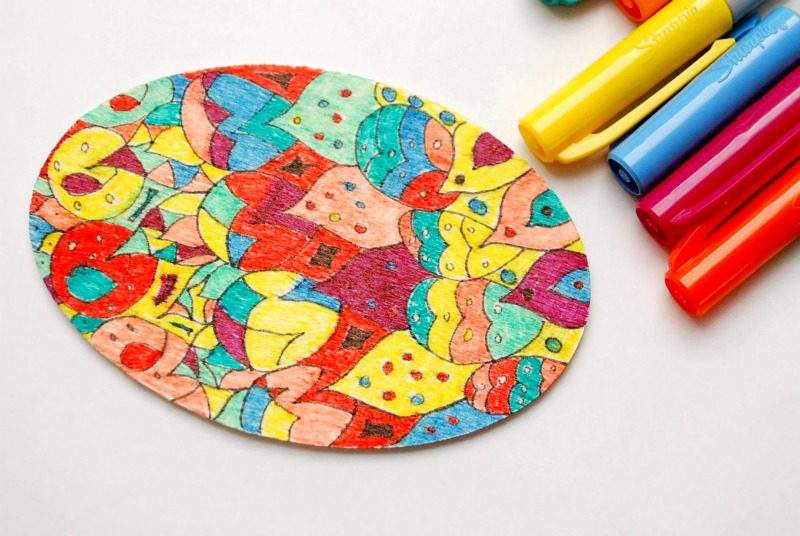
Now it’s time to color it in! Use ultra-fine markers and don’t press to hard or the color might bleed a bit.
That was fun and very relaxing! At this point, you can apply a thin layer of decoupage glue over it to seal it, but I think it should be okay as it is.
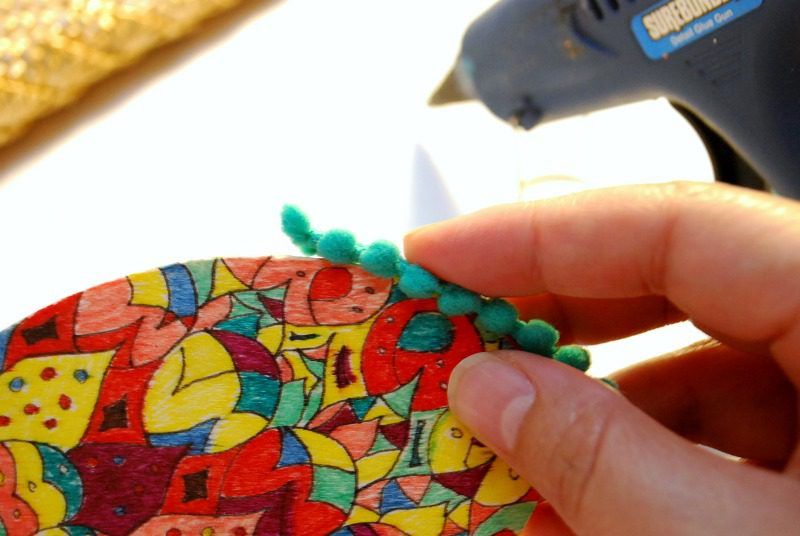
I decided to add some trim to my oval. So I hot glued some mini pom pom trim to the edge. I applied my glue in a thin line, an inch at a time, more towards the back side of the oval. When I pressed the trim onto the edge, I also pushed the glue to the back, so the glue wouldn’t seep to the front.
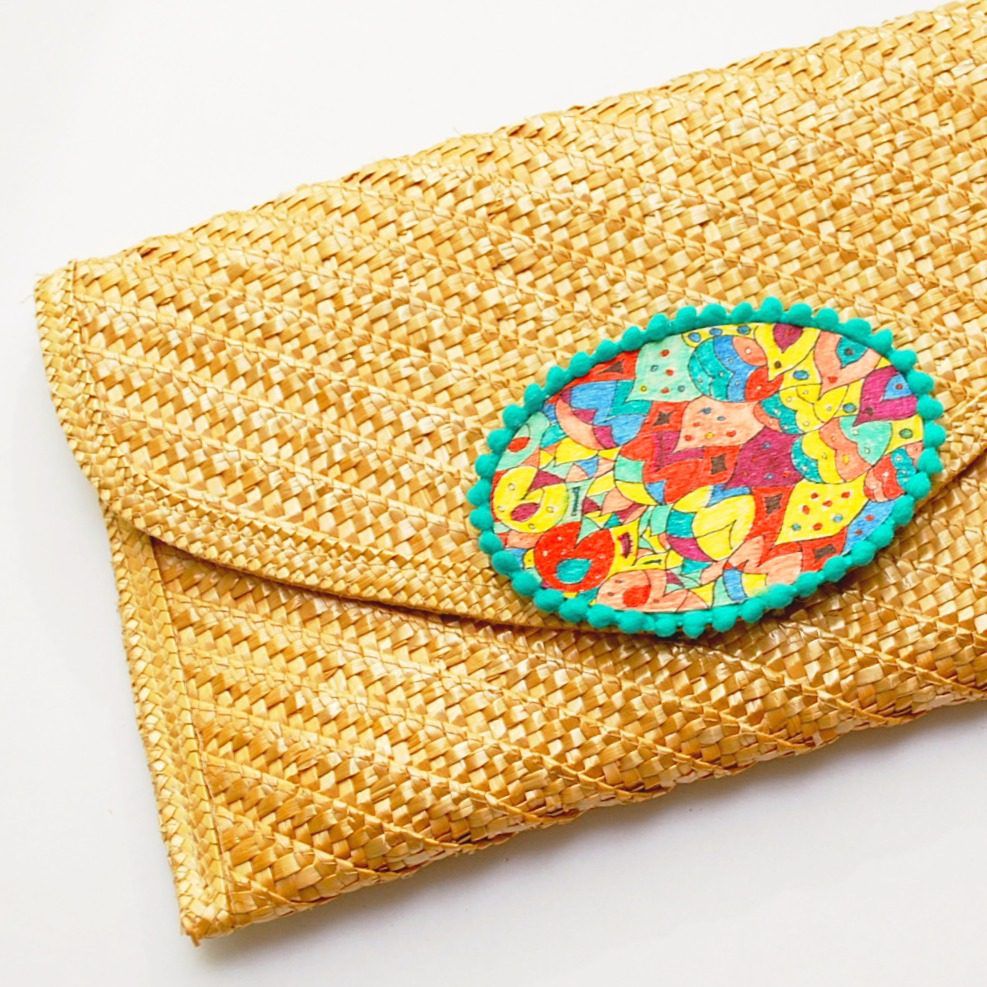
Last step – glue the wood piece onto your clutch!
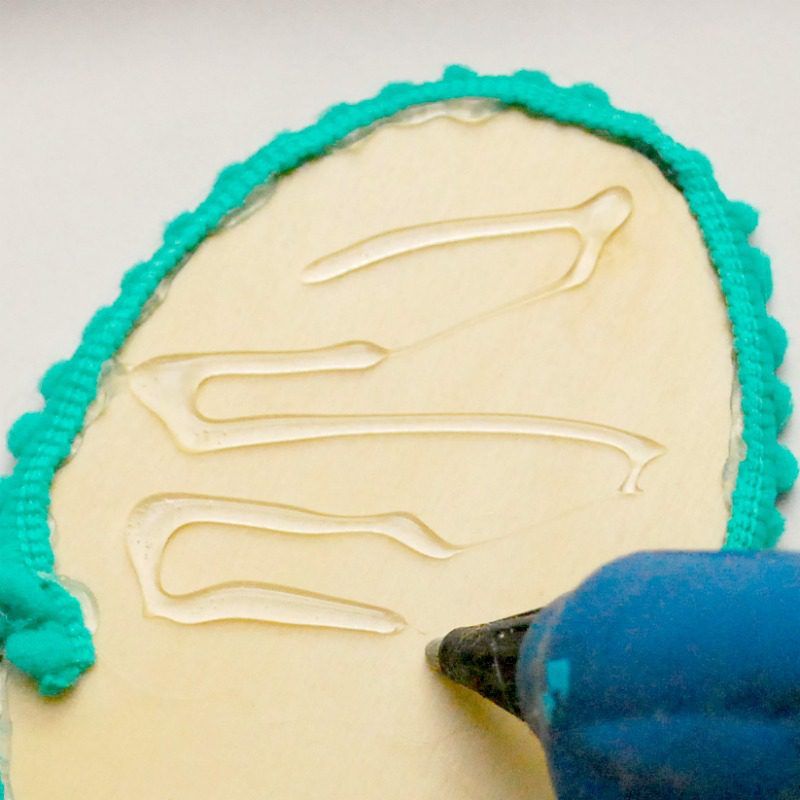
Press it on firmly. See how easy it was to embellish a plain clutch? It was so fun incorporating the zentangle/adult coloring book trend in my purse!
But there are so many other ways to make an embellished clutch purse. You could decoupage some paper or fabric onto the same type of wood piece, or use acrylic or chalk-based paints to paint some bold stripes or use a stencil. You could also carefully and neatly glue twine to the front, whether in a swirl from the outside in, or in more elaborate designs and different colors. As for trims along with your wood shape, you can make tassels and glue them so they hang beneath the wood piece. And to attach the purse, instead of gluing, you could drill some small holes into your wood piece, and use leather cording to attach it. What would you do?
I am going to keep my eye out for more plain purses at the thrift store. I am always surprised to find nice ones in good condition. Plain clutch purses come in all shapes and sizes from so many different eras so let that be your guide as well when you start embellishing. Have fun!
Thanks Melanie for having me on the blog again! -Steph @ The Silly Pearl
Like this craft? You might also love…
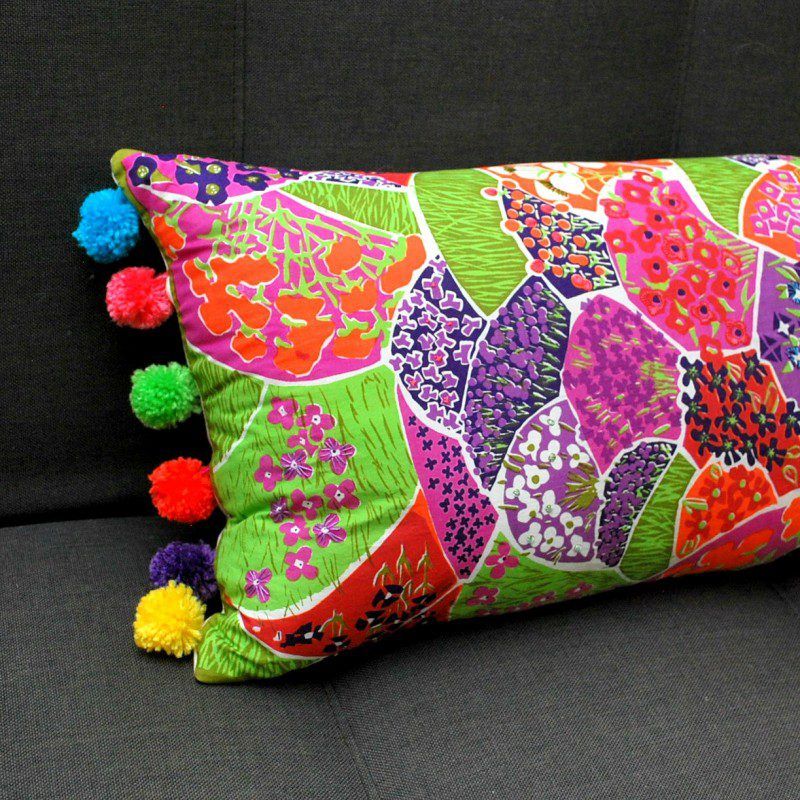
Vintage Scarf Lumbar Pillow
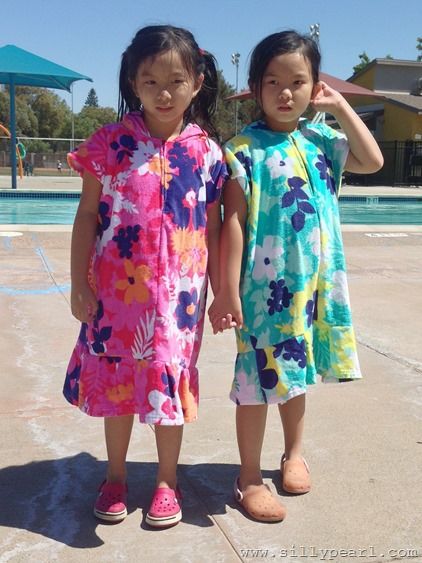
DIY Swim Cover Up