Customize Party Printables in PicMonkey in like, 5 minutes! #seriously
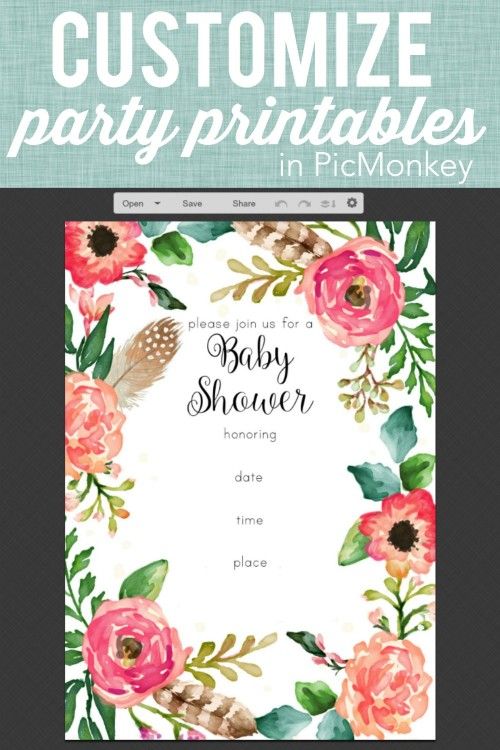
So, you’ve found some amazingly awesome party printables or party invitations that SAY you can customize with your own details, but you have no idea how to do it! It’s a very simple process that ANYONE can do! Here’s how simple it is to customize party printables in PicMonkey!
I’m using a sample from My Fabuless Life that is a free download for ya – go check it out on her site!
Head on over to PicMonkey.
Select “EDIT” and choose the file you downloaded from your favorite site.
(Need some cute invites to choose from? I’ve rounded up 13 of my favorite customizable invitations and you just might find a favorite in the list! )
Back on track, head on over to PicMonkey.
Choose EDIT and upload the .jpg invitation file you downloaded.
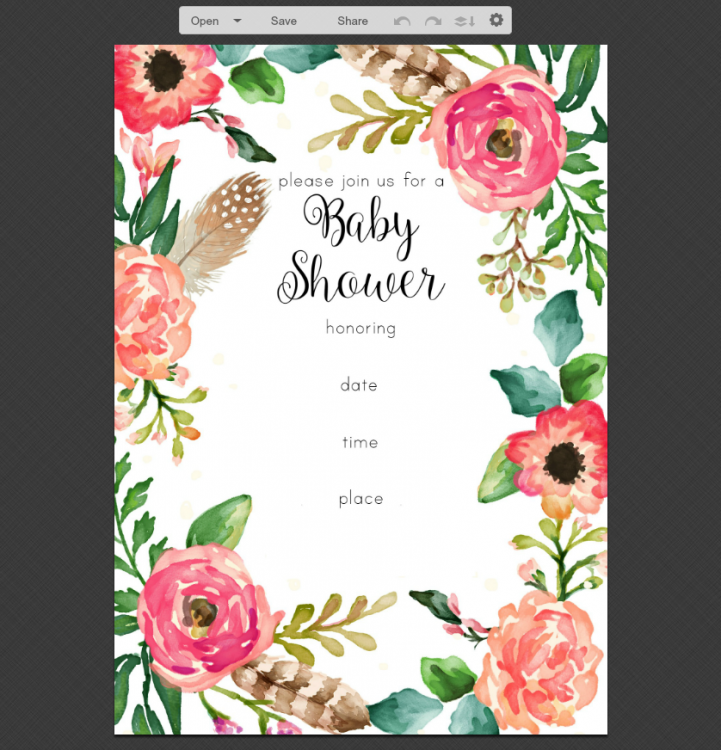
With your invitation open, choose “Tt” on the sidebar to bring up the fonts.
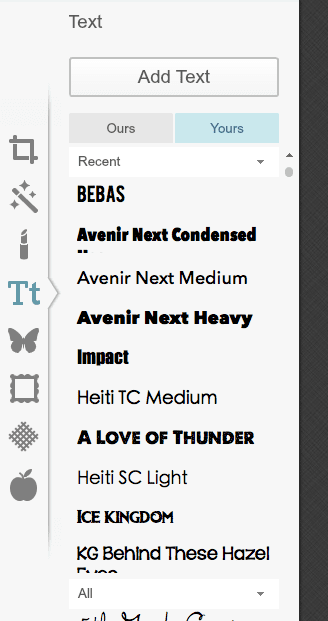
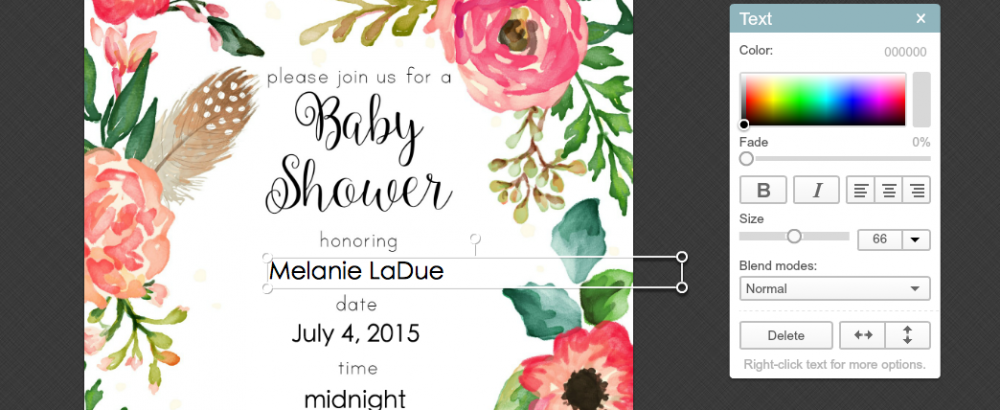
Select a font and choose “Add Text” and you’ll get your text box layer. Type your text and move the box where you want the text to end up.
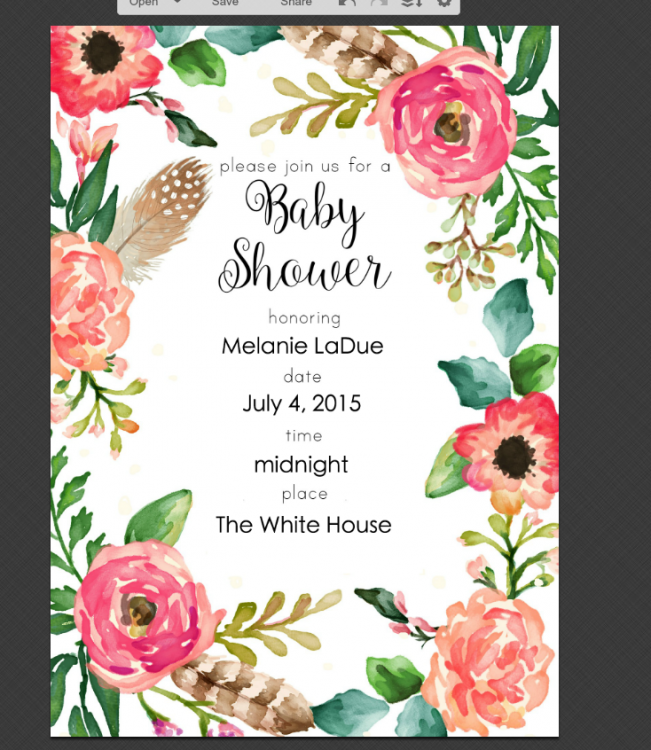
When you’re all done customizing save the file to your computer and print! You have to save the file first, then open it and print it (I recommend using cardstock!)
Have you ever tried to customize your own invitations? So much fun and so much easier than using store bought invitations!
I am a fan on not having to write out 25 invitations!

Great tutorial – and I love those pretty floral invites!! Love your midnight baby shower at the White House. Hope my invite is in the mail 😉
Thank you Keri! Glad someone sees my funnies!
I love Picmonaey but have never thought about customizing free printables! Thanks for the idea! Great tutorial on how to do it!