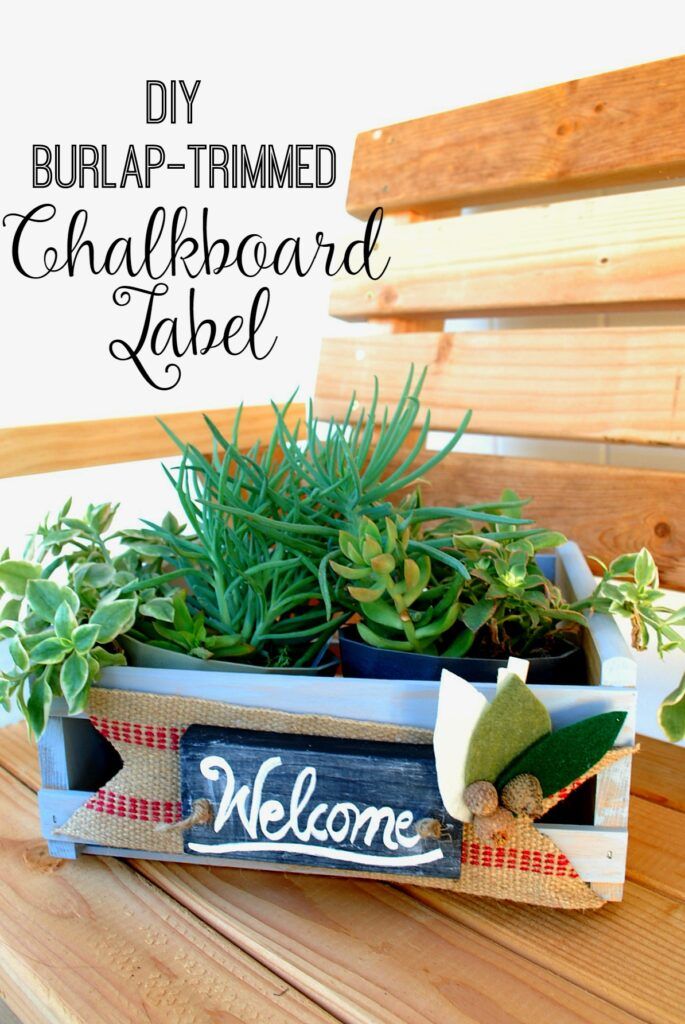
Hello friends! Steph @ The Silly Pearl here for another quick tutorial! Today I’m sharing how to DIY a Burlap-Trimmed Chalkboard Label, that you can switch up with the seasons. Right now it’s still in winter mode but it’s easy to change up for the next holiday. Use this label for decor or to dress up your storage boxes.
Supplies:
- Wooden crate, painted if desired
- Burlap trim or upholstery webbing
- Scrap piece of wood (plus additional scraps)
- Drill and drill bit
- Chalkboard paint
- Paint brush
- Twine
- Scissors
- Chalk
Directions:
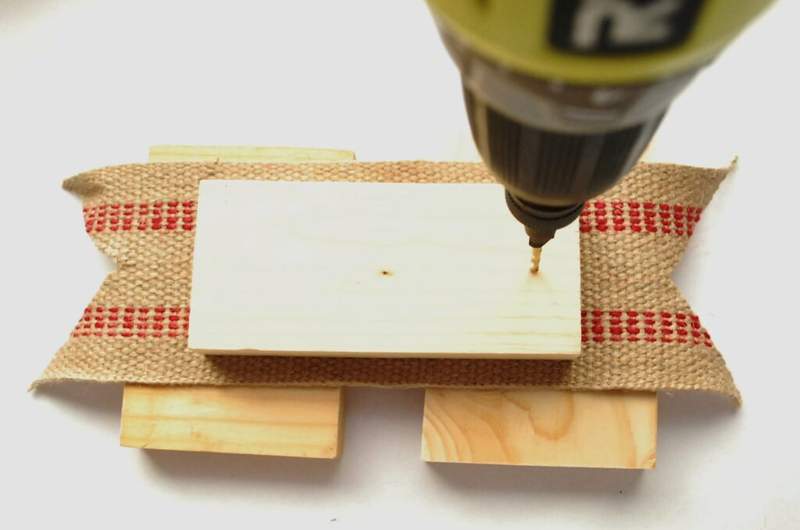
Cut out your burlap (I used upholstery webbing) to about the same length as your wooden crate. Trim the ends with scissors if you like. Then, place it on top of some scrap wood. Center another piece of scrap wood that’s smaller than your fabric, on top. Drill two holes in the center of each short side. Go through the wood and the burlap, but don’t go through the scrap wood underneath all the way, or you may damage your work surface.
Paint the wood piece with chalkboard paint. I did two coats. Allow to dry.

Thread some twine through the hole you drilled in the fabric (you can widen the hole if necessary with scissors). Then, thread the twine through one of the holes in the wood piece, from the back.
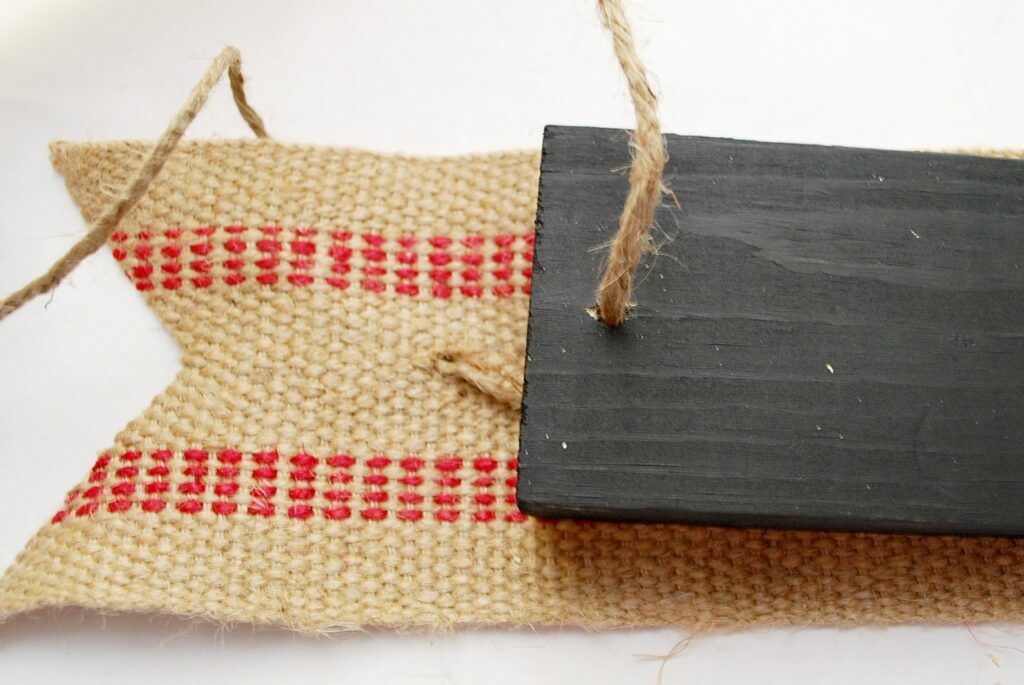
Tie a bulky knot and trim off the excess twine, leaving about an inch.
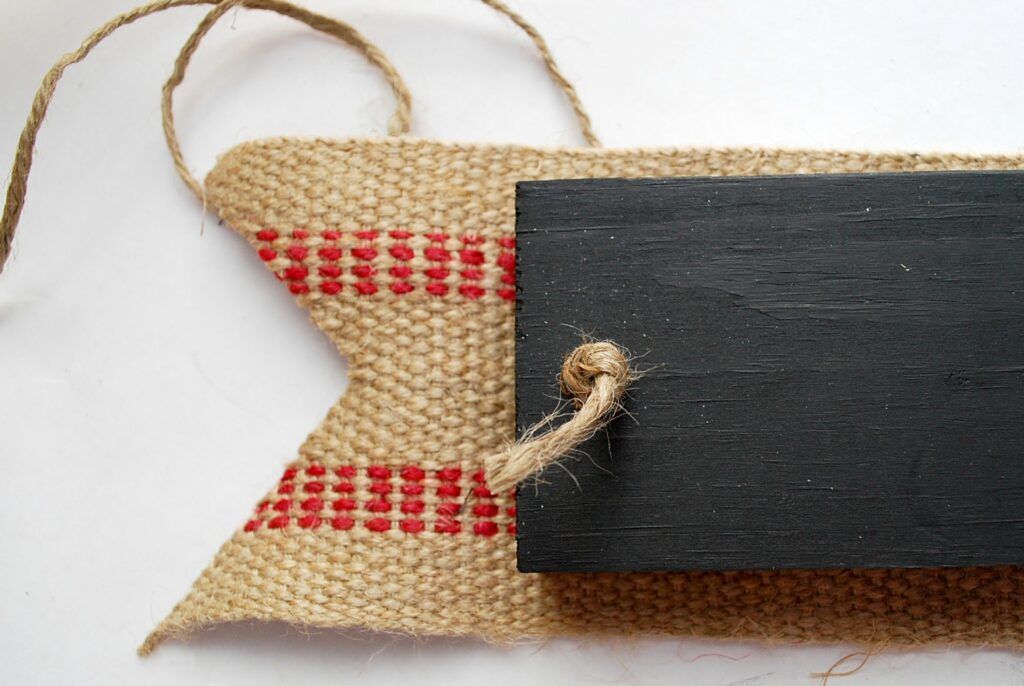
Take the other end of the twine and wrap it around the slats of your wooden crate (note: I added these two slats so I’d have something to tie my twine around! All I did was hot glue two pieces of scrap wood to the inside).
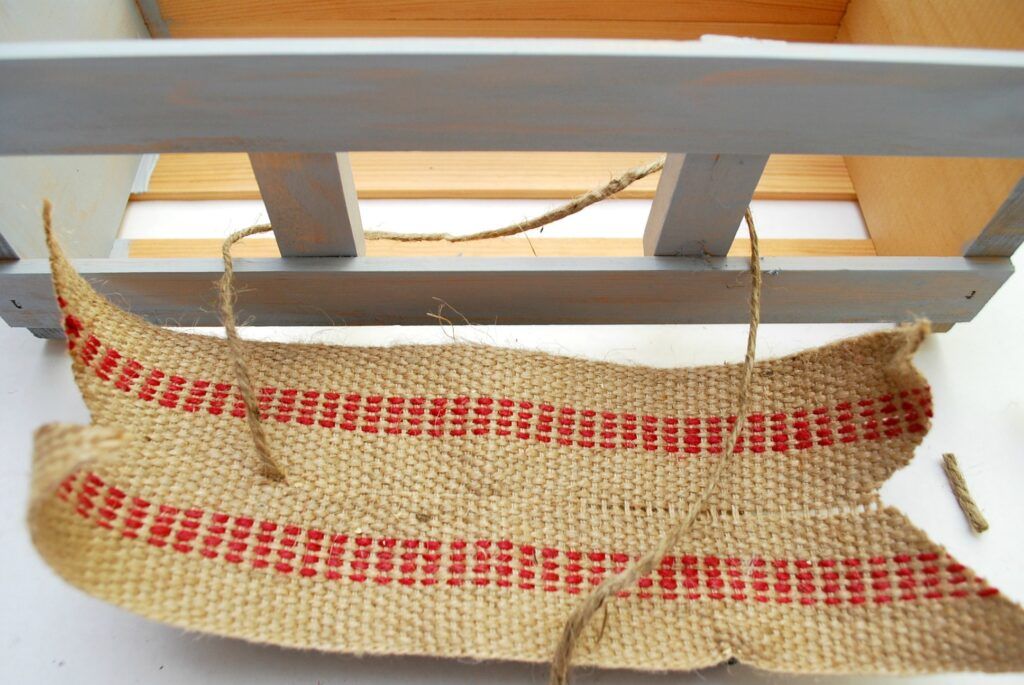
Insert this end of the twine through the fabric and the wood, as before, pulling it taught, and tie a knot.

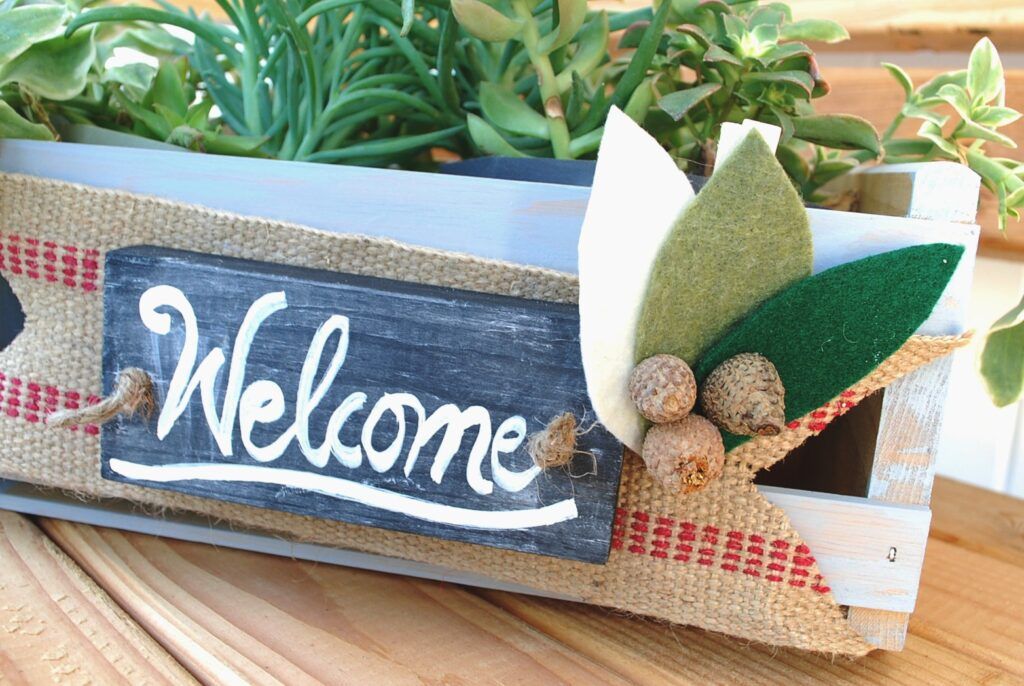
Condition the chalkboard paint by rubbing the side of a piece of chalk all over the surface, and wiping with a cloth. You can write whatever you like and change your message when it’s time. I also made a super easy clip with some felt leaves and acorn caps hot glued together, then I hot glued it all onto a clothes pin, which I clipped to one end of the burlap. Come Valentine’s Day, for example, I can switch it to a heart clip and change the message on the chalkboard.
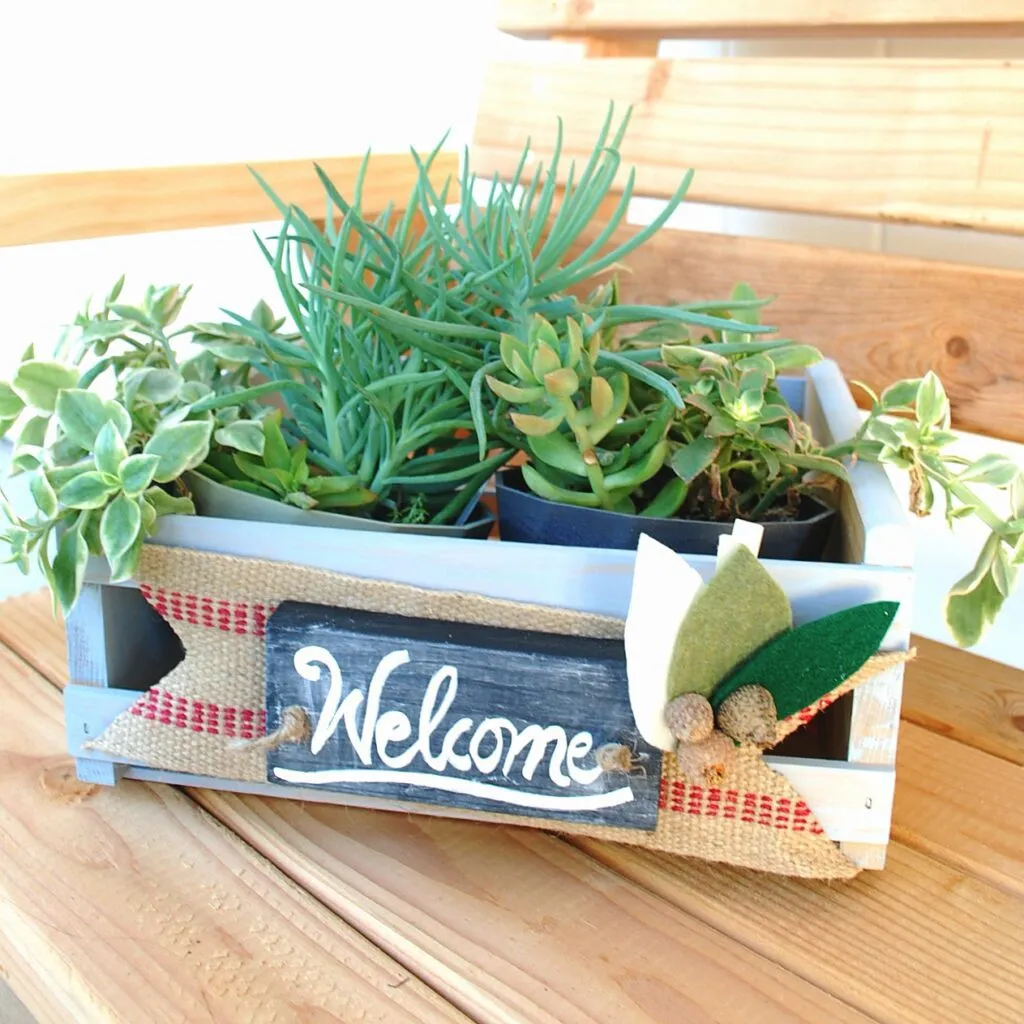
My crate is filled with succulents i.e. the only plants I don’t kill (knock on wood) and welcomes my guests at the front door. Add one of these burlap chalkboard labels on your crates that you use for both decor and for storage!
Come on by The Silly Pearl for more crafts that carry you from one season to the next:
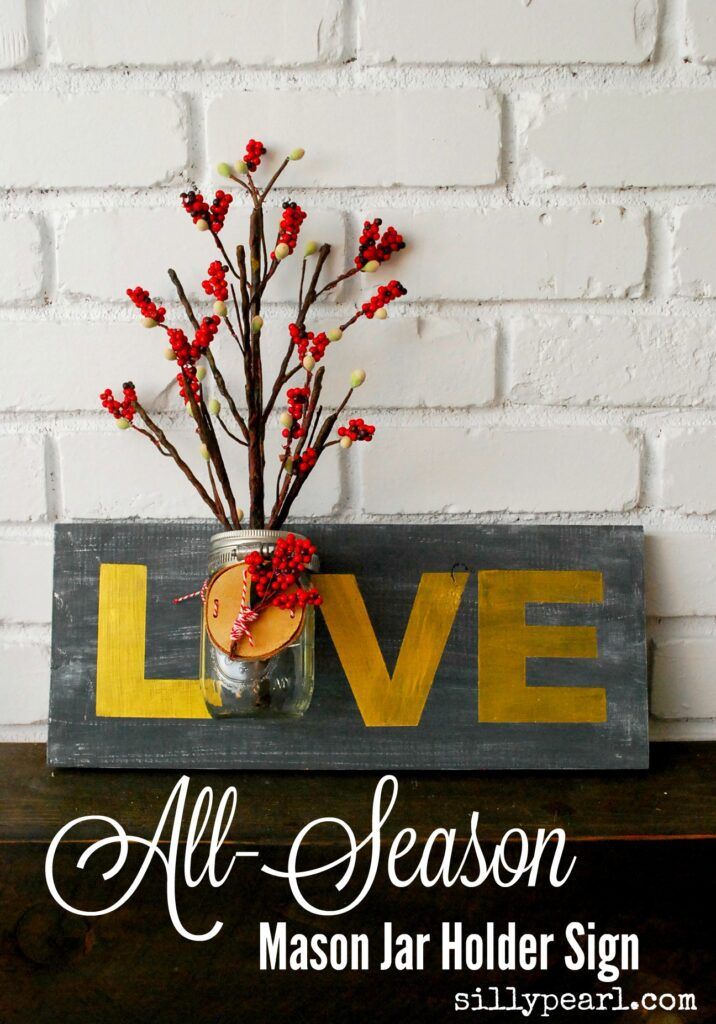
Mason Jar Sign for All Seasons
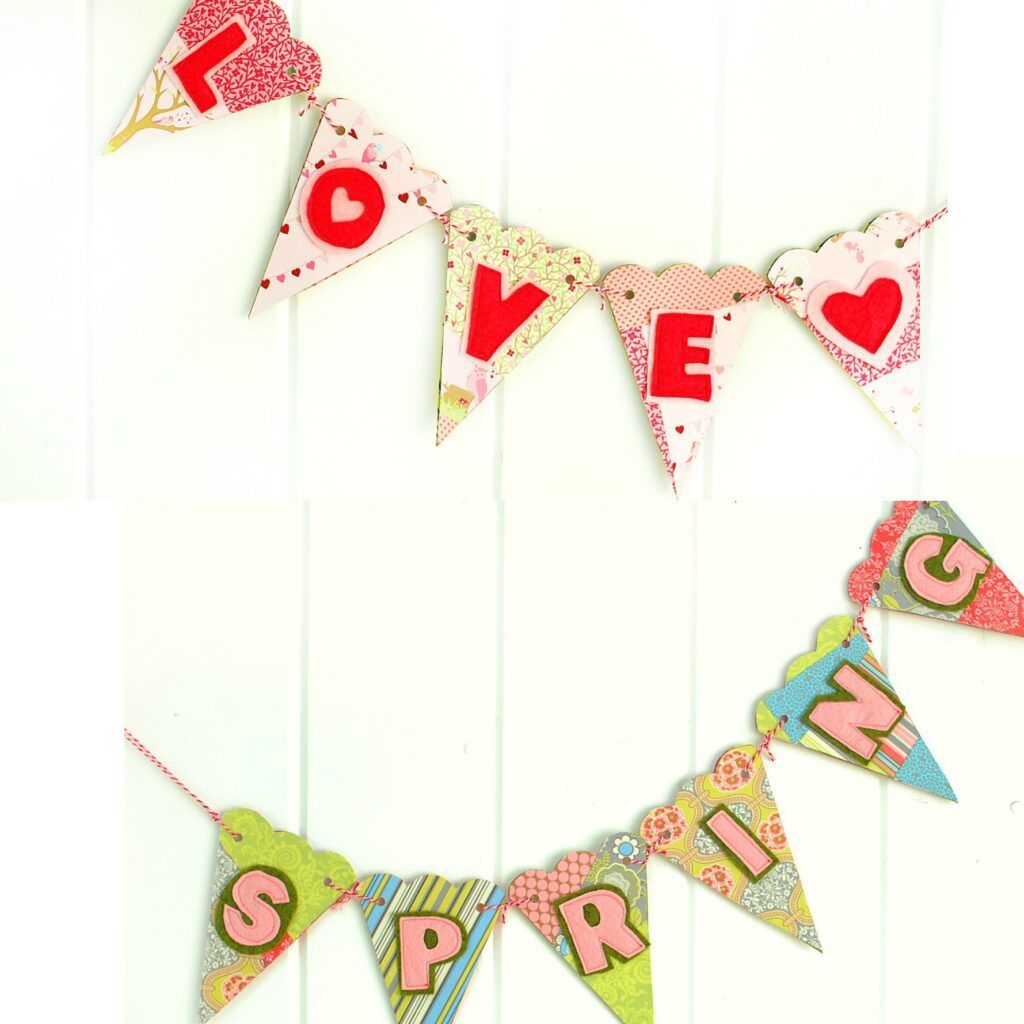
Valentine’s Day to Spring Reversible Banner
Thank you Melanie for having me on the blog again today. Happy New Year! – Steph