Jessi here, with another fabulous craft to share with you, just in time for Mother’s Day! Mother’s Day is all about how awesome our mothers are, and what better way to show how much we love them and care about them than with a handmade Mother’s Day card?!

These cards are super simple to make, and you can completely customize them with fun colors or patterns on the papers you choose!
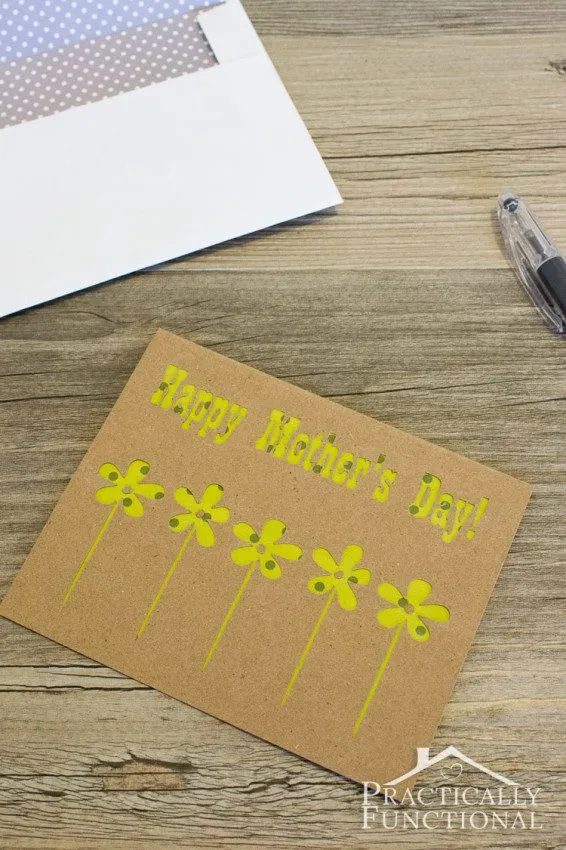
Handmade Mother’s Day Card
Here’s what you need to make your own handmade Mothers’ Day card:
- cardstock or kraft paper for the base card
- colored or patterned paper for the see-through background
- glue stick
- a Silhouette Cameo (or an Xacto knife)
- washi tape
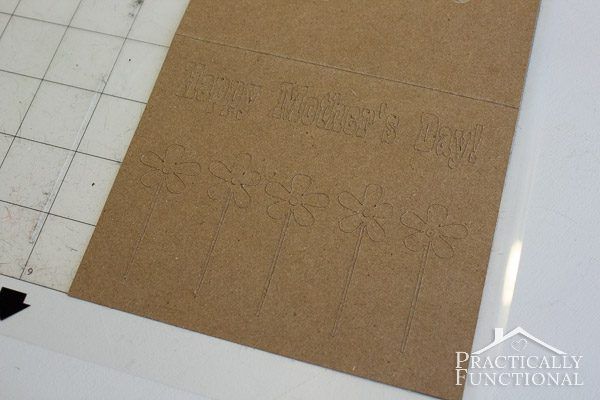
Start by creating the base of the card itself. This card is 5″ x 4″, so I cut a rectangle out of my kraft paper that was 5″ x 8″ (twice as long as your finished card so you can fold it in half).
Then pick a design for your card. If you want to use the design I used, you can download the free Silhouette cut file or a PDF template for cutting it out by hand below:
Cut the design out of the “front” of your card using your Silhouette or an Xacto knife.
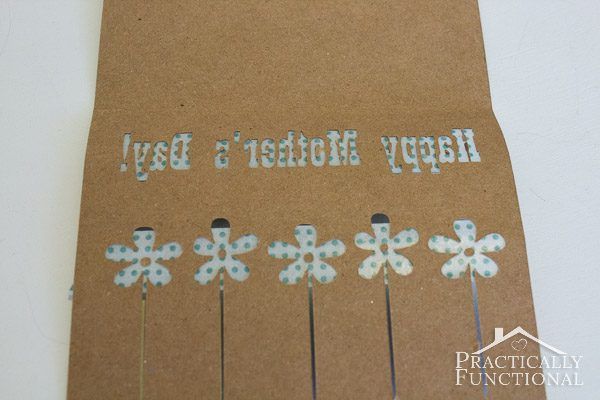
Next you want to remove your cut out pieces. Be careful here, because you want to keep the dots in the centers of the “a”, “e”, “p”, etc. in place. The easiest way to do this is to put a piece of washi tape over the front of the letters, completely covering them from left to right and top to bottom. Put another piece of washi tape across the entire card, over the center of the flowers.
Then remove your card from the cutting mat; all of the flowers and cut letters should come up with it because of the washi tape on the front. If there are a few stubborn pieces, just gently scrape them up off the mat as you remove the card so they remain stuck to the washi tape.
Once the card is off the mat, remove the flowers and letters, but leave the little dots in the centers of the letters and flowers attached to the washi tape. Basically you’re using washi tape as “transfer tape” to hold the separate pieces all in place while you assemble the rest of the card!
Next, cut a rectangle out of the colored or patterned background paper that is slightly smaller than the dimensions of the “front” of your card.
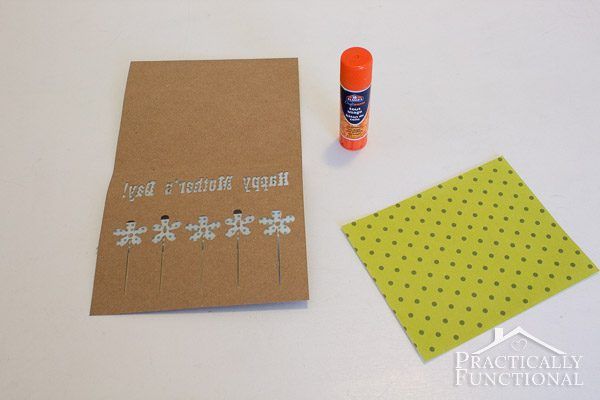
Using your glue stick, apply a generous amount of glue to the entire front of the piece of paper (the patterned or colored side), then flip the paper over and place it face down on the “inside” of the card, covering the cut out flowers and letters completely.
Press the paper firmly down into the card, making sure to get all corners and edges.
Then flip to the “front” of the card and gently peel away the washi tape. The little dots in the centers of the letters and flowers should stick to the glue on the colored or patterned paper and you should be able to remove the washi tape without any issues! If you do have a stray dot or two that comes up with your washi tape, just run the dot over the top of the glue stick and manually place it back on the card where it goes. It’s a little tedious to do the whole thing this way, but it works well if you have a few strays!
Wait a few minutes for the glue to fully dry, fold the card in half, and you have your very own handmade Mother’s Day card!
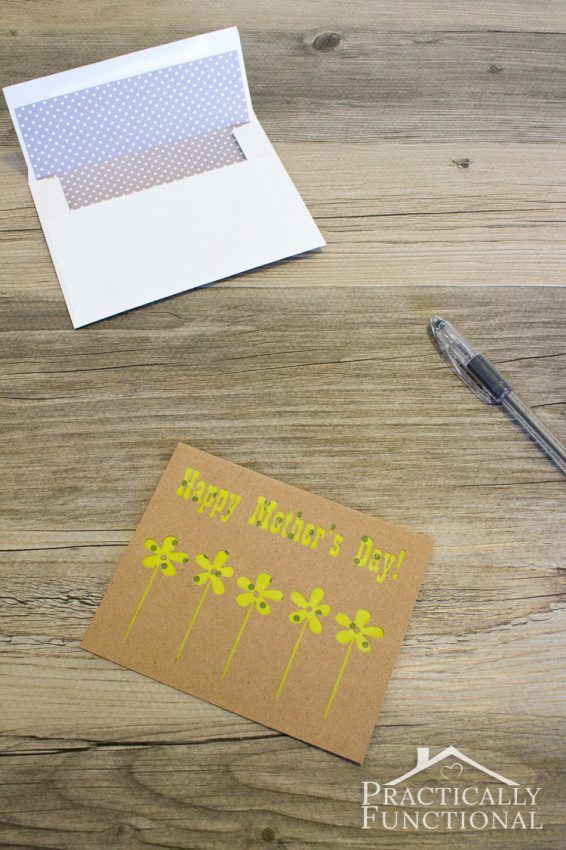
Bonus: If you want to fancy up a plain envelope, cut a rectangle from colored or patterned paper that is just slightly skinnier than the width of the envelope, and tall enough to cover the entire inside, plus up onto the flap. Make sure it’s not so tall it covers up the sticky closure part at the top of the flap! Use a glue stick to cover the back of the paper in glue, then slide it inside the envelope and press down firmly everywhere. Now your envelope has a little liner that gives it a fun pop of color!
What’s your favorite Mother’s Day gift you’ve ever given or received?
If you’re looking for more great Silhouette project ideas, you can find a ton over on my blog!


Decorate A Watering Can With Vinyl

DIY Canvas Tote Bag with heat transfer vinyl
Feel free to stop by Practically Functional for a visit anytime, or follow along through social media! I’d love to see you there!

![]()
![]()
![]()
![]()