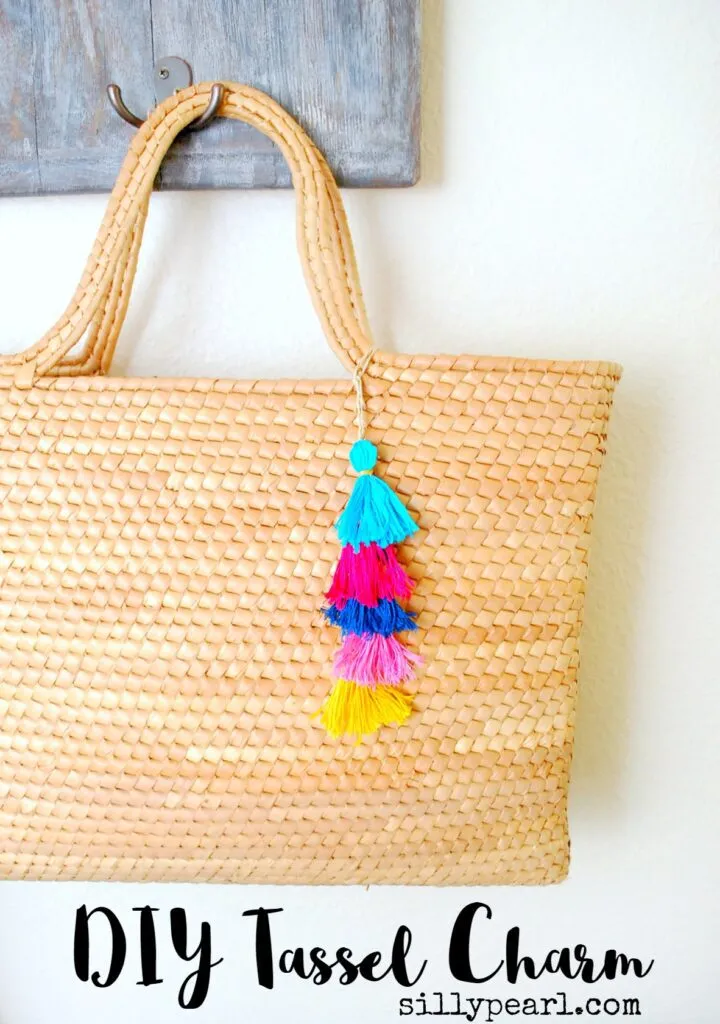
DIY Tassel Charm
Raise your hand if you’re obsessed with tassels! I think they’re so charming. So a tassel charm is doubly-cute! But not just one tassel, I have five (so does that make it ten times more charming?)! But you stack up as many as you like to make this DIY Tassel Charm to hang on your tote or in your home. Here’s how to make it!
Supplies
- Embroidery floss
- Piece of cardboard
- Scissors
- Anti-fraying glue
- Hemp twine
- Tapestry needle
Directions
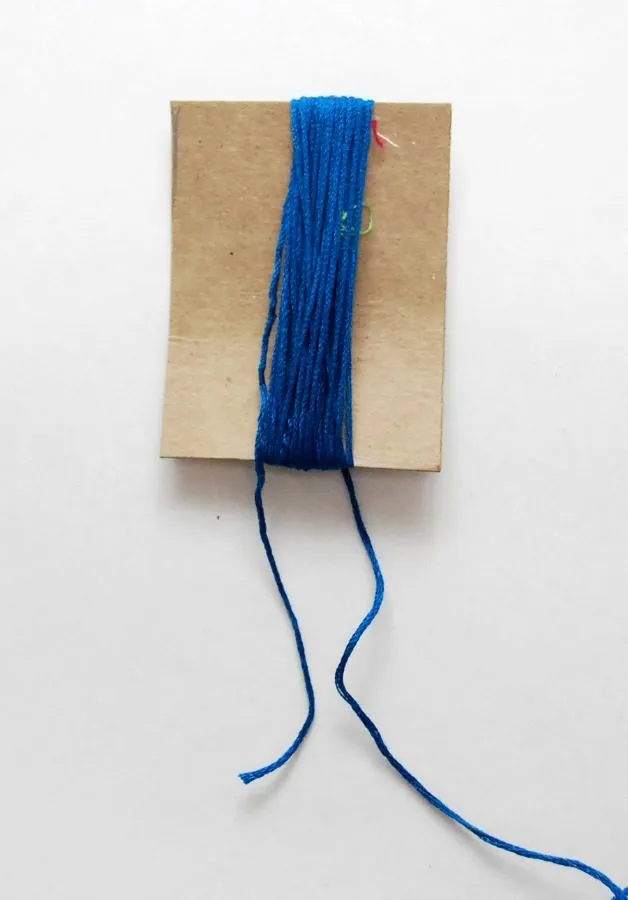
Here’s how to make a quick tassel. Cut a piece of cardboard in the length you’d like your tassel. Mine is about 3 inches long. Wrap embroidery floss around the cardboard. I wrapped it around 30 times. When you finish, make sure both ends are pointing the same direction.
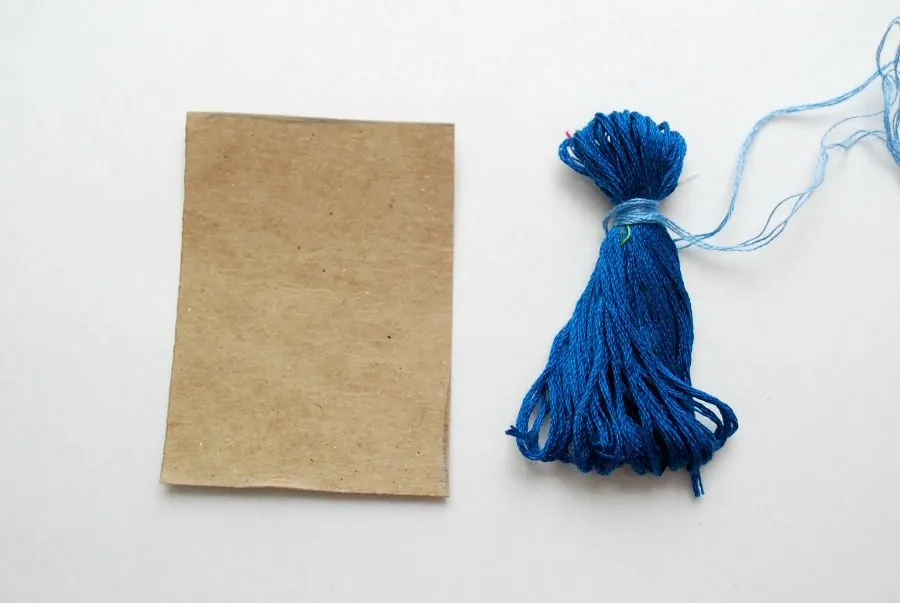
Carefully slip the looped thread off the cardboard and take another piece of embroidery floss. Tie it tight around the top, wrapping it around several times. Trim the ends and add a dab of anti-fraying glue (or your kiddo’s white glue should be fine too!).
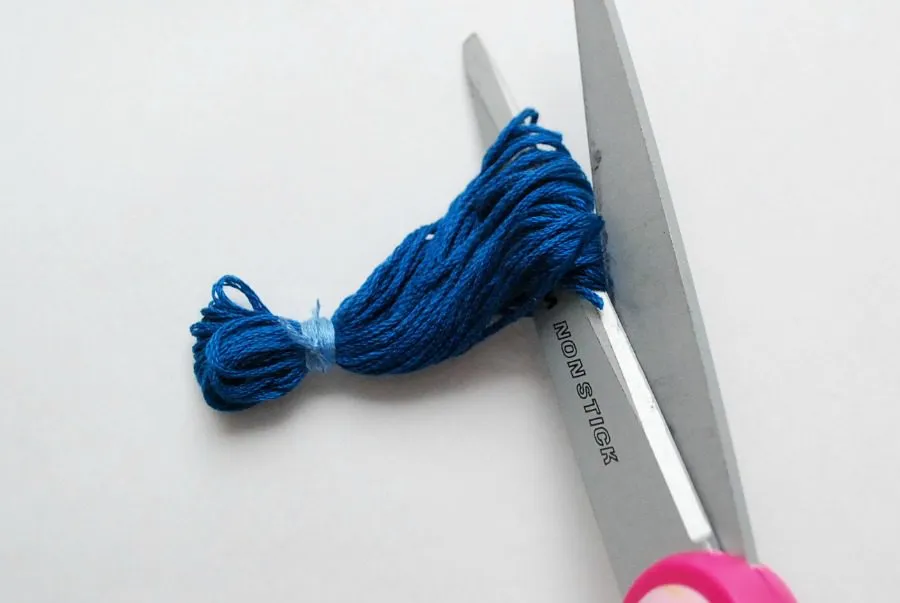
Insert scissors through the bottom end to cut the loops so you have your fringe. Then cut across the ends so the strands are even. All done making the first tassel!
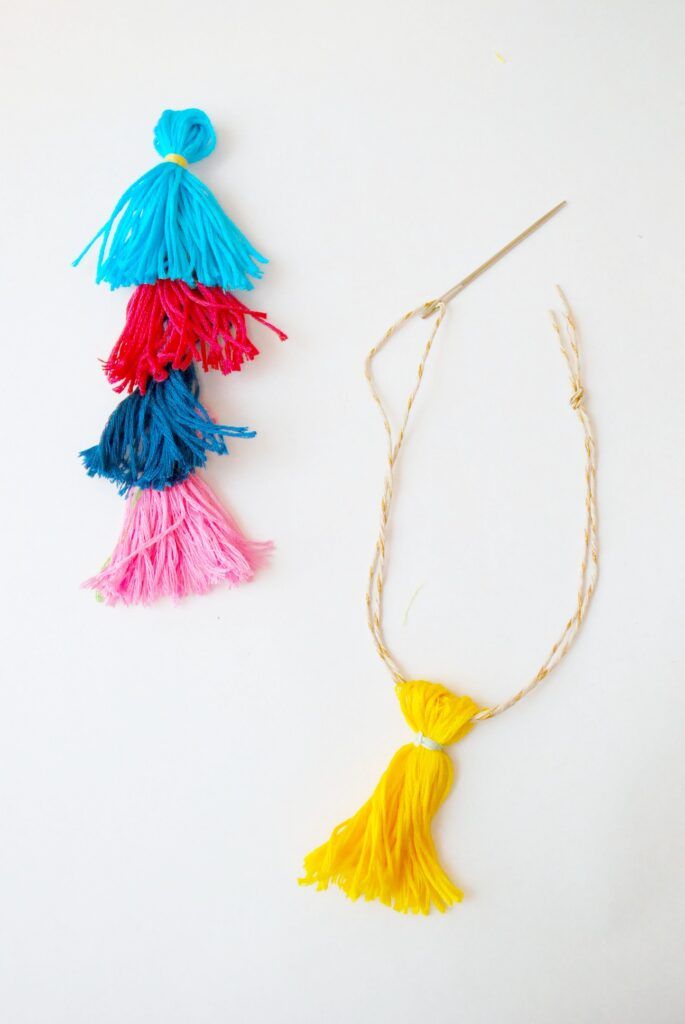
When you’ve made all of your tassels, put them in the order you’d like them to be. Start with the bottom tassel. Thread a piece of thin twine (hemp twine works great) through a tapestry needle and tie a knot at the end. Thread the needle through the top loop of your tassel.
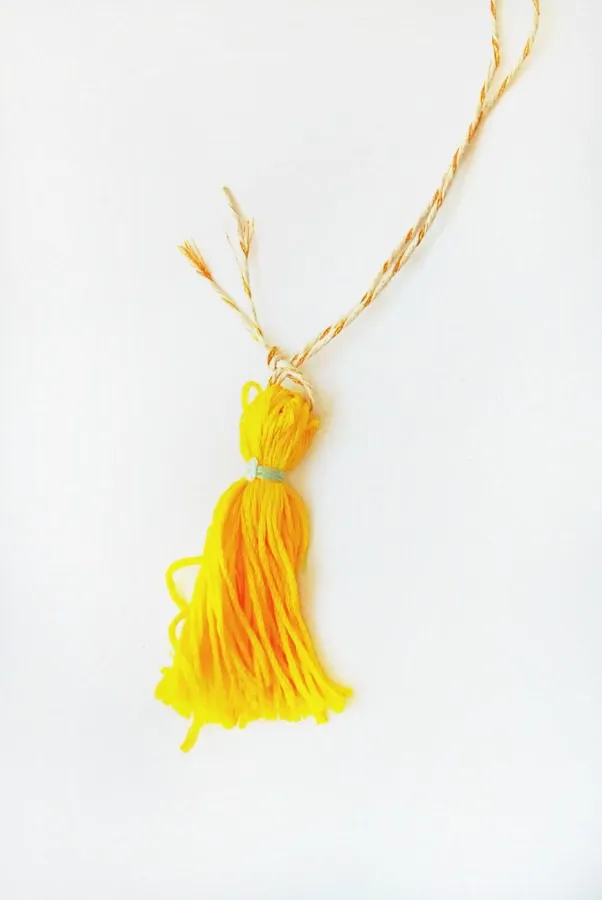
Then, thread the needle through the other end of the twine and pull so the knot is on top of the tassel. Trim the ends of the knot and add a dab of glue to secure the knot.
Now take the next tassel up and thread the needle through from the bottom up out the top. Then, push the tassel all the way down so the fringe covers the loop of the tassel below it.
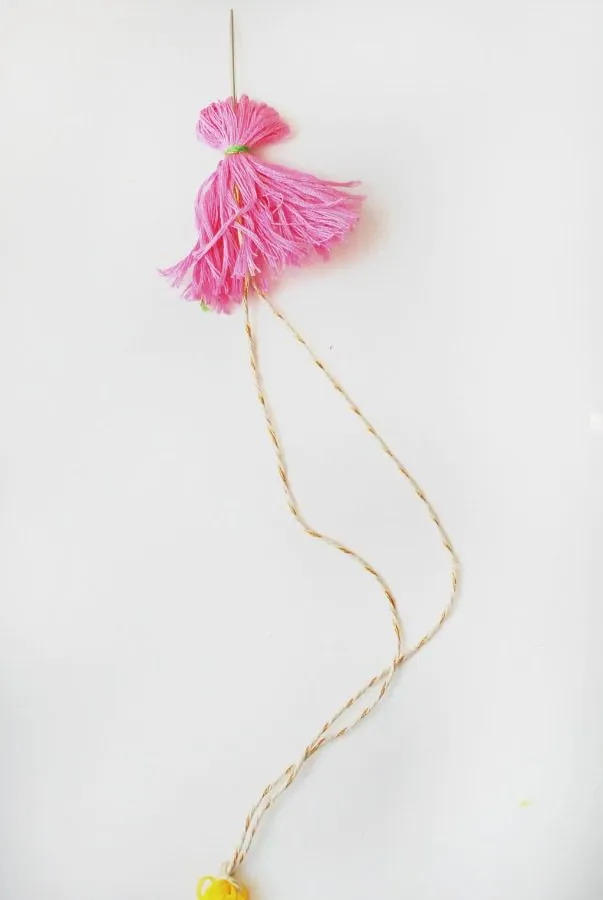
Repeat with the rest of the tassels, and trim off the end with the needle.
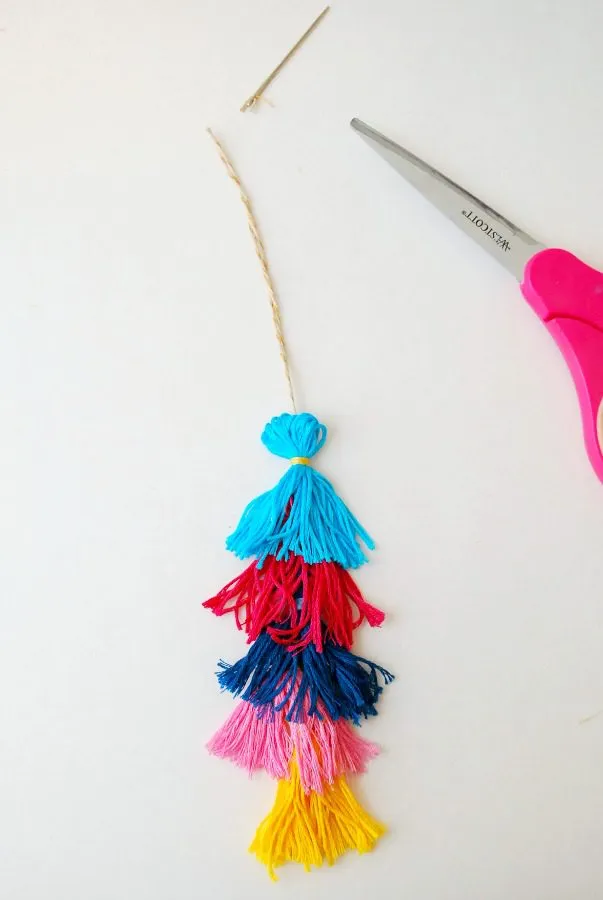
Tie a knot at the top and add a dab of glue to the knot. Tuck it into the loop of the top tassel. Trim off the ends. Note: this twine will not be used for hanging. We’ll add another length of twine for that in the next step.
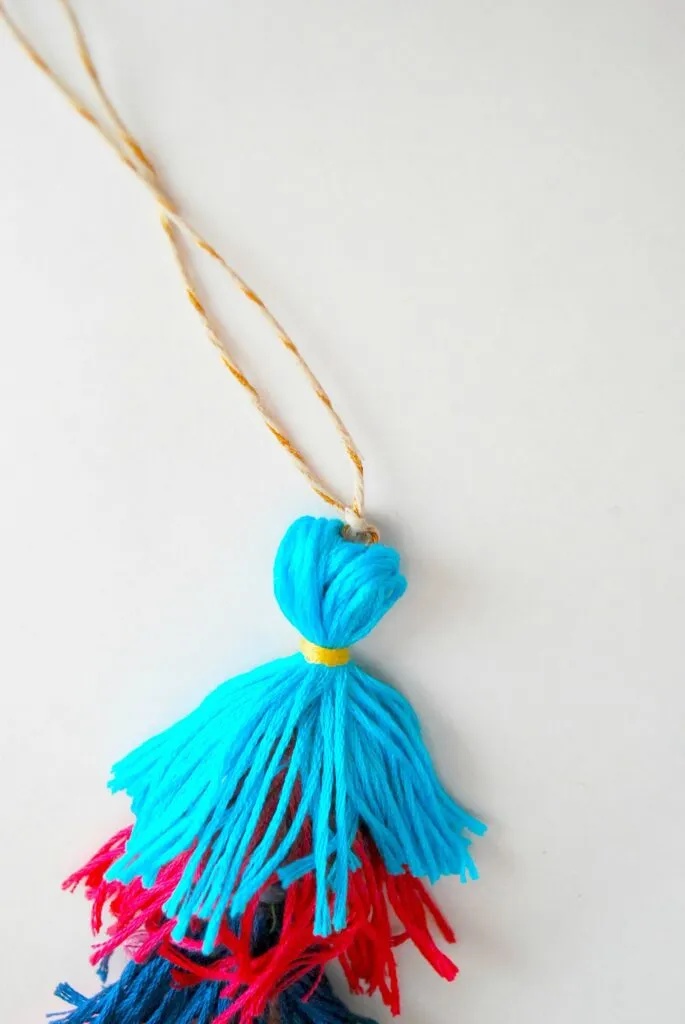
Thread another length of twine and tie a knot. Thread it through the loop of the top tassel, and then thread the needle trough the other end of the twine, as before, and pull until the knot is at the tassel loop. Trim off the end by the knot.
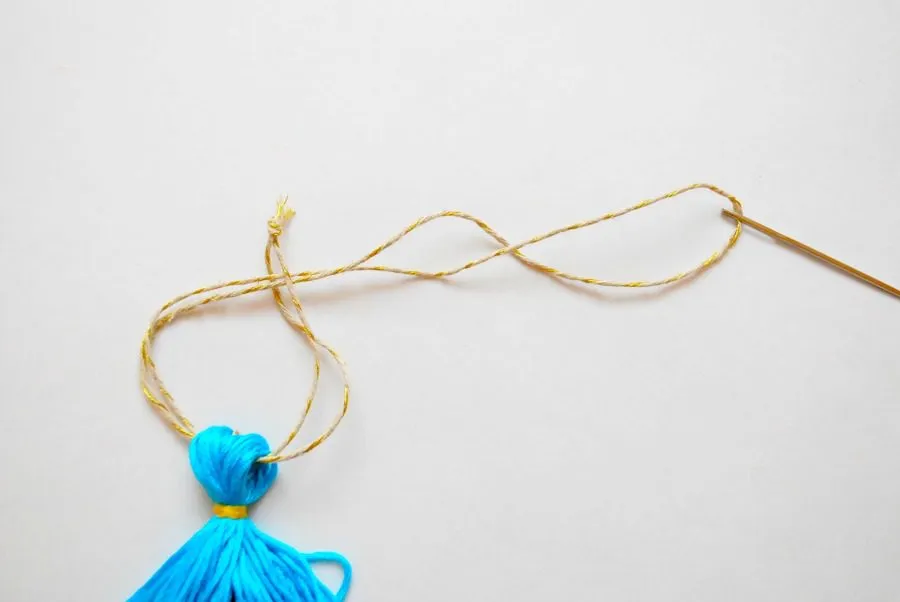
Then, push the knot into the tassel loop. Again, use glue to secure.

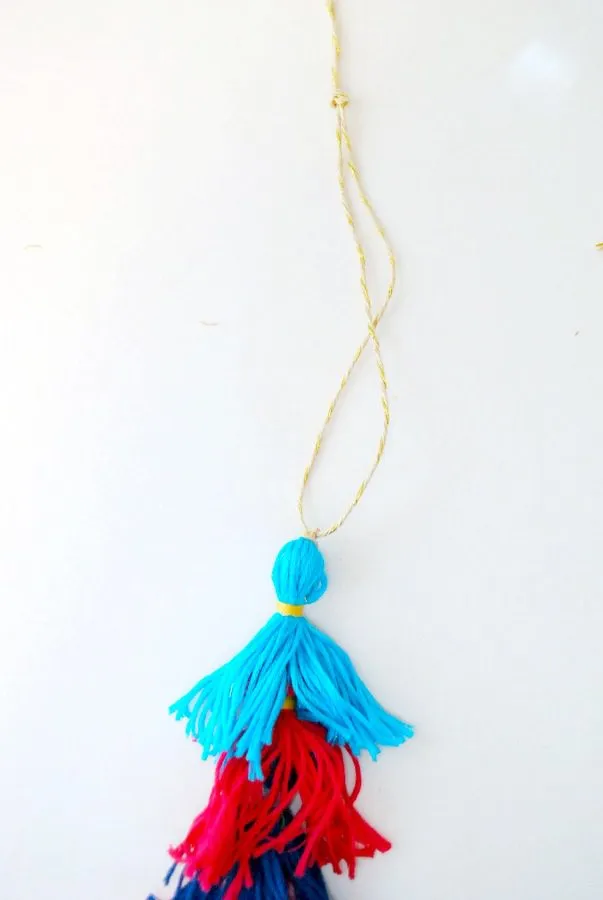
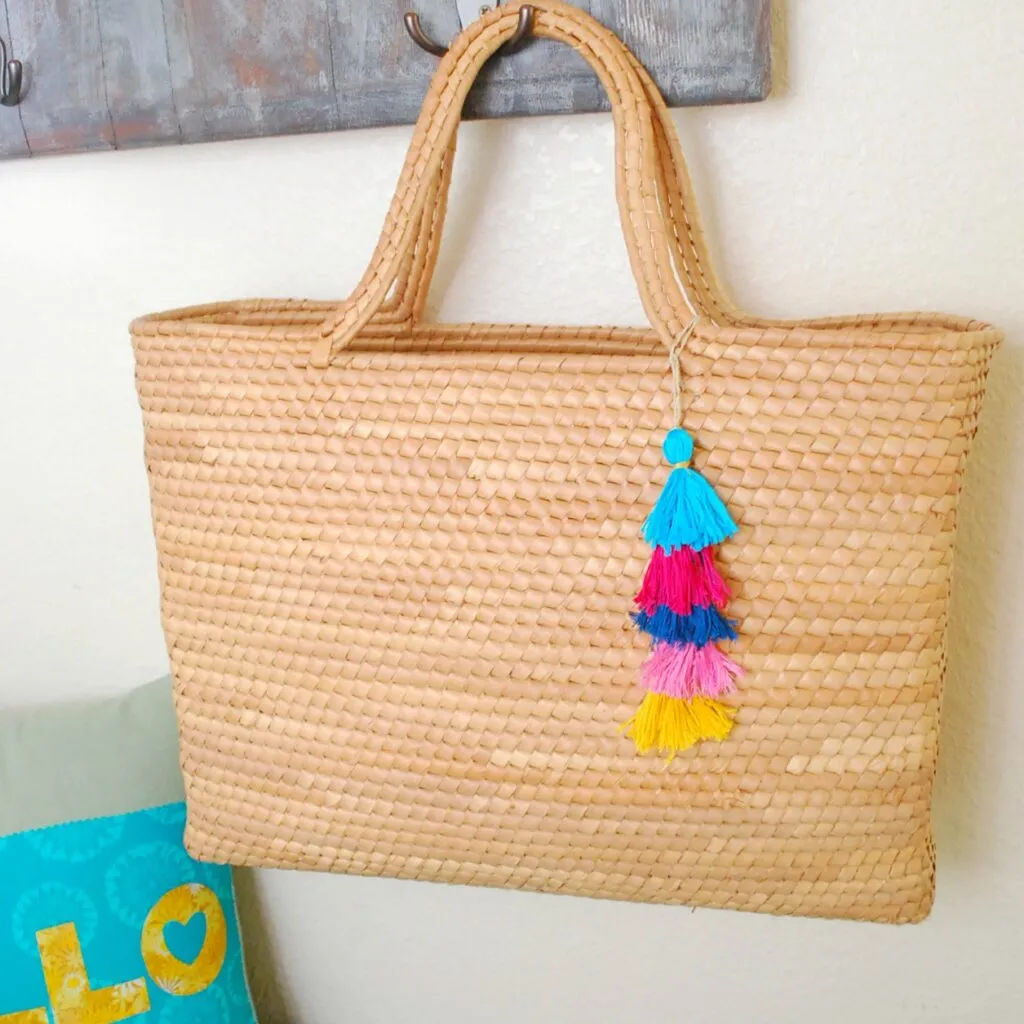
Cut off the needle, and tie a knot at the top. All done with the charm! I made this one quite casual, without an actual key fob or other hardware, so it’s super simple to make.
So to hang it from your purse, all you have to do is wrap the twine around the handle, and loop the tassels through it. I love the colors against my straw tote!
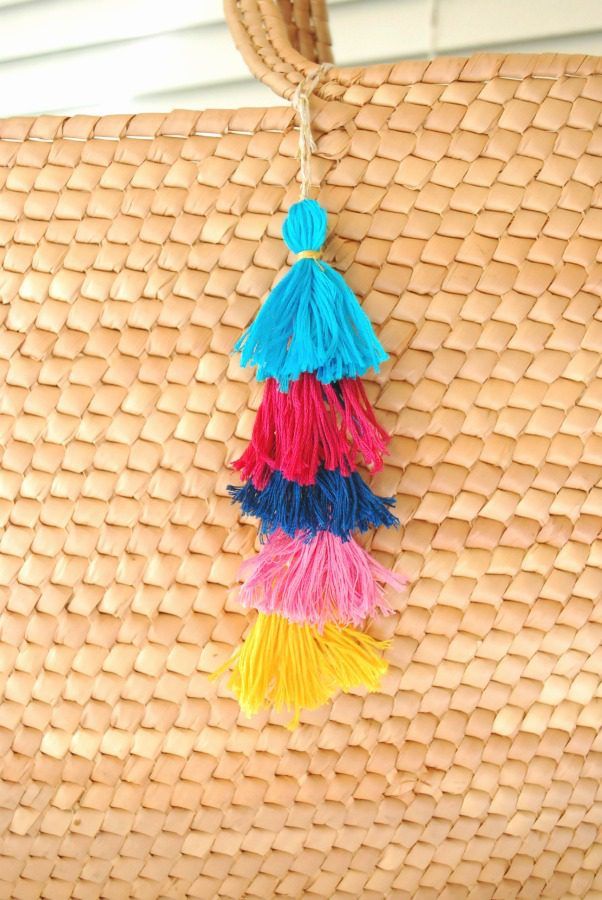
Can’t wait to use my tote at the farmer’s market this summer!I think I have to make more to hang in my entryway, when I’m not using my tote!
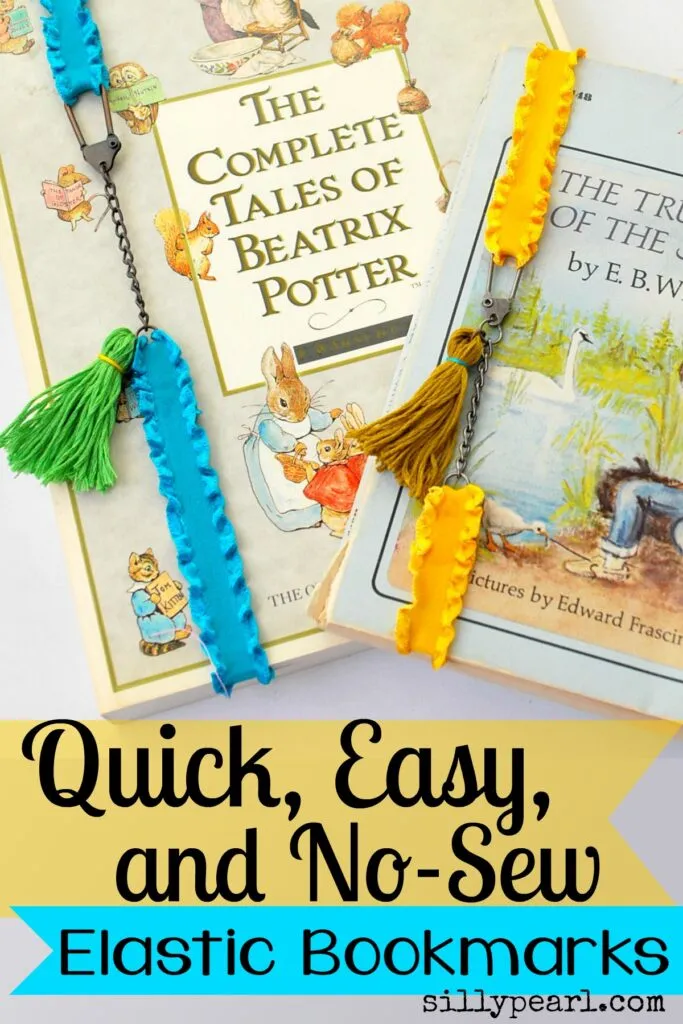
Thanks for reading! Hope you’ll stop by my blog, The Silly Pearl for more ideas like my No-Sew Elastic Bookmarks, featuring – yes – a tassel!
Great tutorial! It made it all so easy! And I love the fact you don’t need any special equipment ☺️ Thank you for sharing ❤️❤️❤️
Hi there, Daria! That’s exactly why I am here- to make your life easier! So, I am very pleased to find out how helpful was my tutorial for you! Thanks for reading!