Fire pits are a great solution for those who want to enjoy the outdoors all year long. Besides providing a welcoming gathering spot for family and friends, they are also an easy, affordable way to add value to your home.
Constructed in a variety of sizes and materials, a fire pit is a great way to showcase your outdoor living area. They can be as elaborate or as simple as you decide. A firepit can have a variety of different materials and installation methods. There are accurate estimating services that can assist in determining pricing when designing.
Think about the memories you’ll make with those you care about – toasting marshmallows, making s’mores or simply sharing a glass of wine while you watch the fire burn under clear skies.
Why not take the plunge and build your own backyard oasis? We’ve got some DIY fire pit ideas for you.
Is It Economical to Build Your Own Fire Pit?
When planning to add a fire pit, there really is no limit to what you can do. With a little planning, the right materials and a bit of work, you can easily build your own fire pit at a fraction of the cost of professional installation. So, don’t be intimidated. Even if you are on a tight budget, you can design and create a fire pit that will make you the envy of the neighborhood. Fire pits can be built for as little as $50-$60, depending on size and the materials you use.
If you’re ready to get started, check out these easy do-it-yourself projects our five DIY fire pit ideas. Choose one you like and get started today!
DIY Fire Pit Ideas You Need to Know
Number One: Easy Brick or Paver Fire Pit
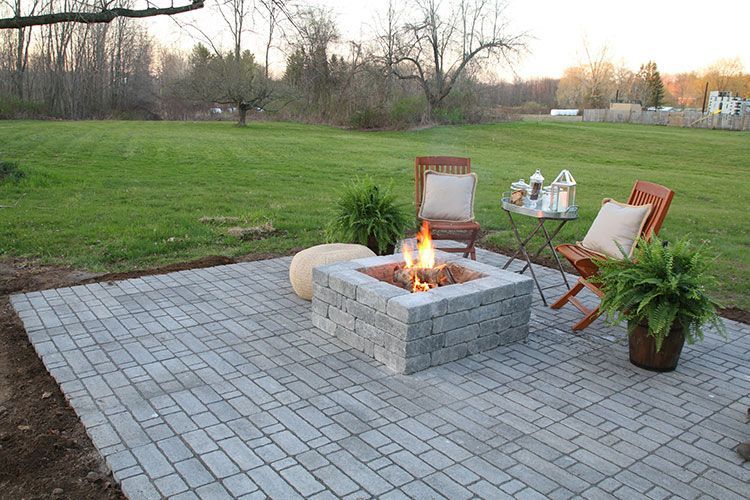
This is perfect for those on a tight budget yet still want to have a great -looking outdoor pit.
Materials needed:
- Bricks or pavers of your choice to be used to build the walls
- Bricks for the floor of the fire pit (rectangular or square)
- Paver sand
Directions:Draw a circle on the ground for the size you want your fire pit. The inside diameter should be at least 36-40 inches but can be larger if desired.
Begin by placing the pavers around the perimeter of your circle, one layer at a time. Three layers of pavers will usually provide enough depth for the walls of your fire pit.
Once the first level is in place, alternately stack the next layer of pavers for the second row, and then finish with the top layer.
Next, you’ll lay the floor for your fire pit by positioning the rectangular bricks inside. You’ll want to lay these as close together as possible to avoid large gaps between the bricks.
Once the floor for the fire pit is in place, pour some paver sand into the cracks between the bricks and the sides of the floor. Use a broom to smooth out the sand to ensure it is evenly distributed.
Number Two: Classy Gravel Fire Pit and Seating Area
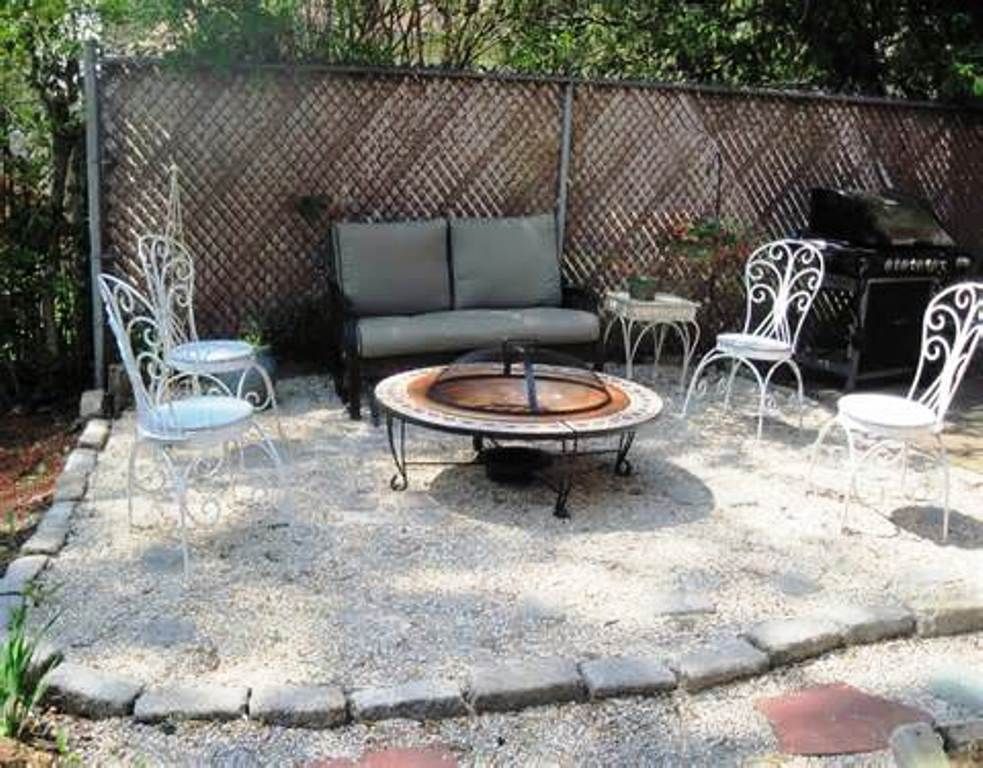
Create a wonderful outdoor escape with a gravel fire pit. Easy to build and easy to maintain, you’ll enjoy many relaxing evenings sitting around this pit.
The gravel seating area built around this fire pit gives you the feeling of more elbow room when entertaining.
Materials needed:
- Gravel
- Large decorative rocks
Directions:Design the layout to allow enough space for you and your guests to sit comfortably around the fire pit. The diameter of the circle should be at least 12 feet.
This will be large enough for the fire pit itself (three feet in diameter) plus the room needed for seating.
Spread the gravel in a large circle, making sure it is level over the entire surface. In the center of the circle, position the large decorative rocks into a smaller circle to create the fire pit.
Once these are in place, dig out the center of the pit to create a floor, or foundation, for burning wood. Set up some comfy Adirondack chairs, and enjoy the fruits of your labor!
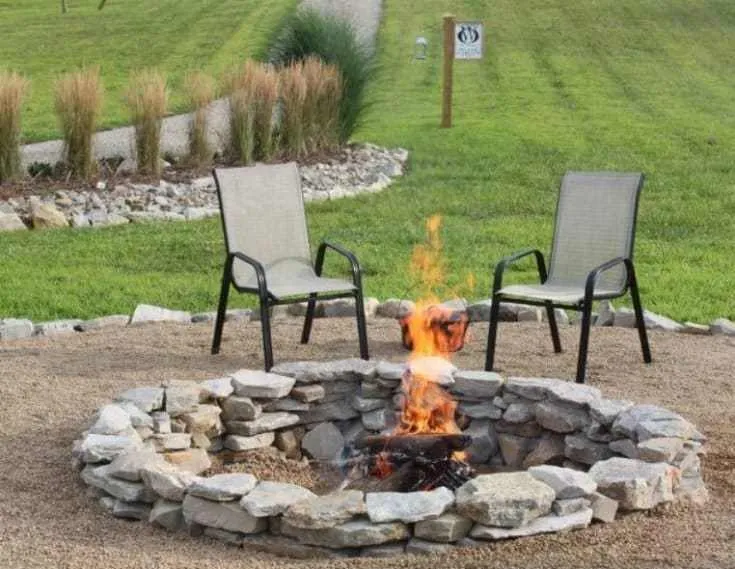
Number Three: Stacked Stone Fire Pit
Create a wonderful outdoor escape with a gravel fire pit. Easy to build and easy to maintain, you’ll enjoy many relaxing evenings sitting around this pit.
The gravel seating area built around this fire pit gives you the feeling of more elbow room when entertaining.
Materials needed:
- Shovel
- Stacked stone
- Concrete (optional)
Directions:For a stacked stone fire pit, first prepare the ground. Dig a shallow hole for the size you want your fire pit. This can be in the shape of a circle or square—whatever you prefer.
Clear out all grass and debris so that you are left with a clean area of dirt that will serve as the floor to the fire pit.
Next, you’ll begin by positioning your stacked stones around the perimeter. Stack rocks one on top of the other to add height to the fire pit.
When you are finished, the walls should be at least 12 inches high. Concrete can be used to set the rocks in place. This is not required, but it would help to extend the life of your fire pit.
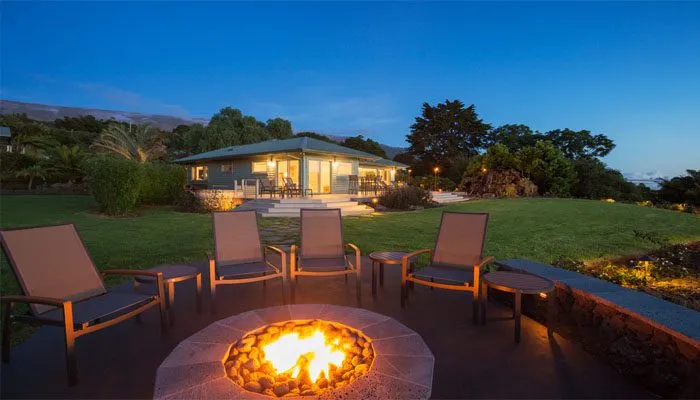
Number Four: Contemporary and Sleek Metal Fire Pit
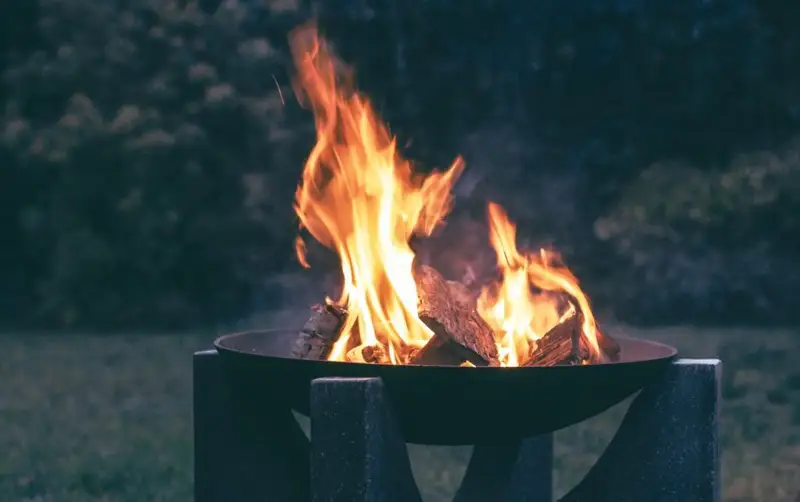
For a more contemporary-looking fire pit, a simple square metal fire pit may be the ideal solution.
Unlike many other fire pits, this one is different because it isn’t circular. It also uses steel to form the base of the walls rather than stones or concrete. This project requires welding skills but is easy to assemble!
Materials needed:
- Four sheets of 12 gauge hot rolled steel (40” x 20”)
- Steel rod supports (8)
- Sledge hammer
Directions:Position two of the steel sheets at a 90-degree angle, and weld them together. Weld the third sheet of steel to form the next wall of the rectangle for the fire pit.
Finally, position the fourth sheet of steel into place, and weld together. Once all sides are welded together, place a steel rod support in each corner of the box.
You’ll want to have these flush with the top of the box but extending below the base of the box. This is because they will be sunk into the ground to stabilize the fire pit.
Weld the steel rods into place. Add a steel rod to the middle of each panel for added strength. Prepare the ground by clearing out any grass or debris. You should have a clean, level area of dirt when finished.
Now you’re ready to install the fire pit. With a sledge hammer, sink the steel rod supports into the ground until the bottom of the metal box is flush with the ground.
Once you are done, you’ll have a sleek-looking pit for quiet evenings by the fire.
Number Five: In-ground Fire Pit
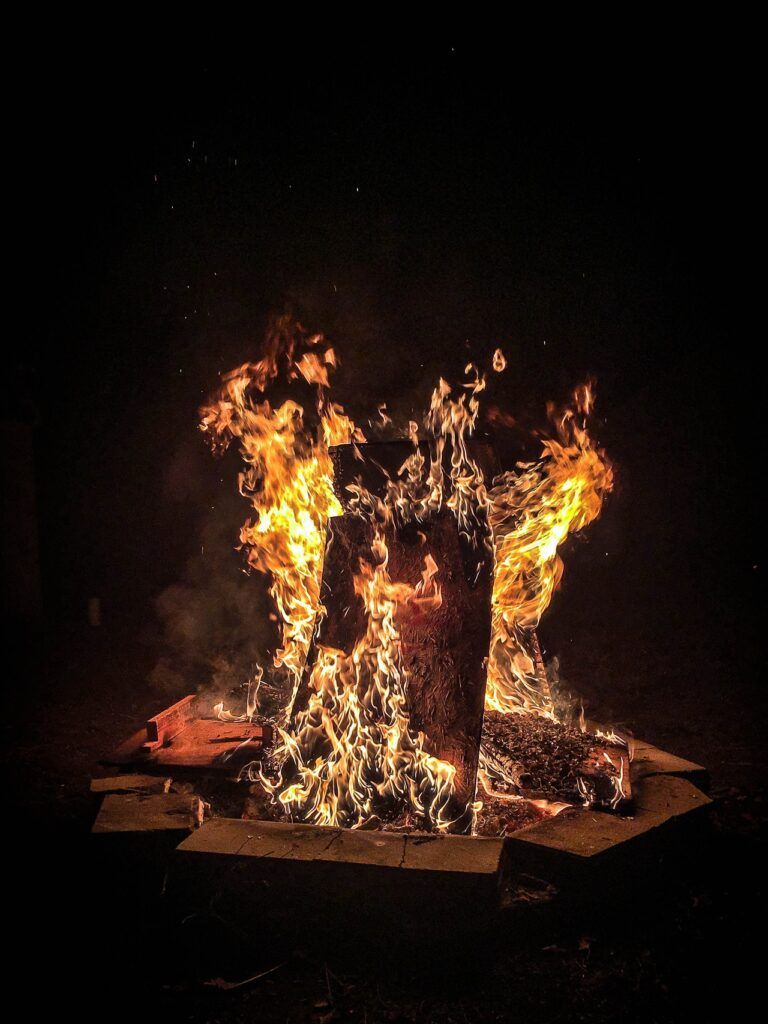
This is a simple yet cozy fire pit that will look great in any yard! If your goal is to have a fire pit that looks a bit rustic and different, this is the answer.
Materials needed:
- Shovel
- Lava rocks
- Bricks
- Large flat rocks
- Dirt
Directions:Start by digging a hole that is 4′ wide and 12” deep. You’ll want to dig the hole so that the sides are slightly angled. Once you are done, the floor of the pit will be slightly smaller than the total area.
Fill the hole with lava rocks to cover the floor of your fire pit.
You’ll need approximately three five-gallon buckets of lava rocks to sufficiently cover the base of your fire pit. Next, you’ll position bricks along the inside walls of the hole.
Set the bricks so they are slightly tilted on the sides and flush with the top of the hole.
Prepare the rim of your fire pit by shoveling sod away from the rim. You should have a nice, smooth dirt surface once you have completed this step.
You’ll then place the large flat rocks around the rim. Position the rocks so they cover the tops of the bricks. For a finished look, fill in the top area with dirt between and around the flat rocks.
Benefits of a Fire Pit
Sitting around a fire isn’t just about keeping warm. There are so many benefits to having an outdoor fireplace in your backyard. Among these are the following:
- An instant cozy atmosphere outdoors
- Focal point for your outdoor living space
- Giving your backyard a warm, wonderful glow
- Help to extend your living space so you aren’t confined to the indoors when it gets cold outside
- Provide relaxation
- Place for cooking
- Increases value of your home
- Help you create memories that could last a lifetime

Conclusion
Building a fire pit doesn’t have to be expensive, and it isn’t hard to do. The possibilities and designs are endless.
Hopefully, you’ve been inspired to create your own so you can spend more outdoor time with your family.