I’ve been searching for a ladder shelf for my new master bathroom for a very long time. I’ve searched the stores and Craigslist, hoping to find one under $100. I’d finally given in to the fact that I was going to have to buy a fancy one or make one myself.
Going to HAVEN a few months back, I got a ton of practice with power tools and came home ready to make an entire house full of furniture! After tons of searching and shopping, I finally decided I was going to have to make the ladder shelf I wanted. My goal was to make it for under the $80 that I’d seen on the cheapest shelf I’d seen.
Enter the dear darling hubby who came up with a fabulous idea of using the leftover slats from an IKEA bed that we’d given away months earlier. They were the perfect width and best of all, they were FREE! We started our measurements and realized that we could build the entire shelf with the free slat pieces we had sitting in the garage.
How to Make a Ladder Shelf: Step-by-Step Tutorial
To make our ladder shelf, we basically created two “A-frame” sides and secured planks to the two sides to make the “inner” part of the ladder. Here’s a peek at the work we did:
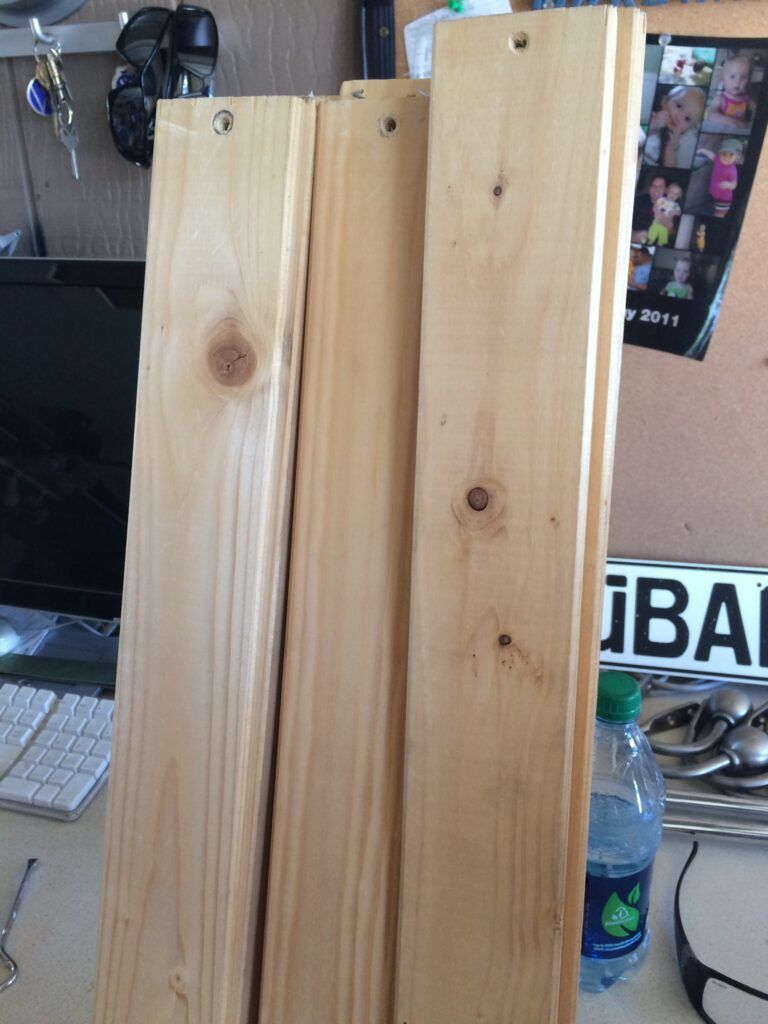
- We started with leftover planks from an IKEA bed.
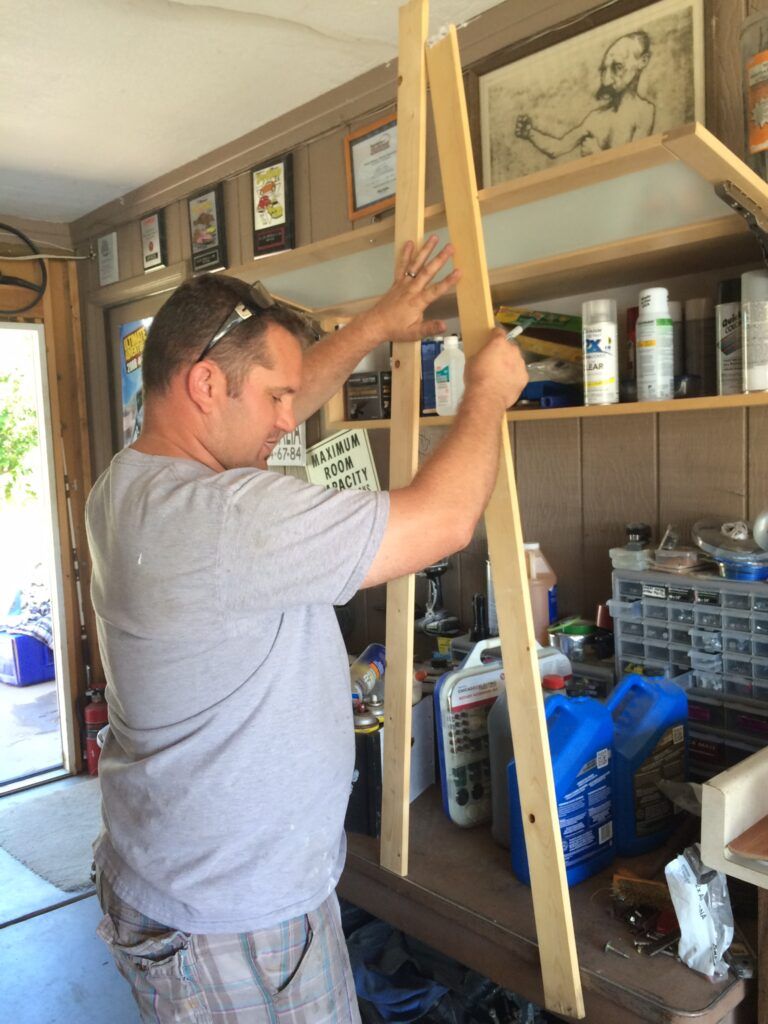
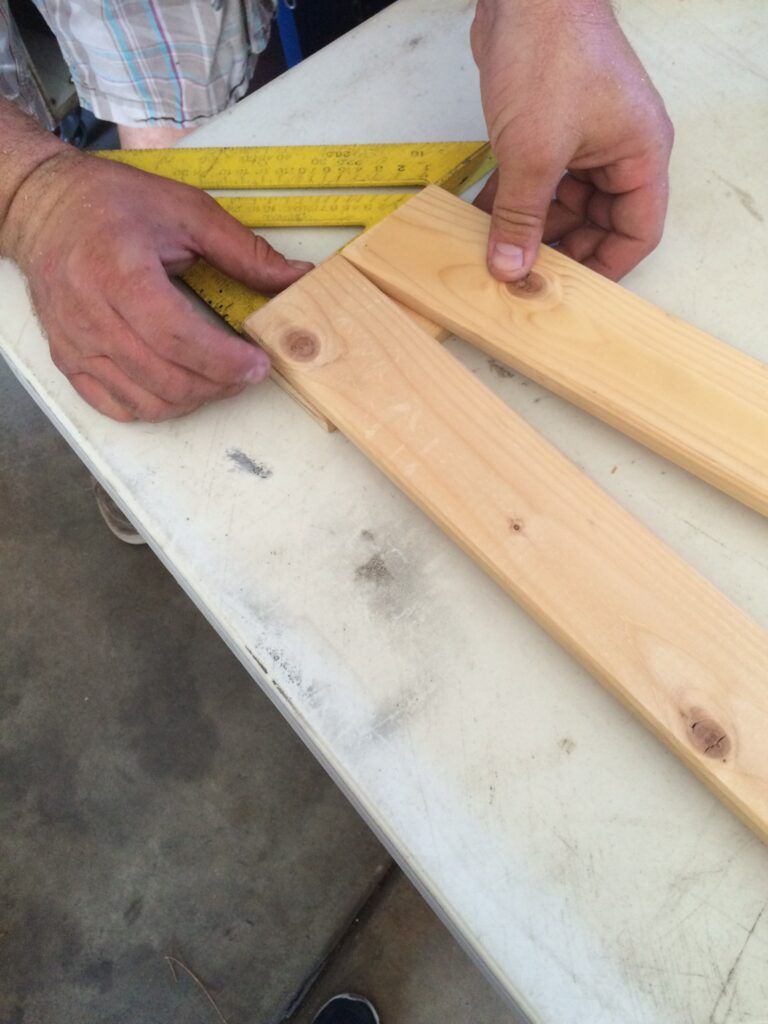
- To get the foot to be at the right angle to sit on the floor flat, we had to use a non-traditional method. Dustin said, don’t take pics of this step because none will use this ancient non-mathematical way of doing it. But, it worked perfectly for us!
- By using the table, we were able to mark the back of the right piece of wood with the correct angle needed to sit flat on the ground. We used the circular saw to chop off that piece.

- He created an “A” frame out of the wood and screwed a horizontal piece on the top and bottom of the “frame”.
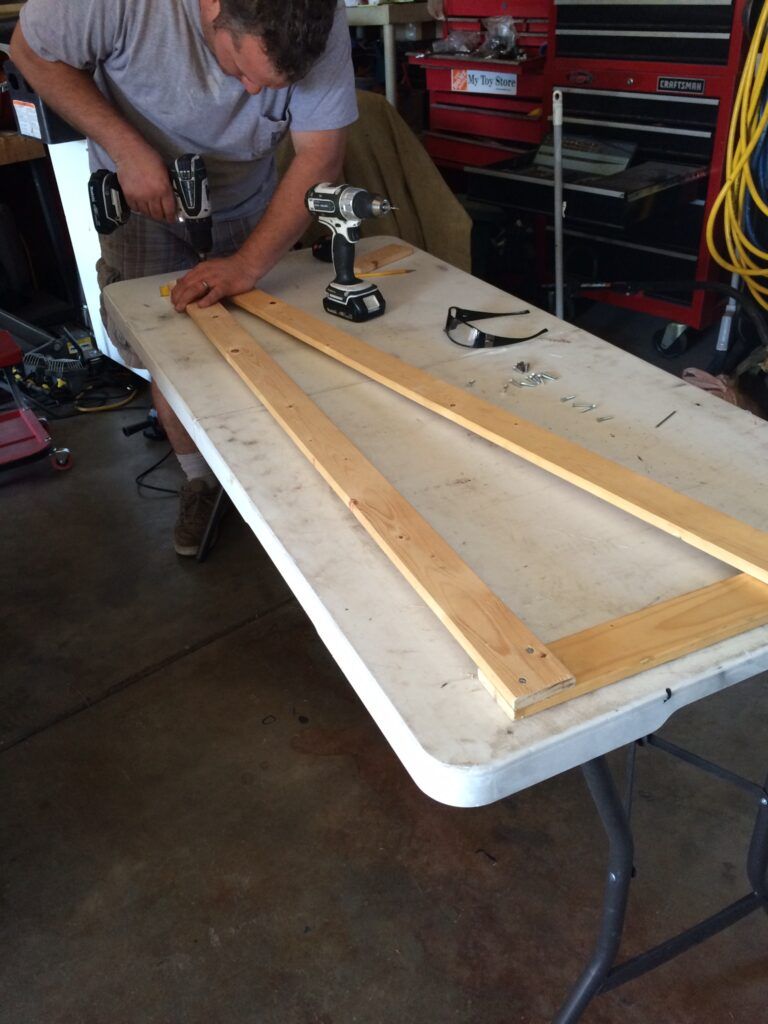
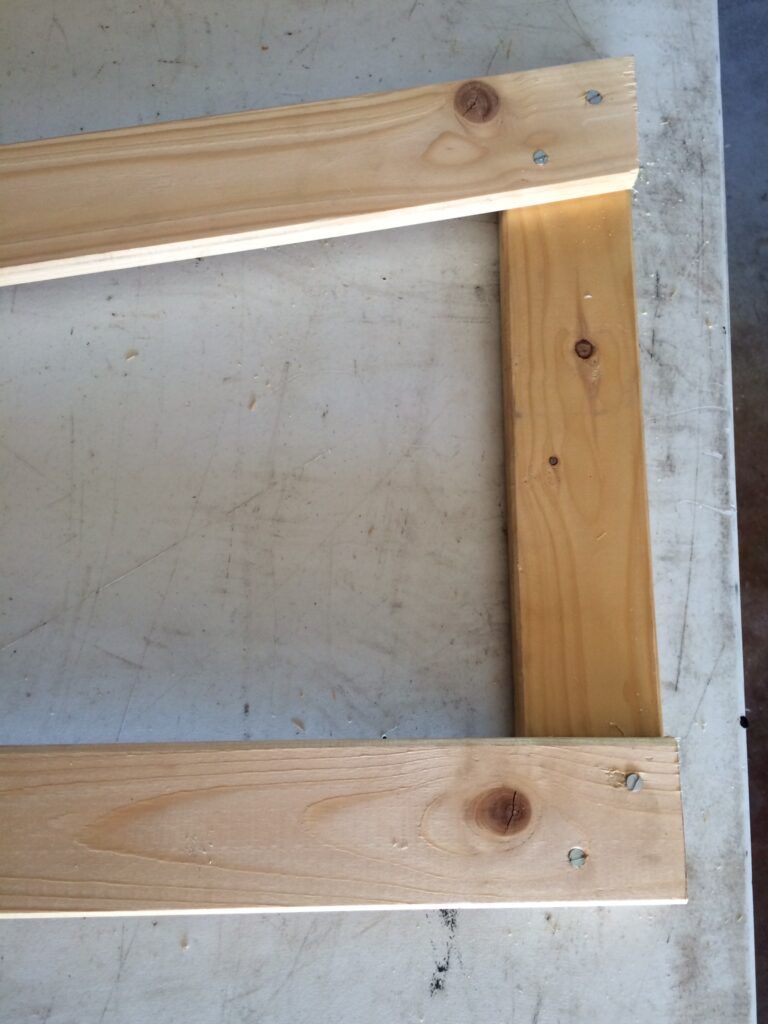
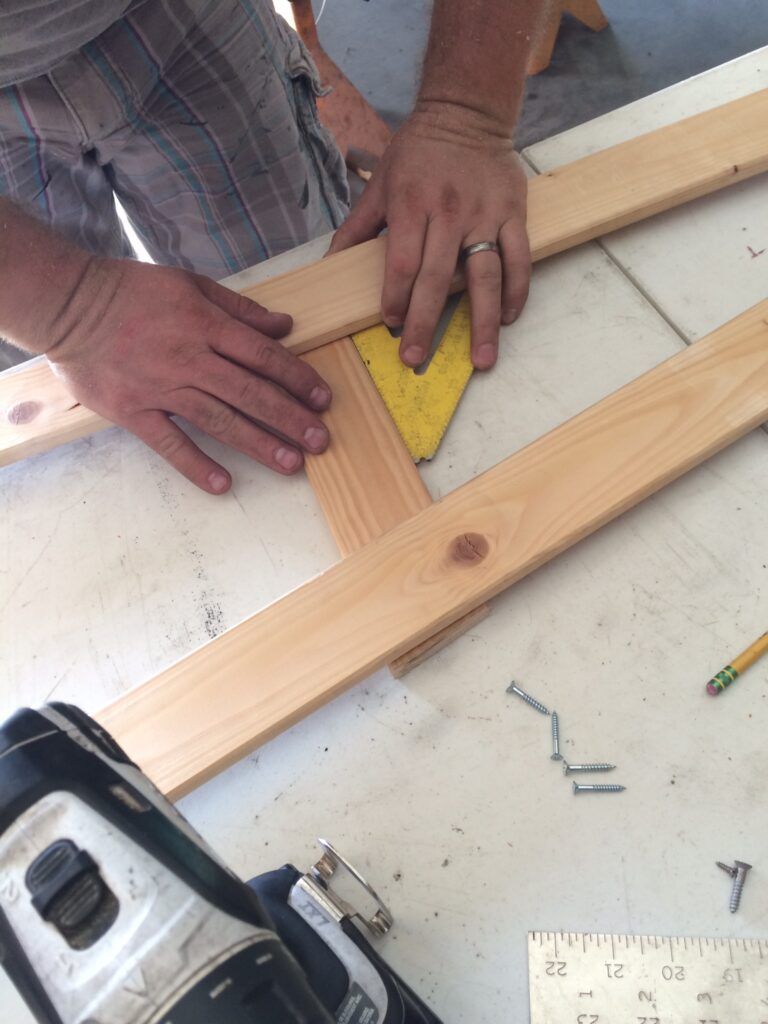
- We added a horizontal piece wherever we wanted a shelf.
- Once those horizontal pieces were set in place, the last step was just cutting the smaller planks to fit on as the “shelves” and attaching them to the shelf brackets {just the horizontal pieces of wood}. We used the air nailer for that step, which terrified me.
When I was at HAVEN, we used these super light and easy-to-use RYOBI AirStrike nailers, and they were easy. This one my hubby has is hooked up to the biggest air compressor I’ve ever seen. I felt like I was on some giant DIY show with massive tools!
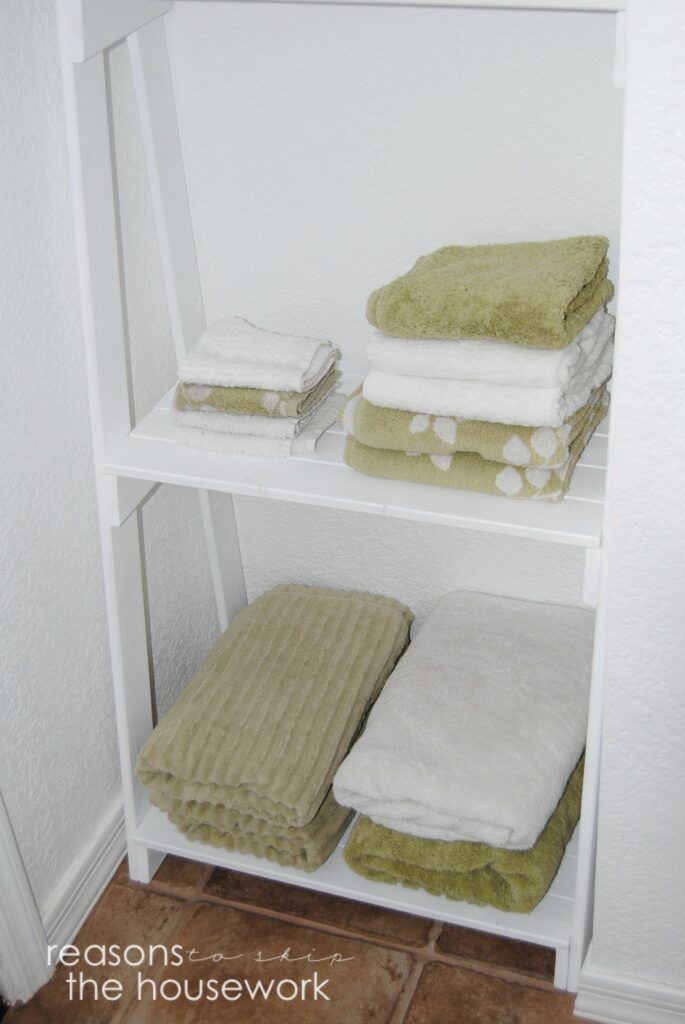
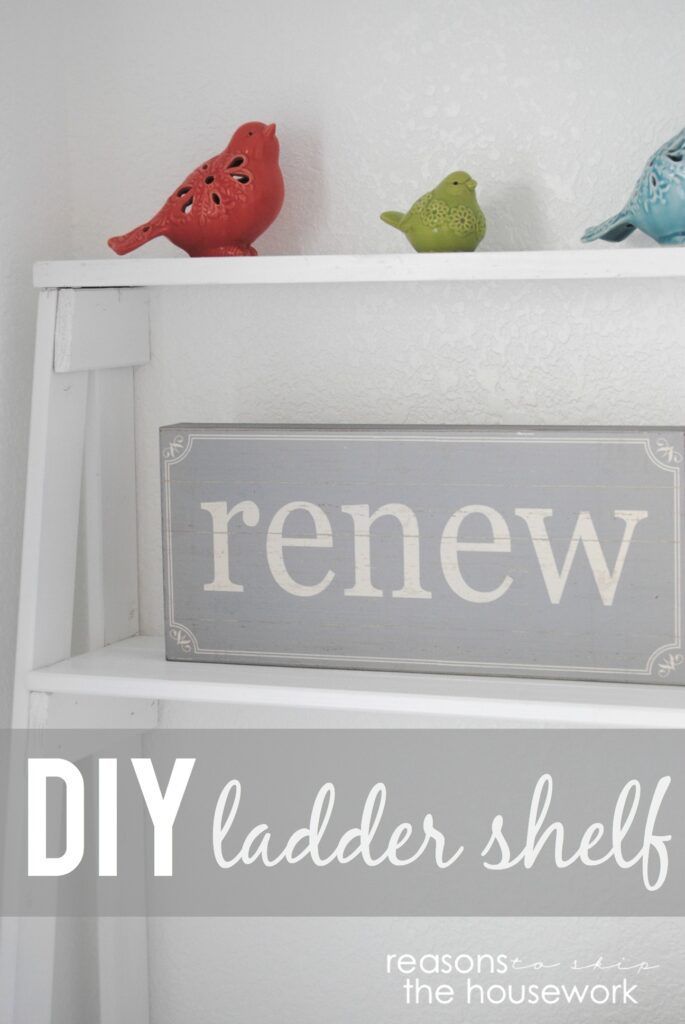
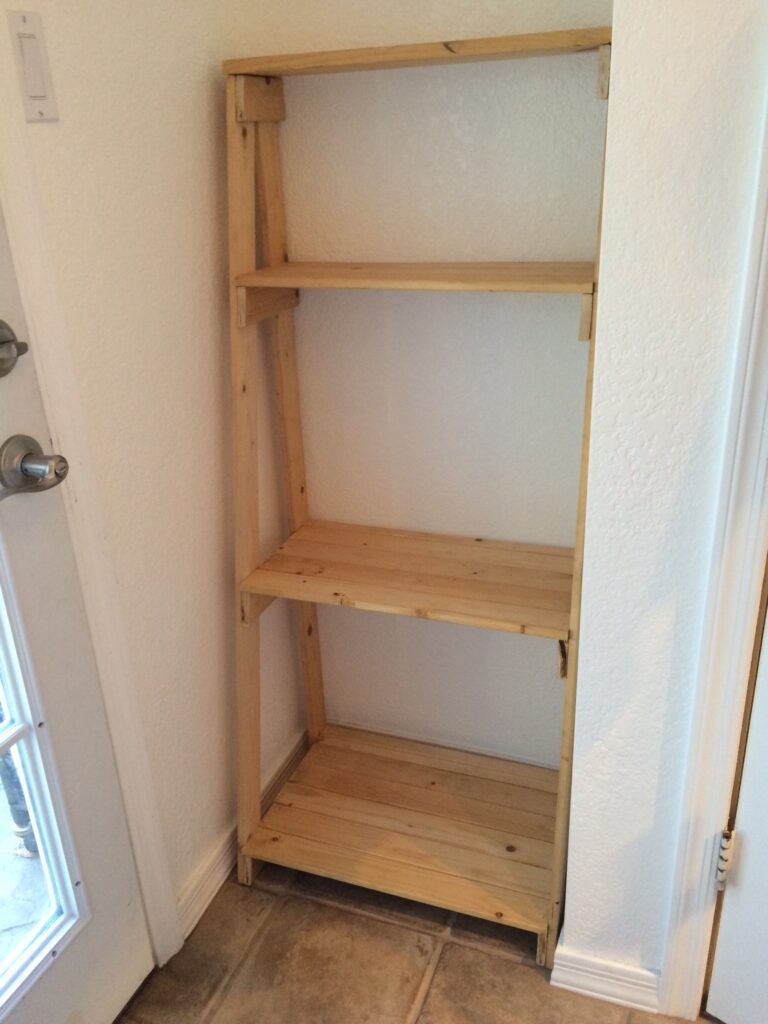
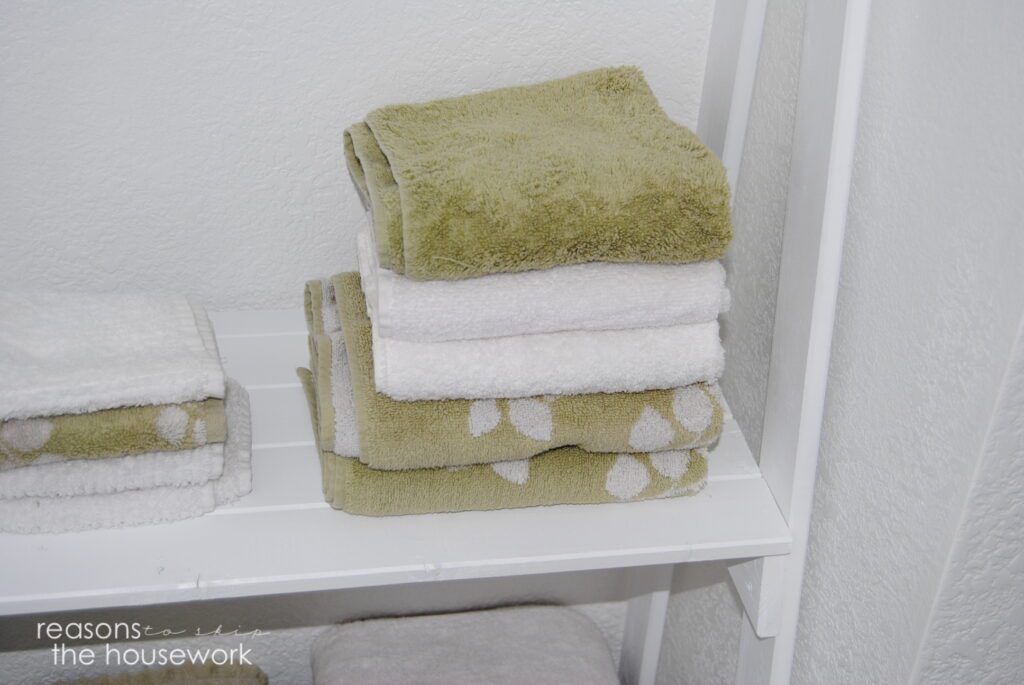
- Last step, paint – and voila – in just a few hours we made our own ladder shelf – and it cost ZERO dollars since we used planks we had sitting around from an old bed. It’s crazy what some things can turn into!
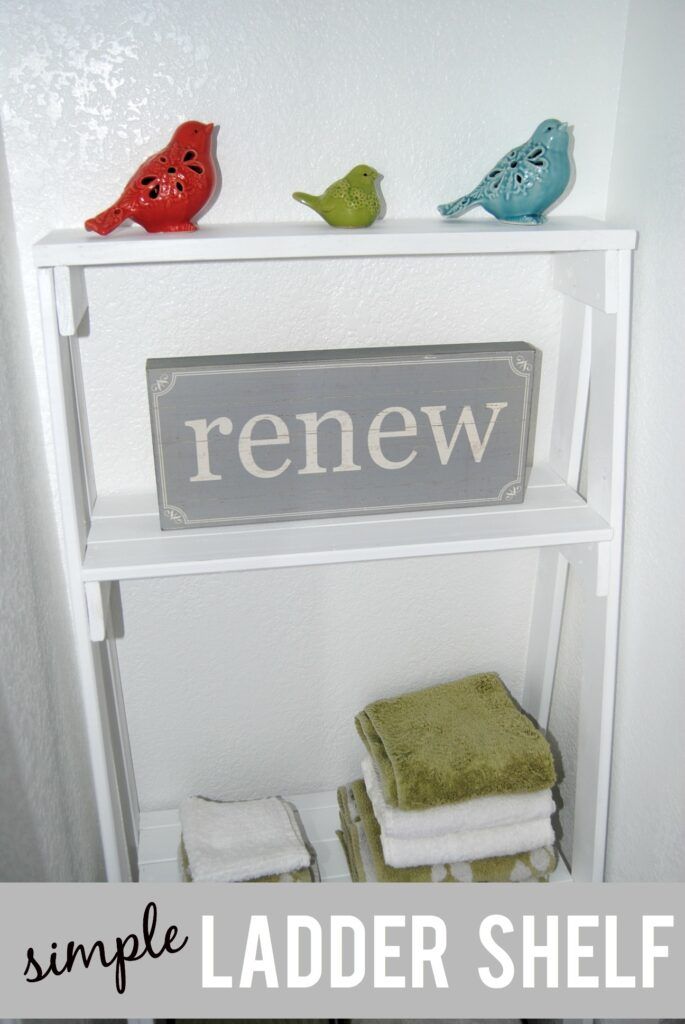
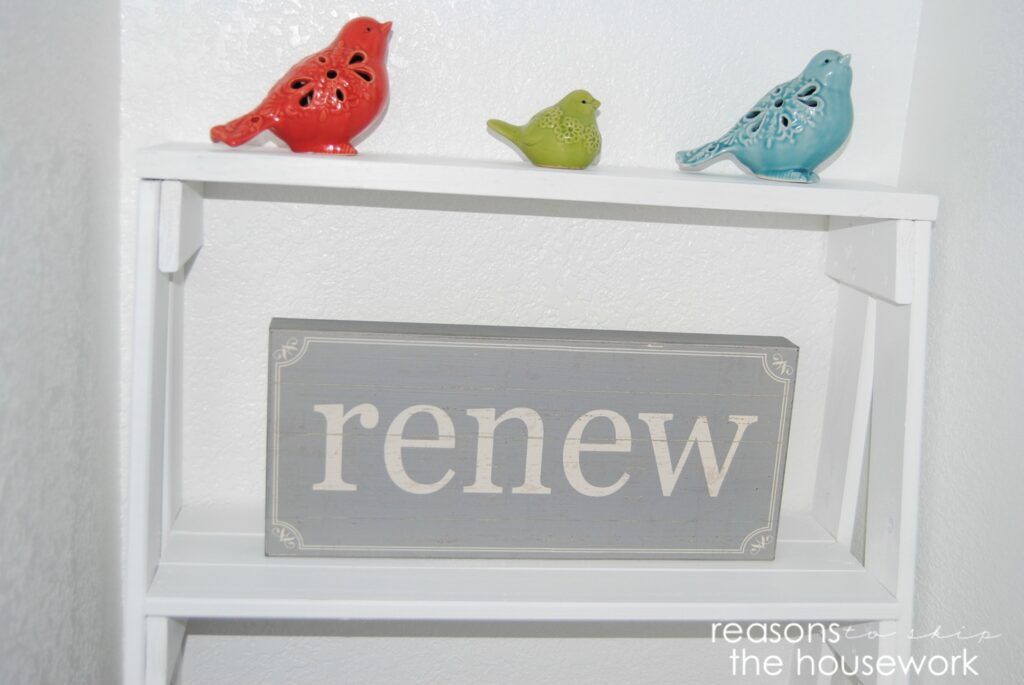
I really love that ladder shelf. I’ve seen them but have never thought of making my own! It’s perfect. I REALLY love those birds too!
I seriously just LOVE this project. Can you come up here & make one with me. I need one for my office. : )
You are so sweet Gina! Thank you!
This looks AMAZING! And I love that you made it yourselves and set a budget goal for yourselves – – very smart. I’m SO impressed. Sharing this one with the hubby fo’ sho’!
Thank you for your kind words Lauren!