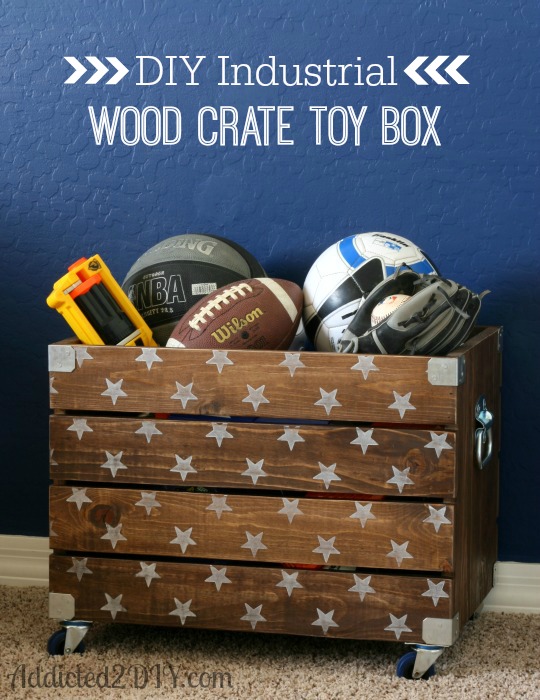
Hi everyone! I’m Katie and I blog over at Addicted 2 DIY. I’m so happy to be here today sharing with you this DIY wood crate toy box that I made for my oldest son’s bedroom.
My oldest son had been needing a new toy box for a while and I always love to take on the challenge of build rather than buy. He’s really into sports and his room takes after that. I thought it would be perfect to make him a toy box with an industrial look but also tie it in with the sports look he wanted in his room, so I decided to stencil stars on the outside of it. When I told him my idea, he was excited about the new toy box, but said “what do stars have to do with a sports room?” I tried to explain how stars work in an all-star room. He still didn’t get it, so I took a leap of faith and hoped that he’d like it when it was all done.
The crate itself was really easy to make. I bought 1 – 1″x8″x6′ board, 4 – 1″x4″x6′ boards, 4 – 2″ casters, 8 corner straps, and 2 – 3 1/2″ storage chest handles.
Cut list:
4 – 1×8 @ 15″ long (end pieces)
8 – 1×4 @ 22″ long (side pieces)
4 – 1×4 @ 20 1/2″ long (bottom pieces)
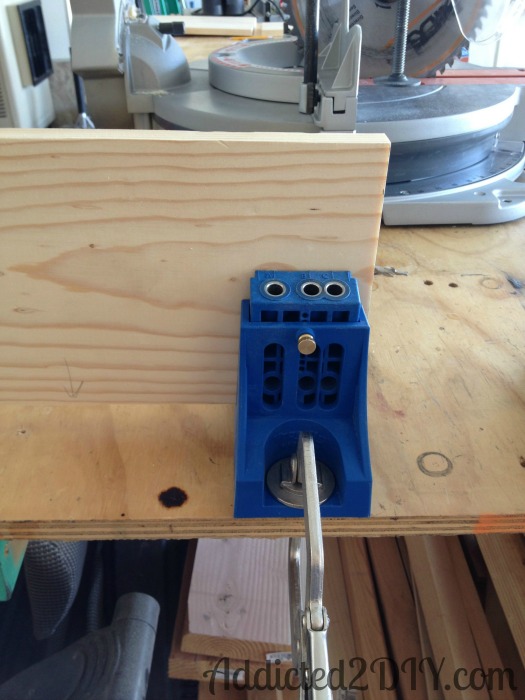 I started by making the sides of the crate. I used my Kreg Jig
 (affiliate link) to join together the 1×8 boards to make them 14 1/2″ wide.
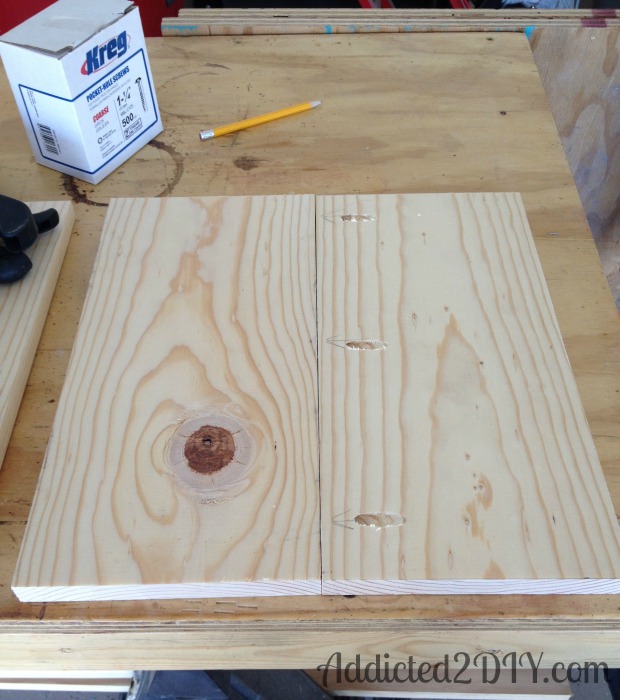
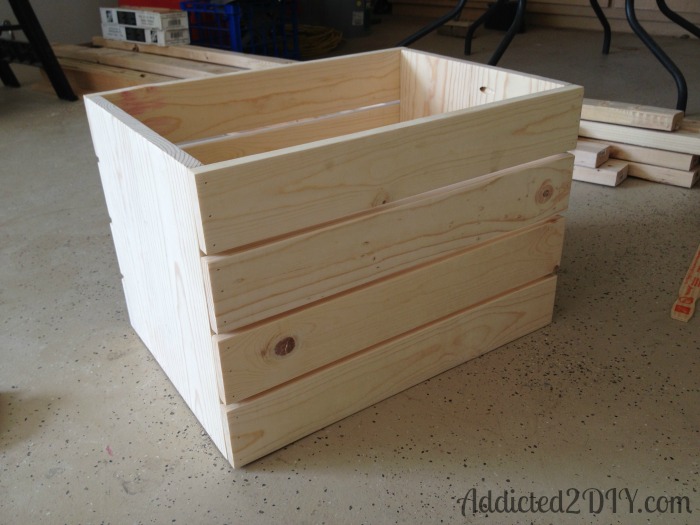
I sanded all of my pieces of wood and started assembling the pieces.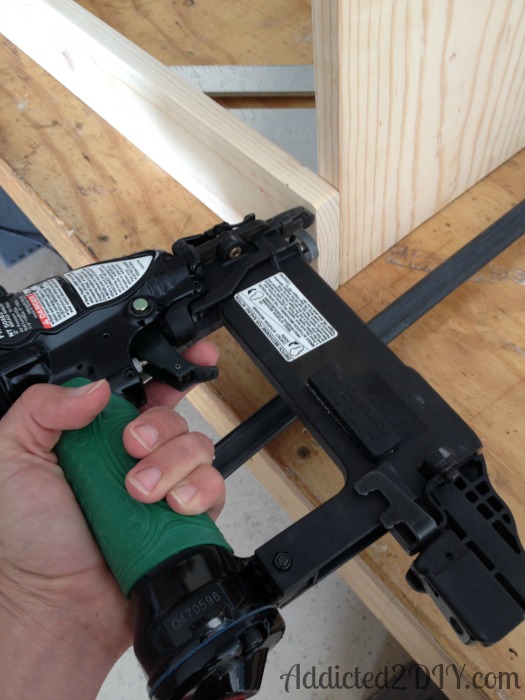
I spaced the side pieces approx 3/8″ apart and used 1 1/4″ brad nails and wood glue to attach them to the ends.
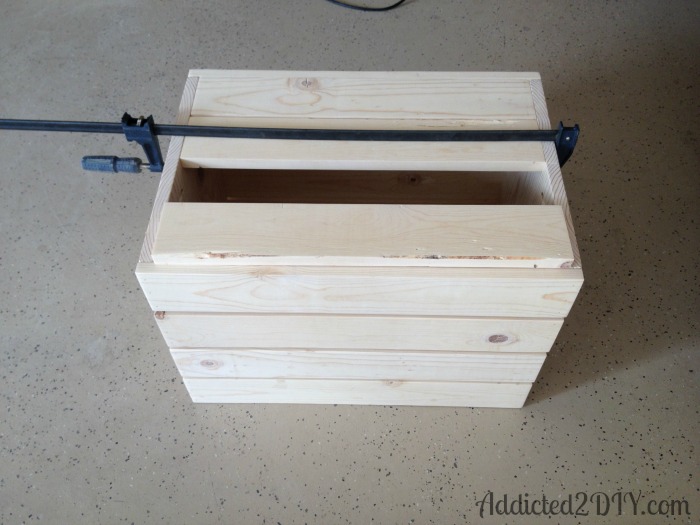 I nailed the bottom pieces the same way, spacing them approx 1/8″ apart.
 I finished the crate with Minwax Stain in Special Walnut.
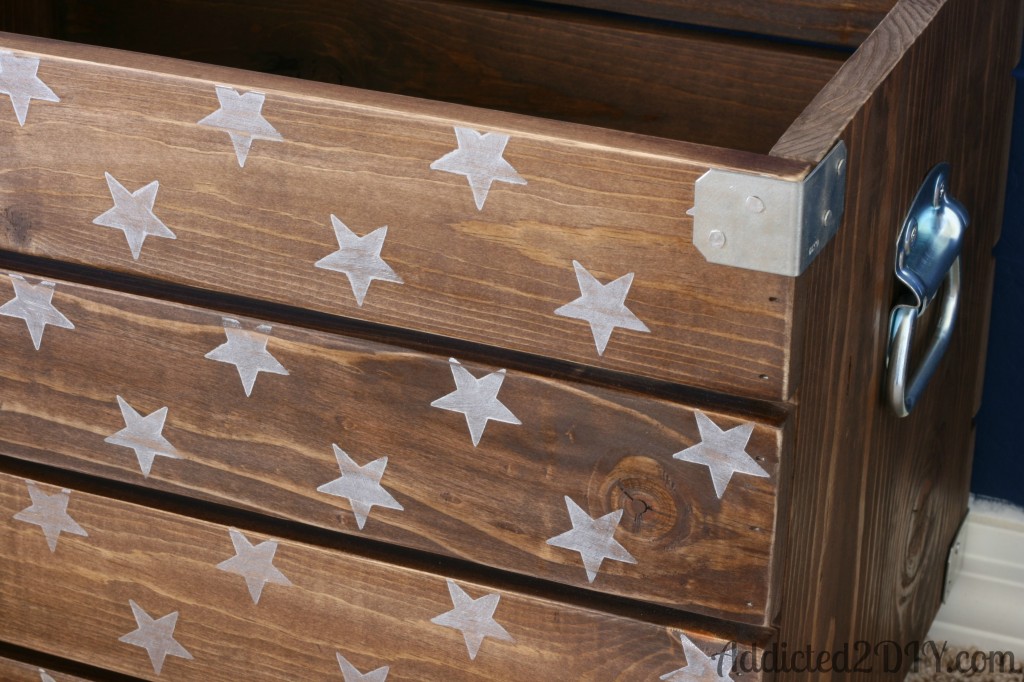
 Once the stain was dry, I attached the casters and stenciled the stars. The stencil is the Polka Star stencil from Royal Design Studio Stencils. This stencil was really easy to use. I wanted the stars to be white, so I chose the Royal Design Pearl Oyster Stencil Creme. For some reason, it didn’t click in my head that it would also have a pearl finish to it, but it actually worked well with this project.
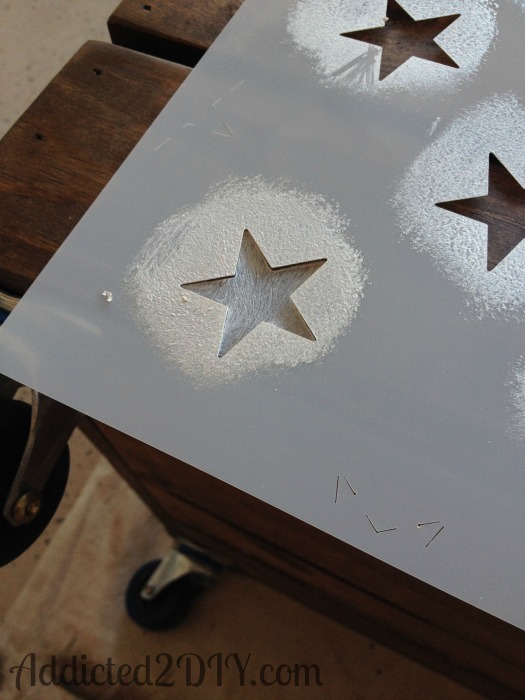 To stencil the design, I used a 1 1/2″ stencil brush and lightly dipped it into the stencil cream. I dabbed it into a paper towel to remove any excess cream and then in a small swirling motion applied the paint to the crate. You can see that the stencil did not cover the entire crate, so when I was done stenciling all of the stars, I lined the stencil up again and finished off the crate. Once it was dry, I flipped the crate over and stenciled the other side. It was easy enough that my son was able to help!
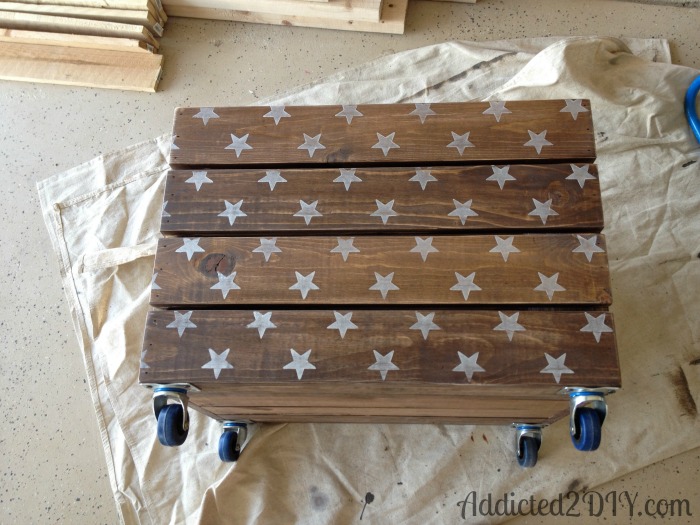 Remember when I said my son didn’t get it when I told him I was putting stars on his toy box? He thought it looked pretty awesome when we were done stenciling:)

I sanded the entire crate to distress it a bit and then added the corner straps. I wanted to use nails and found these 1/2″ cut tacks at Lowes. They look great, but they are aluminum, which meant I had a bunch that bent at the tip because the metal is so soft.
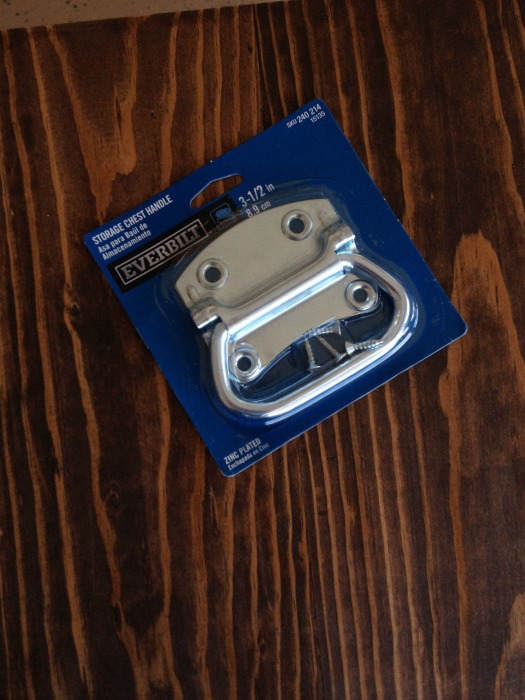 I attached the handles and the crate was done!
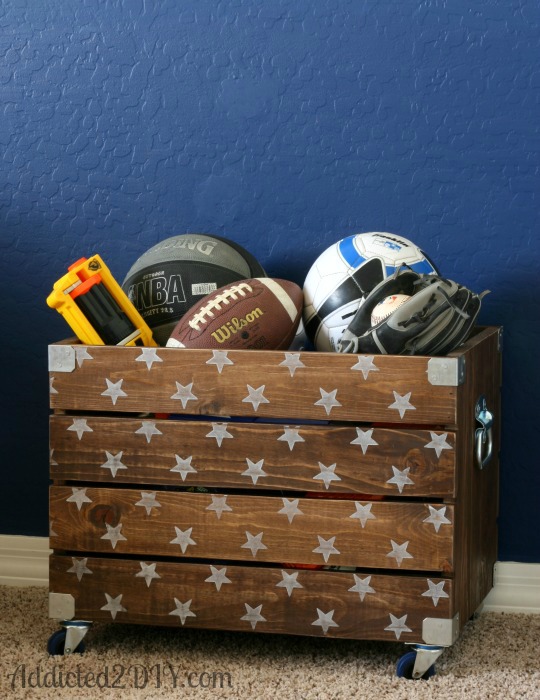 I love how the crate turned out and so does my son. He was so excited to be able to put all of his sports balls in it. I’ve got a lot more plans for his room and I will be sharing those projects on my blog. My most recent project for his room was this DIY #1 Shelf inspired by PB Teen. I love the ability to make things for my boys that they love and I get to save money at the same time!
If you want to see more projects that I’ve done for my boys, check out these Star Wars themed projects I did for my 6 year old son’s room.
Star Wars Wall Art
Star Wars Stenciled Storage Boxes
*Some links in this post are affiliate links, which means that if you purchase something, I will receive a small commission at no extra cost to you.
What a great project. I love the last touch you added with the stars. That really brings it over the top for me. Love your styling too. Pinned! 🙂
Love this! I have 4 boys.. someone’s getting this in their room 🙂