
Are you looking for a way to bring hummingbirds into your backyard or garden? A hummingbird feeder is a perfect way to experience the beauty of these winged creatures all the while providing them with a quick snack. Don’t go running out to the store to buy one just yet because we have got a solution for you!
Below we have put together a comprehensive guide on how to make your very own hummingbird feeder at home using household products. We’ll walk you through each step and even discuss the benefits of having hummingbirds in your garden. Keep reading to learn more!
What Is a Hummingbird Feeder?
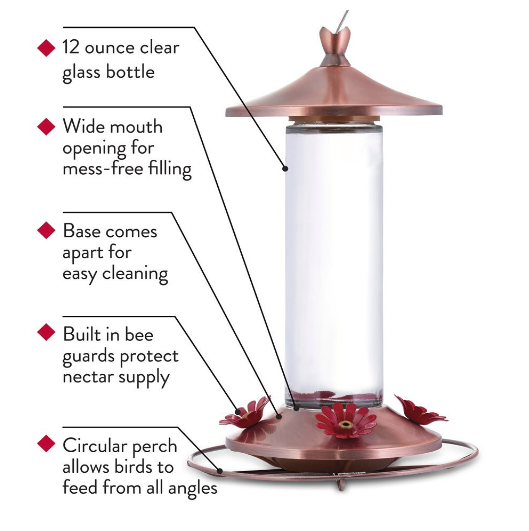
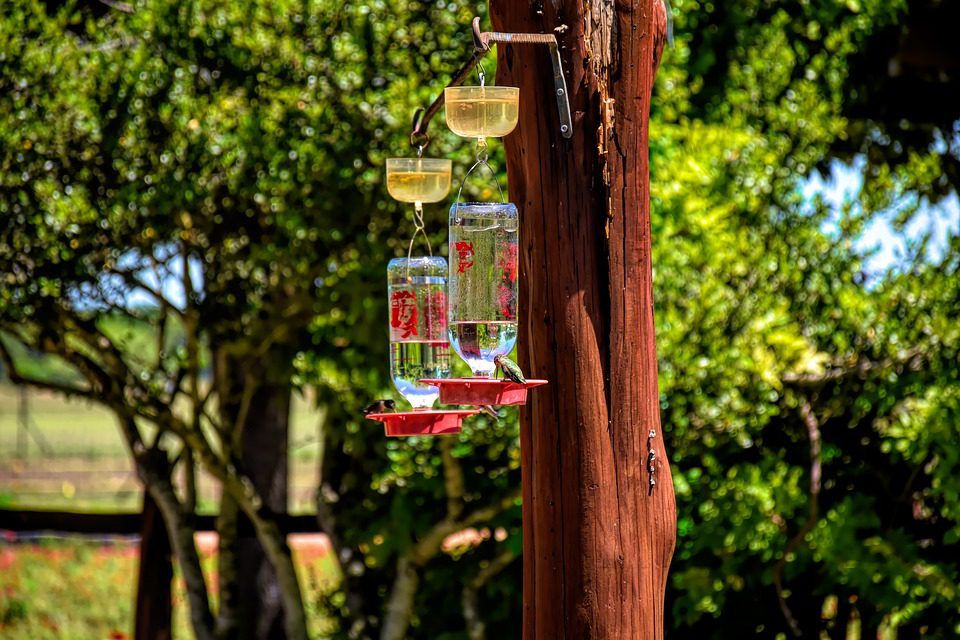
A hummingbird feeder is similar to a bird feeder, but instead of attracting the average bird, this feeder attracts one species in particular. A hummingbird feeder is used to attract hummingbirds to the location where the feeder is placed. These feeders often feature a long tube where a sugary liquid is held and multiple spouts that distribute this liquid for feeding. Most hummingbird feeders have holes that are just large enough for the hummingbird to fit their beak inside to lap up the liquid inside.
It is important to note that these feeders in particular come in many shapes, sizes, and styles. It is not uncommon for feeders to be placed on a stand in the garden. That being said, it is most common for these feeders to be hung on tree branches or near windows for viewing pleasure.
The Benefits of Having Hummingbirds Around
Hummingbirds are such interesting creatures that it is no wonder you are questioning the benefits of a hummingbird feeder. Hummingbirds, first and foremost, are beautiful creatures. Having a hummingbird feeder near a window can allow you an unobstructed view of one of the most beautiful and quick creatures on earth.
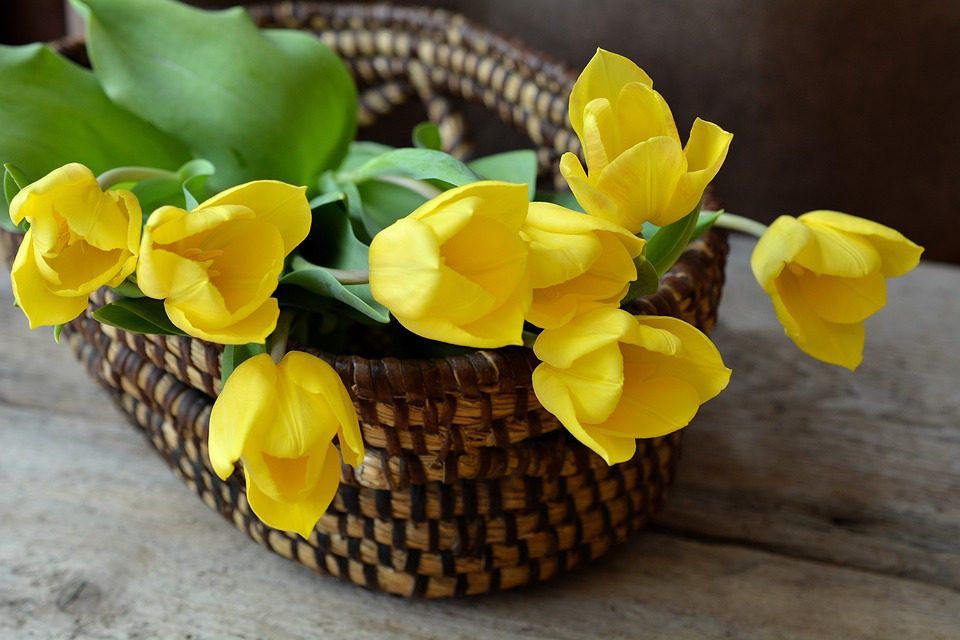
Another reason to have hummingbirds around your home or garden is that they are natural pollinators. If you think back to grade school science class, then you’ll remember that pollination is essential to our life cycle. Do you want your garden to flourish? Are you having trouble getting your flowers to spread? Pollinators like hummingbirds are your answer. Not only do hummingbirds get a tasty treat from each flower, but they also help plants to reproduce.
How to Make Your Own Hummingbird Feeder
Step One:Gather Your Supplies
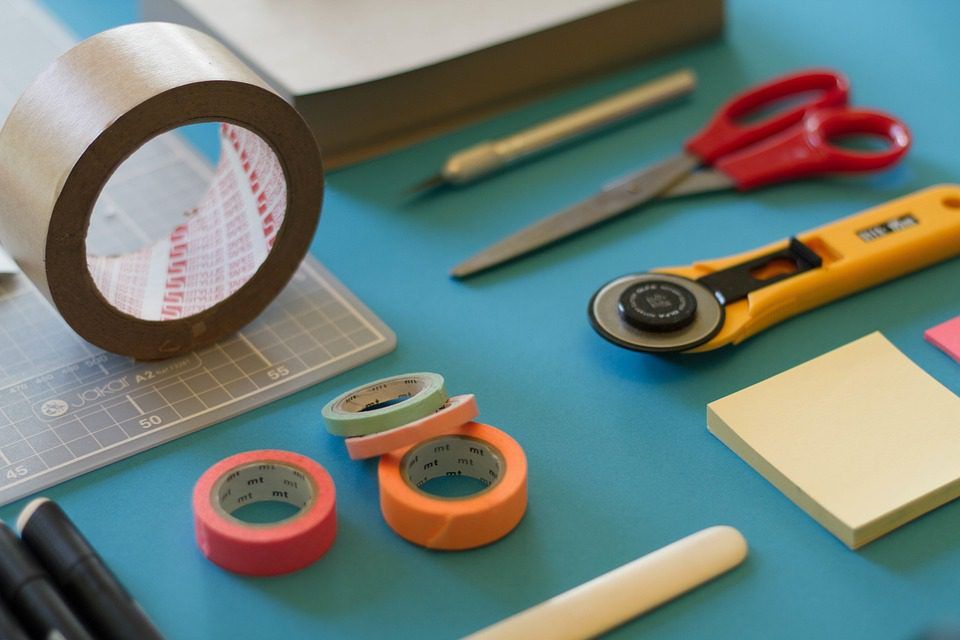
The first step you will want to do to make your own hummingbird feeder is to gather your supplies. We recommend getting everything you need and keeping it nearby as this won’t take too long to complete. For this tutorial, we used the following supplies:
- 1 Empty plastic bottle with a screw on top
- 1 Large plastic cap
- 80 Grit or higher sandpaper
- Optional: Spray paint
- Red crafting felt
- A utility knife
- Glue gun
- Screwdriver
- Small eye hook
- String
Step Two: Cut Your Cap
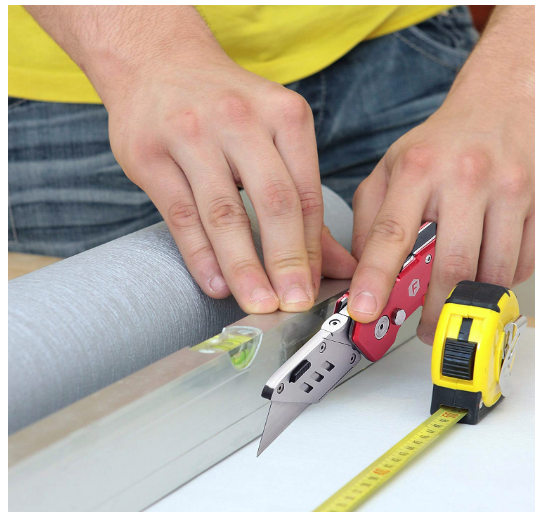
The second step to making your own feeder is to take your screw cap and cut out the middle using a utility knife. If you are having trouble cutting out the center of your cap, you can try puncturing holes in the top and cutting between the holes. You’ll want to ensure that the final product for this step is the outer ring of the screw cap so that it is still capable of screwing onto the bottle.
Step Three: Glue Together
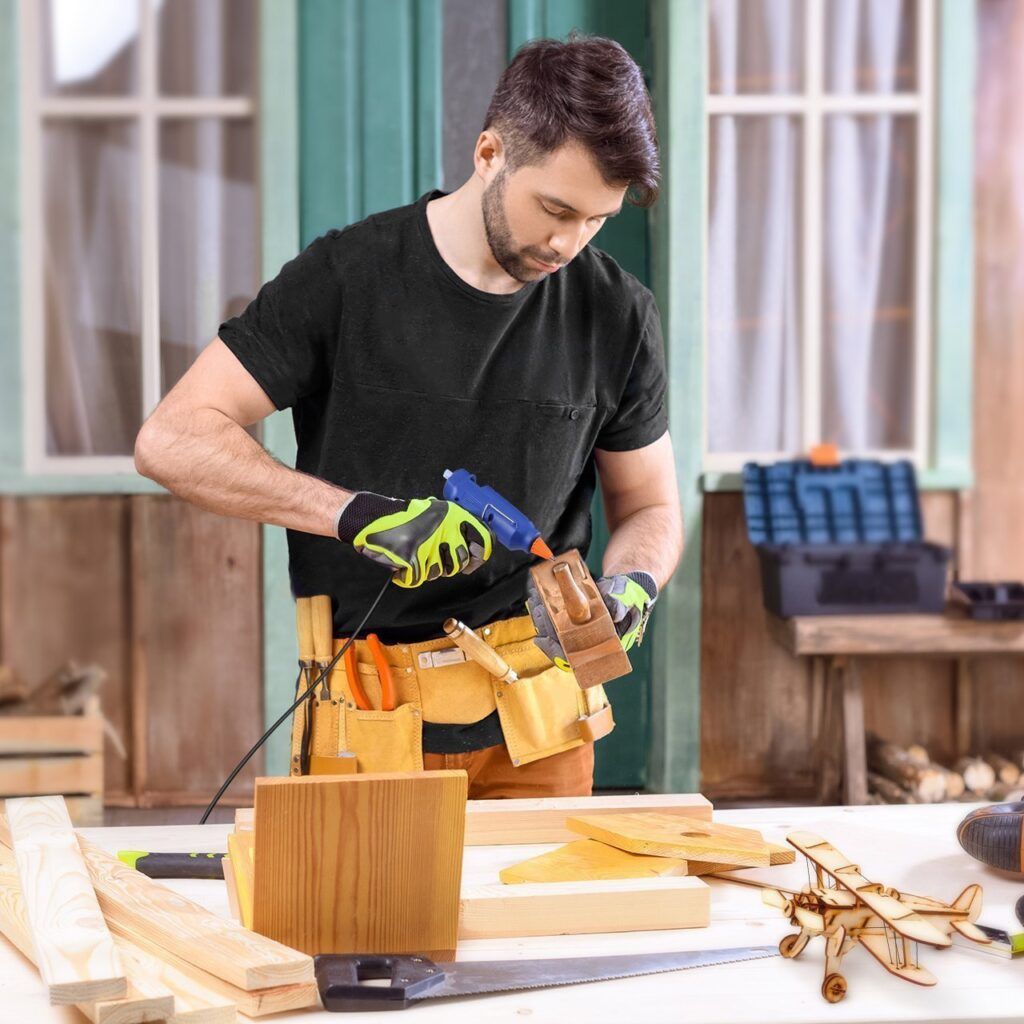
For this next step, you will want to start warming up your hot glue gun. What you’ll want to do here is to take that second large cap and suspend the smaller screw cap inside of it. You will use the hot glue to keep the cap propped inside.
Once the small cap is suspended inside the larger cap, you can start by filling any seams with hot glue. Do your best to create a small bridge with many small holes that poke through. Once you are done, there should be a decent seal where the suspended cap meets the larger cap, but make sure to leave some small pockets. Don’t be afraid to use a lot of glue for this step.
Step Four: Sand Your Bottle
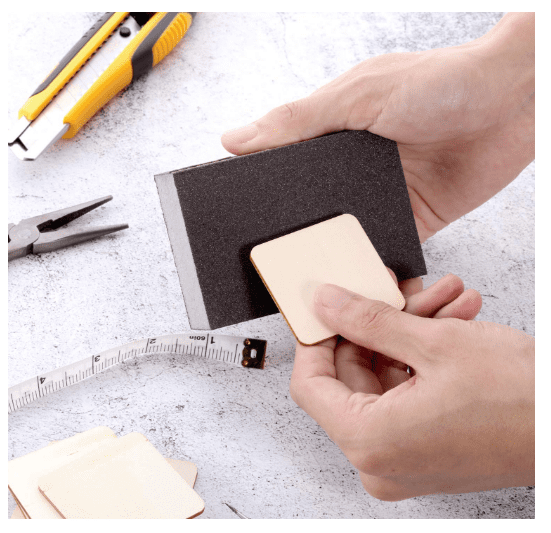
The fourth step on our quest to make your own feeder is to sand your bottle. We used a Gatorade bottle for this step and sanded down the outside until smooth. If you would like your hummingbird feeder to be colored, you can use spray paint to coat the outside. We recommend a few coats of paint if this hummingbird feeder will be exposed to severe outdoor elements.
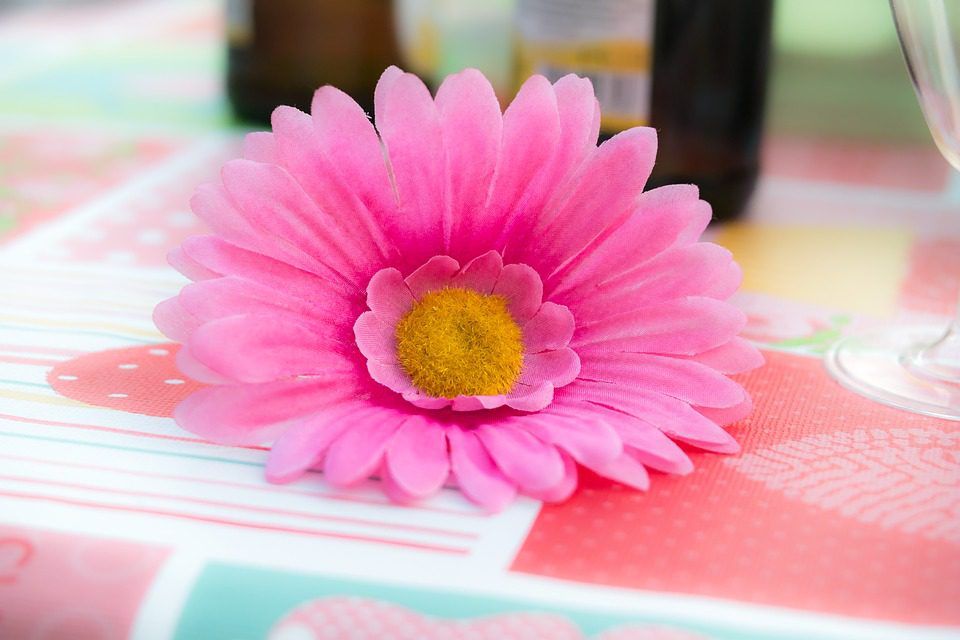
Step Five: Cut Flowers
One of the most creative steps in making a feeder for hummingbirds is to cut out some flowers. We used craft felt for this step and went with the signature red color that attracts hummingbirds. Place your flowers at the top of your bottle where the cap is. Feel free to add as many or as little flowers as you’d like. The important thing here is the red color to attract the hummingbirds.
Step Six: Screw and Hang
After you have cut your fake flowers to use on your bottle, you can screw the bottle into your make-shift cap. Once the cap is on, use a screwdriver to poke a small hole at the bottom of the bottle, not the cap end. This hole is where you will hang your hummingbird feeder from.
Step Seven: Glue Flowers
Take your fake flowers and glue them onto the bridge that you made to suspend the smaller cap inside the larger cap. The idea is that the small gaps you left in the glue will be the spots where liquid trickles through for hummingbirds. Make sure that your flowers are glued in spots that don’t obstruct your glue gaps too much.
All that is left to do now is to place your hook into the hole you created at the bottom. From there you simply attach the length of the string you require. Now you can fill and use your hummingbird feeder! If you have already purchased or made hummingbird food, you can skip this last step.
Step Eight: Make and Fill
Making hummingbird food to fill your hummingbird feeder is easy! There are many store-bought solutions on the market, but making your own food is fast, easy, and more affordable. If you want to learn how to make your own hummingbird food, keep reading. We have put together a super simple recipe below.
Make Your Own Hummingbird Food
Step One: Gather Supplies
The first step to making your own food to fill your hummingbird feeder is to gather your supplies. Believe it or not, hummingbirds are heavily attracted to sugar-water. This is a simple recipe that can be made in minutes! We used the following amounts to achieve the most successful results:
- 1 cup of water
- ¼ cup of granulated sugar
- Optional: red food coloring
The reason red food coloring is optional is due to a couple of factors. First and foremost, if you are keeping your hummingbird feeder clear, using a red liquid will help attract hummingbirds. If you have your hummingbird feeder colored or painted, you may want to avoid the extra effort. As long as you have red flowers or other red accents on your feeder, you are bound to get some activity!
Step Two: Combine
The second step to making a hummingbird mixture is to combine your cup of water and ¼ cup of granulated sugar together in a small saucepan over medium heat. Keep stirring until it begins to simmer. Check to make sure the sugar has completely dissolved before removing it from the heat.
Step Three: Remove and Cool
Once everything is combined correctly, you can remove your mixture from the heat. Allow the pan to cool to room temperature before moving on to the next steps. It is imperative that your liquid is at room temperature when you add food coloring for the best results.
Step Four: Color and Fill
The final step to making hummingbird food is to add food coloring once your mixture is at room temperature. Mix in the color thoroughly until you have an even color all over. Finally, you can fill your hummingbird feeder!
Conclusion
Making a hummingbird feeder is easy; all it takes is a few steps and some handiwork. Remember to never make more hummingbird food than the number of hummingbirds in your area can drink in a week’s worth of time. If you don’t have a lot of hummingbirds in your area yet, this may be a very small amount of liquid. If you allow the liquid to sit untouched for a long period of time, it can begin to ferment.
Always take care to rinse out your hummingbird feeder each time you refill it. This should be roughly every week or week and a half. You will also want to be diligent that rodents or insects don’t get into your feeder. Sugary water is a treat that many insects and creatures would love to have access to, so keep that in mind when picking a place to hang your new, homemade hummingbird feeder.